

Counterweights and Balance: How Extra Weight Affects Quest 2 Gaming Sessions (and What to Do About It)
If you play long sessions on a Meta Quest 2, you already know the headset feels heavier after an hour—sometimes much heavier. That sense of fatigue isn’t just the headset’s raw mass (about 0.5 kg); it’s how that mass sits in front of your eyes and how your head and neck must counteract the forward pull. This guide explains, in practical terms, how extra weight changes balance and neck load, and gives actionable ways to tune straps, add counterweights, and manage accessories for longer, more comfortable sessions. ⏱️ 10-min read
Read on for ergonomics you can test at home, step-by-step installation of comfort straps and counterweights, battery and accessory strategies, specific tips for glasses wearers, and routine maintenance habits that keep your rig feeling lighter and more stable.
Weight, balance, and comfort: why the Quest 2's mass matters
The Quest 2 weighs roughly 0.5 kilograms, and most of that mass sits forward of your eyes because the displays, lenses, and main battery live in the front shell. That forward bias creates torque about your neck’s pivot point: a relatively small forward offset produces significant tipping forces when you look up, down, or snap-turn. Over time those forces translate into neck muscle fatigue and soreness.
Beyond neck load, forward mass translates into facial pressure. When the headset pulls forward, the nose, cheekbones, and temples take more force; many users report discomfort on the face after thirty minutes unless balance is corrected. Uneven strap pressure can also press at the crown or around the ears, creating hotspots that distract mid-session.
Balance matters because it changes perceived heaviness. A well-balanced headset with its center of gravity near the occipital area (the back of your skull) feels lighter than a minimally heavier but front-biased one. When balance is right, you stop “fighting” the headset—micro-adjustments drop, tracking feels steadier, and immersion improves. The practical goals for extended sessions are simple: move some mass rearward, choose a strap geometry that shares load across crown and back of head, and tune tension so the rig is snug but not pinching.
Strap choices and their impact on weight distribution
Strap geometry determines where the headset’s load lands on your head. The stock Quest 2 strap is lightweight and functional but tends to anchor at the temples and the top of the head. That works fine for short sessions, but because it doesn’t create a solid rear cradle, most of the weight still pulls forward onto your face. In contrast, halo-style and elite-style straps redirect force toward the rear of the skull and the crown, shifting the headset’s effective center of gravity closer to the neck pivot.
The Elite Strap (official and third-party halo alternatives) typically adds firmer padding, a ratcheting or Velcro adjustment, and a wider contact patch. That geometry spreads pressure and allows you to tighten the back cradle, moving load away from the nose bridge. In practice this reduces facial hotspots and the sensation of heaviness, even though the headset’s raw mass may increase slightly because the strap itself is heavier.
When you change straps, notice two things: where the strap pushes and how much lateral movement it allows. A strap that clamps tightly at the crown but offers little rear support will still let the front tilt and will not reduce neck torque effectively. Ideally you want a strap that allows you to transfer downward pressure into the occipital area while maintaining a stable fit—this reduces tipping forces and improves head stability during sharp turns and quick look-offs.
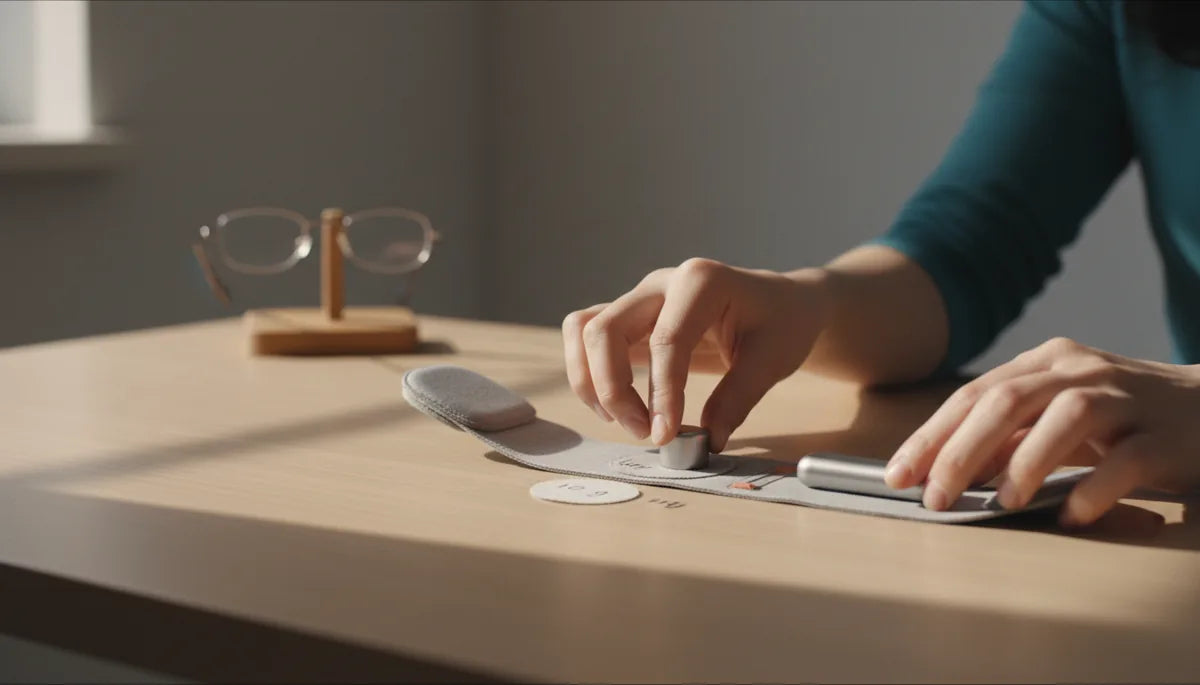
Counterweights: how much weight, and where to place it
Counterweights are a straightforward way to move the center of gravity rearward. Typical starting ranges are modest: around 100–150 grams added at the back often produces meaningful change. From there, increase or decrease in roughly 50 g increments until pressure points and neck strain fall to acceptable levels. The goal is not to make the headset heavy overall, but to create a balanced rig where tipping forces are minimized.
Placement matters as much as mass. A small weight mounted low on the strap near the occipital bone shifts the COG closer to your neck pivot and counteracts the display’s forward pull. If you mount the same mass higher—toward the crown—the counterweight still helps but changes which muscles take the load. Low, close-to-head placement generally reduces neck torque more effectively.
Options for placement include: built-in pockets in commercial comfort straps, rear clip attachments that clamp to the strap rail, or pockets designed for battery packs. DIY setups often repurpose power banks as weights. Commercial solutions such as purpose-built rear weights or kits (for example, slim rear plates or the FlitLift-style accessories) are designed for secure attachment and repeatable positioning. Whatever you use, start light, test movement (look up, down, left, and right), and check that the weight doesn’t bounce or shift during play.
Step-by-step install for Quest 2 comfort strap and counterweights
Installing a comfort strap and counterweight is mostly about mounting securely and fine-tuning fit. Below is a concise flow that works for both commercial halo/elite straps and DIY rear ballast setups. Expect to iterate—your comfort sweet spot often takes two or three short test sessions to discover.
- Prepare the headset: remove or loosen the stock strap and clean the strap rails and cushion seat. This avoids trapped dirt and ensures clips sit flush.
- Attach the comfort strap: align the strap’s connectors with the headset rails and slide or clip them into place per the strap instructions. If it’s a halo or Elite-style strap, seat the cradle at the back of the head and secure the front where it meets the facial interface.
- Install counterweight: start with a small weight (100–150 g). Fasten it to the rear pocket, rail clip, or dedicated mount so it sits low and snug against the occipital area. Use Velcro, locking clips, or integrated straps—avoid loose ties.
- Adjust vertical height: raise or lower the headset using the face gasket or strap height to ensure the lenses rest comfortably over your eyes without nose pressure. The headset should not be forced forward by strap tension.
- Set strap tension: tighten until the cradle holds the device without letting it tilt forward when you nod. If you feel heavy pressure on your nose, loosen and move the rear weight slightly lower.
- Fit check for glasses wearers: put glasses on, then don the headset. Confirm temple clearance and that the foam doesn’t pinch the frames; add a thin spacer or larger facial interface if needed.
- Motion test: stand, look left and right, then tilt up and down. If the weight shifts or the front still tips, retry mounting or add/remove 50 g increments until movements feel neutral.
After installation, run a 20–30 minute playtest and note pressure hotspots and neck fatigue. Adjust as needed—small changes in position are more effective than large increases in mass.
Battery packs, external accessories, and mass management
Power packs and add-ons complicate balance. An external battery that clips to the rear of the strap can be a perfect counterweight—especially when the pack is mounted low and centered. Conversely, front-mounted accessories (like facial cooling modules or extra lenses) add to the forward bias and increase neck torque. That’s why accessory placement should be a deliberate part of rig planning, not an afterthought.
When using external power, prefer packs that sit flat against the strap and have secure mounting points. Cable routing matters: slack cables that pull forward will negate some of the counterweight’s effect. Keep cables short and run them over the top of the strap or along one side into the headset to avoid tugging during fast movement.
Consider trade-offs: internal battery replacements (if available) keep the weight distribution unchanged, but external packs let you both extend session time and shift balance rearward. If you’re using wireless adapters or audio dongles, check compatibility—some mounts interfere with commercial strap clips or create fit interference for glasses. The practical rule is to centralize dense components near the occiput and keep low-profile items at the crown or sides. That strategy lowers torque and reduces the tendency for the headset to pivot downward during quick head turns.
Glasses wearers and long sessions: fit, comfort, and adjustments
Glasses alter contact geometry between your face and the headset; they typically raise the distance between lenses and eyes and introduce extra points of pressure on temple and nasal bridge areas. The Quest 2’s stock foam can press glasses into your temples if the strap forces the headset forward. The combined effect of frame pressure and front bias increases discomfort faster than for non-glasses users.
Start by using a spacer insert or a larger facial interface to create extra clearance for frames. Next, tune strap height so the headset sits slightly higher on your forehead rather than pulling down on the nose. A rear cradle with a counterweight helps because it reduces forward pull—less forward pull equals less sideways pressure on your temple arms. Adjust strap tension to a level where the headset stays snug without excessively compressing the foam against your glasses.
Practical checks: put on your glasses, then the headset, and perform the motion test (look up, down, left, right). Monitor the temple area and the nose bridge for pinching after 10 minutes. If you notice pressure, move the rear weight lower or add a small pad to the strap crown to redistribute load. For persistent discomfort, consider prescription lens inserts designed for the Quest 2; they eliminate frame pressure and often reduce the need for tight strap tension.
Maintenance, tweaks, and quick wins to reduce perceived weight
Small, routine practices keep your rig comfortable and extend the life of straps and mounts. Start with a weekly visual check: look for fraying straps, loose stitching, cracked plastic, or stretched elastic. These problems change how load is shared and can make a headset feel heavier because the strap no longer distributes force as designed.
Quick wins that reduce perceived weight include:
- Swap to a halo or Elite-style strap to shift load to the occiput and crown.
- Start counterweights light and add in 50 g steps—many users find 100–200 g is enough; larger heads or heavier strap setups may need more.
- Route cables cleanly and secure them to avoid forward tugs; a single loose lead can negate a well-balanced setup.
- Use a soft micro-adjust at the strap—loosen slightly to allow the foam to conform, then tighten until stable. Over-tightening increases facial pressure without improving balance.
- Keep facial foam and strap pads clean; compressed or hardened padding transfers force unevenly and creates hotspots.
For safety and longevity: perform a quick tug test on all mounts before a session, avoid makeshift knots that can slip, and don’t leave heavy accessories attached when storing the headset to prevent stress on rails. If you rely on a commercial system, follow the manufacturer’s weight limits and attachment guidance—purpose-built kits are faster to set up and typically safer than improvised rigs.
Finally, treat fit tuning like a game of small adjustments. Try one change at a time and record results. A 20-minute session with notes on hotspots and neck tension will tell you more than repeated guessing.
Takeaway: what to try next for a lighter-feeling Quest 2
If you want faster results, try this three-step experiment tonight: swap to a rear-cradle or Elite-style strap, attach a modest rear counterweight (start ~100–150 g), and run a 30-minute play test while tracking pressure points. Adjust in 50 g steps and reposition the weight low on the strap until the headset feels neutral when you tilt your head. Keep cables tidy and consider prescription lens inserts if you wear glasses. Small, deliberate changes will reduce neck torque, improve tracking stability, and keep you in the game longer without breaking immersion.


Share:
How Strap Design Impacts Weight Distribution on Quest 2 for Extended Play
Upgrading Quest 2 Facial Interfaces with Padding Materials That Boost Comfort