

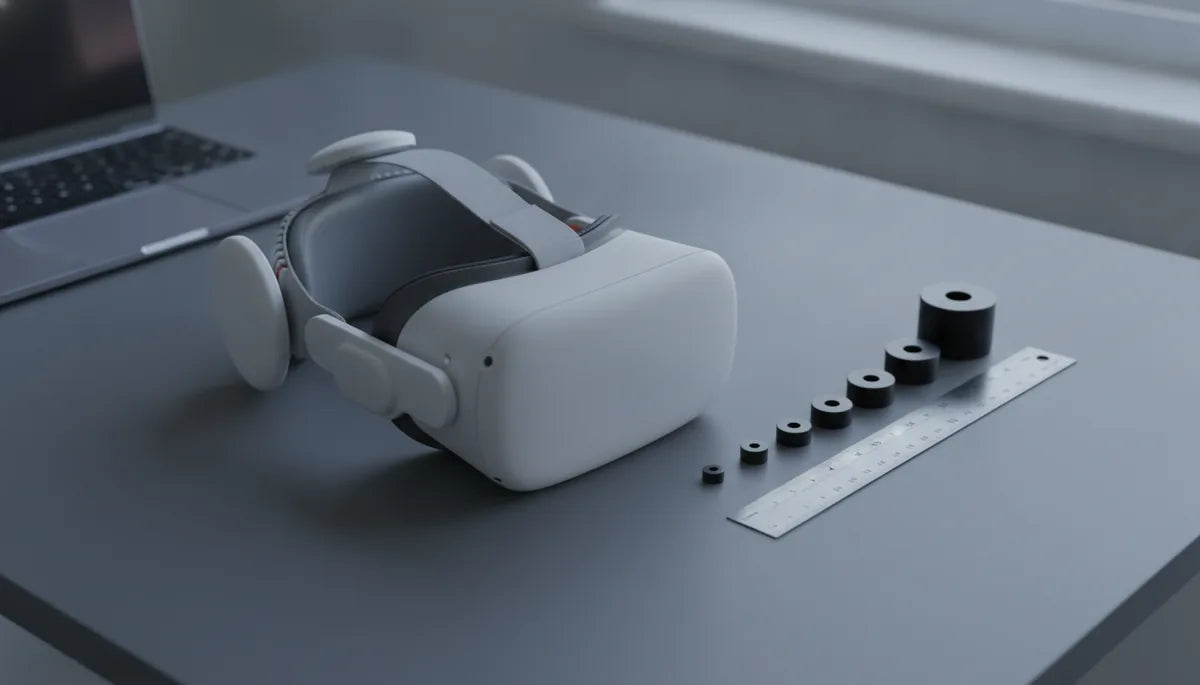
DIY Counterweights for Quest Two: Safe Hack to Even Out Front-Heavy Headsets
If your Quest 2 feels front-heavy after 30–60 minutes of play, a small back-mounted counterweight can restore balance and reduce neck strain. This guide walks you through a safe, budget-friendly DIY approach—what to use, how much weight to try, installation steps, and how to test and maintain your setup for longer, more comfortable sessions. ⏱️ 6-min read
Why a counterweight helps Quest 2 comfort
The Quest 2’s display and optics sit forward of your head more than some other headsets, which concentrates mass toward the face. That forward bias increases torque on your neck and upper spine, causing fatigue during extended play. Adding a small counterweight at the rear of the strap shifts the headset’s center of mass closer to your head’s natural pivot point, reducing the moment arm and the effort your neck muscles must provide.
Importantly, a back-mounted counterweight lets you rebalance the headset without changing the face pad or seal. That means you can keep the existing fit and sensor alignment while easing the forward pull—often the simplest and least invasive comfort tweak for Quest 2 owners.
Assessing your baseline fit and need for a counterweight
Before adding weight, evaluate how the Quest 2 currently sits and how it feels in use. A quick checklist helps identify whether a counterweight is likely to help:
- Put the headset on with your normal strap tension. Does the front tilt downward or press the foam more on your forehead than your cheeks?
- Play a comfortable, moderate-intensity title for 20–30 minutes. Note any neck or upper-back ache, or a sense of forward pull.
- Try loosening and tightening the straps. If relaxing the straps reduces discomfort but causes slippage, rebalancing with weight might be a better solution than over-tightening.
As a starting point, most users find helpful counterweights in the 30–120 gram range. Smaller heads or shorter sessions often need 30–60 g; larger heads or very long sessions may benefit from 60–120 g. Position matters as much as mass—the weight should sit low on the rear strap, near the occipital region (the base of your skull), to get the best leverage.
Recommended materials and safe weight ranges
Choose materials that are smooth, compact, and secure. Recommended options include small metal coin weights (wrapped), silicone wrist weights, or purpose-cut plastic/3D-printed masses with rounded edges. Keep the total added mass between about 30 and 120 grams per headset; start light and add only as needed.
- 30–60 g: modest correction for mild forward tilt or shorter sessions.
- 60–90 g: common sweet spot for most users seeking longer comfort without bulk.
- 90–120 g: for larger heads or heavy front attachments (e.g., additional facial foam or large headphones).
Avoid sharp edges, protruding screws, or loose parts that could shift into the facial seal or touch the lenses. Make sure materials are compatible with the strap—soft plastics, silicone, cloth-wrapped weights, or Velcro-backed pouches are safer than raw metal with exposed edges.
Step-by-step install for a DIY counterweight
Follow a simple, methodical install so the weight is secure, comfortable, and doesn’t interfere with sensors or the facial seal.
- Choose your mounting method (Velcro pouch, clip, or sewn pocket) based on your strap type.
- Place the headset on and mark the spot where added rear mass feels most effective—usually at or just above the occipital ridge.
- Attach the weight centrally on the back strap. If using multiple small weights, distribute them symmetrically to avoid lateral pull.
- Re-check front-to-back balance and adjust strap tension so the headset rides comfortably on the face with minimal forehead pressure.
- Confirm there’s no contact with the lenses, cameras, or facial seal and that nothing can slide forward during vigorous movement.
Keep adjustments small and iterative: add or shift a few grams at a time until the headset feels balanced without overcompensating and pulling the rear strap uncomfortably into the back of your head.
Attachment options and trade-offs
There are three practical attachment approaches, each with pros and cons:
- Velcro-backed weights: Easy to add or remove and adjustable. Best for foam-backed straps or straps with fabric. Trade-off: Velcro may wear over time and can catch hair.
- Clip-on weights: Snap into place on thicker straps and are secure during movement. Trade-off: clips can be bulky and may not fit slim or molded straps like the official Elite Strap seamlessly.
- Integrated pockets: Sewn or taped pouches that hold coins or small weights are low-profile and stable. Trade-off: less flexible—you’ll need to open the pocket to change mass and placement.
Compatibility notes: the official Elite Strap and many third-party rigid straps have a different profile than the stock soft strap, so prioritize clips or bespoke pockets for those. Soft fabric straps accept Velcro pouches easily. If you plan to switch between straps, choose a removable system (Velcro or clip) so the weight can move with the headset.
Testing, tuning, and long-session comfort tips
After installation, follow a staged testing routine to avoid overcorrection and to identify the best placement for longer play:
- Wear test 1: 15–30 minutes of light play. Note immediate comfort, slippage, and any pressure points.
- Wear test 2: 1–2 hours of mixed activity (seated and standing). Adjust the weight position or amount if you feel forward pull or new pressure at the back of the skull.
- Extended test: 2+ hours only after prior tests feel good; note cumulative neck fatigue and make small changes rather than drastic ones.
Practical tweaks: slightly raise or lower the top strap to change the pitch of the headset, move the weight a few centimeters lower for more leverage, and take regular breaks (5–10 minutes every 45–60 minutes) to rest neck muscles. If you wear headphones, their mass can alter the required counterweight—factor them into testing.
Safety, maintenance, and alternatives
Safety first: routinely inspect weights, fasteners, and attachment points for wear or loosening. Ensure nothing can slide forward toward the lenses or touch the facial foam; if a weight can shift, secure it more tightly or switch to a different mounting method. Keep sharp objects away from facial seals and sensors to avoid damaging optics or cameras.
If DIY isn’t for you, consider these alternatives:
- Official comfort upgrades such as the Elite Strap or branded comfort kits from reputable vendors—these are designed to rebalance and stabilize the Quest 2.
- Commercial back-weight accessories specifically made for Quest 2 that provide integrated pockets and low-profile attachment.
- Reducing front-end accessories (lighter facial pads or smaller headphones) as a non-weight solution to reduce forward bias.
For storage and care, remove weights when not in use to reduce stress on straps, wipe mounts clean of sweat regularly, and store the headset in a cool, dry place. With a cautious, measured approach, a DIY counterweight is an inexpensive, effective way to make your Quest 2 more comfortable for longer sessions while keeping your headset safe and functional.
Powered by Trafficontent


Share:
Ergonomic tips to reduce pressure when using Quest 2 straps with glasses
Choosing the Right Quest 2 Head Strap for Long Gaming Sessions