Dialing Vision Pro Tilt & Headband Fit: A Practical, Evidence-Based Guide for All-Day Comfort
Vision Pro delivers an extraordinary visual experience, but like any high-performance headset, long sessions expose small fit problems that compound into neck strain, hotspots, and distraction. This guide walks you through how the headset’s weight and tilt interact with your skull, how to tune straps and cushioning for hours of use, and which accessories and routines meaningfully reduce fatigue without sacrificing tracking or performance. ⏱️ 12-min read
Read on for step-by-step tests you can perform in five minutes, precise adjustment sequences, accessory recommendations, and repeatable comfort metrics to validate improvements across users and devices.
Understand Vision Pro weight distribution and tilt mechanics
Think of the Vision Pro’s mass as a flow of forces rather than a single lump. The front module (displays, speakers, optics) pulls the center of gravity forward; the crown strap transmits vertical load along the top of your skull; and the rear support stabilizes the occipital area. How these three contact zones share load determines whether the headset feels balanced or like it’s pulling your face down.
Small changes in tilt shift the center of gravity relative to your neck and spine axis. A forward pitch of just a few degrees moves more weight onto the facial interface and increases torque on the cervical spine, so you’ll instinctively lift your chin or tense your neck. Conversely, tilting the headset slightly back shifts load toward the occiput and crown, which can relieve facial pressure but increase pressure on the back-of-head pad.
Quick observations you can make now:
- If you see red marks on the bridge of the nose and cheeks after short sessions, the front module is likely pitching forward.
- If the occipital pad digs in and creates a hot spot, too much load has been shifted rearward without increasing the contact area.
- If the headset slides forward during nods, side-sway and strap geometry aren’t distributing forces along the skull.
Simple test plan to quantify tilt bias (5 minutes):
- Put on the headset with straps relaxed, then tighten to a secure baseline.
- Look straight ahead at a distant horizontal marker and note whether the display feels centered.
- Perform three slow nods and three side turns; observe whether the headset slides or rocks forward.
- Use a phone inclinometer or small bubble level across the headset front to measure tilt relative to horizontal.
Recording the starting tilt and where pressure concentrates becomes the reference you’ll return to while making incremental adjustments.
Optimize headband fit for all-day wear
Balanced strap tension across the crown, sides, and nape is the foundation of long-wear comfort. The goal: secure stability through small head movements without creating localized pressure points. Avoid the instinct to tighten a single strap to stop slipping—this often introduces hotspots and fatigue.
Start from a neutral baseline: loosen all straps, set the headset so the facial interface seals comfortably, then tighten the crown strap first so the unit sits snug across the midline of your skull. Next, adjust the side routes and nape strap to share load. Micro‑adjust in 2–4 mm increments and test with gentle nods and head turns between changes.
Step-by-step fitting routine (tailored by head shape and hair):
- Short hair/low profile: Set crown tension medium-low so the strap cradles without compressing. Use the occipital pad to prevent rear glide; side straps should be light to keep longitudinal stability.
- Thick hair/ponytail: Use sliding mechanisms or looser crown tension and tighten the nape strap slightly more to prevent upward lift. Consider using a slice in the strap route or a hair-friendly anchor to avoid pulling the style loose.
- High forehead/round skull: Position the forehead rest slightly lower to distribute load across the brow arc. Increase rear pad contact area to prevent the headset from rotating backwards.
Forehead and occipital pad design matter as much as tension. Aim for a gently arced forehead rest that spreads pressure across the brow, and a contoured occipital pad that cradles the back of the skull to resist sliding without pinching. If your Vision Pro or third‑party band includes sliding straps or cinch points, use them—small shifts accommodate different skull widths and hair styles without major re-tuning.
Cushioning and facial interface optimization
The facial gasket is where comfort meets performance: it seals optics, positions the displays, and bears much of the forward load. Geometry and material choice determine whether pressure distributes evenly or concentrates into hotspots under the cheeks, along the nose bridge, and at the temples.
Selecting the right interface begins by matching dimensions to your face. If you feel pinching across the nasal bridge, either the gasket is too narrow or the tilt is forward. If cheeks go numb after long use, the foam may be too firm or thin. Options to consider include varied gasket widths, lower-profile nose bridges, and split interfaces that reduce continuous pressure across soft tissue.
Material and layering strategy:
- Higher‑density foam under the cheekbones disperses sustained force better than low-density foam that compresses completely.
- Gel inserts or memory foam layers smooth peak pressures around the nasal area while preserving stability.
- Soft silicone edging creates a skin-friendly seal without digging in; it’s especially helpful for users prone to red marks.
Maintenance and longevity: Wash removable pads by hand with mild soap and cool water; avoid harsh detergents and high heat. Let components air-dry thoroughly before reattaching. Replace foam after visible compression or loss of resilience—most foams degrade after 6–18 months depending on use and environmental factors. Keep spare interfaces on hand if you’re a heavy user.
Small mechanical adjustability—fore-aft gasket slots, tiny rotation hinges, and adjustable nasal slopes—can dramatically reduce pressure by aligning the optics to your orbital rims. If the stock interface doesn’t permit those tweaks, try third‑party gaskets or thin adhesive gel pads at specific contact points to fine-tune pressure distribution without wholesale replacement.
Tilt alignment and postural balance to reduce neck strain
Tilt is the single most influential variable for neck comfort. Aligning the headset so your gaze is neutral—neither looking down nor constantly lifting the chin—keeps the head balanced over the spine and prevents chronic forward head posture. A useful visual target is placing the headset’s optical center roughly on the horizontal plane that aligns with your ear canal line.
Practical tilt targets and checks:
- Target tilt: aim for your display’s optical center to sit within about ±5 degrees of the plane that passes through your ear canals and the bridge of your nose. This range supports natural gaze without excessive chin tuck or lift.
- Use a pocket inclinometer or smartphone app to measure tilt across the headset front; small adjustments of 2–4 degrees can change perceived weight dramatically.
Postural cues to make habitual:
- Light chin tuck: a gentle retraction of the head so your ears align above the shoulders helps maintain cervical neutrality.
- Neutral spine: sit tall with the natural curve in your lower back; a lumbar roll can help preserve this in long sessions.
- Relaxed shoulders and unclenched jaw: tension at the shoulders shifts load upward and into the neck; consciously relax between tasks.
Behavioral checks: every 20–30 minutes, pause and scan for tilt creep—headsets tend to migrate as padding compresses. Reset if you notice forward pitch or if you’re raising the chin to see. If your tasks vary (typing vs. watching), set the tilt to the most frequent activity or adopt a quick‑adjust habit where a tiny tilt-snap (a 2–3 degree change) is applied between modes.
Weight-relief strategies: counterweights and add-ons
Add-on strategies aim to shift the center of gravity rearward without creating new pressure zones. Small, well-placed counterweights at the occipital pad or under the rear headband increase balance by opposing the forward pull of the front module. The trick is to add just enough mass to improve balance while keeping overall load and sensor clearance acceptable.
What to try first:
- Start light: 30–100 grams added centrally low on the rear pad. Change in small steps and test for comfort and stability—notice whether neck fatigue decreases or whether a new pressure point appears.
- Low-profile solutions: slim clip-on weights or a thin rear weight plate under the existing pad preserves close contact with the skull and reduces leverage that would otherwise increase torque.
- Modular pads: thicker rear pads increase contact area and reduce pressure per square centimeter without adding as much mass.
Material and design considerations: choose materials with high strength-to-weight ratios (aluminum, carbon fiber composites) if structural support is needed; they let you add form without excessive mass. Avoid bulky, dense metal blocks that increase inertia and make quick head turns feel heavy.
Cautions and compatibility:
- Sensor interference: keep weights and accessories clear of cameras, IR emitters, and ventilation. Rounded low-profile designs reduce the chance of occlusion.
- Heat management: added shells or dense pads can trap heat—prefer breathable fabrics and perforated pads to avoid rapid temperature rise during long sessions.
- Fit stability: ensure counterweights are securely attached. Loose clips or Velcro solutions can shift during motion and cause unpredictable torque.
Try combinations: sometimes the best outcome is a medium-strength occipital pad plus a 40–60 g clip rather than a heavy single weight. Test each change with the tilt and strap routine described earlier to find the sweet spot where perceived front-end heaviness drops and head mobility remains natural.
Donning, lifting, and mounting aids to minimize strain
How you pick up and place the headset matters as much as how it fits. Abrupt lifts from desk level, reaching forward, or awkward one‑handed mounts create sudden neck and shoulder torque. A deliberate donning routine and a few simple aids make frequent mounting smooth and low-effort.
Recommended donning sequence:
- Sit or stand with a neutral spine. Keep elbows tucked; avoid reaching forward from the shoulders.
- Place the crown strap on the top of your head first so the midline aligns. This centers the mass early and reduces lateral shifts during final placement.
- Bring the facial interface to the face, confirm the seal, then secure side straps and final nape adjustments.
Lifting aids and practical DIY options:
- Built-in or aftermarket soft handles: attach a soft, low-profile grip near the chassis center for a more balanced two-handed lift from desk to head height.
- Magnetic docking handles: small magnetic plates provide quick attach/detach and guide the headset along a consistent arc to your face.
- Soft tether straps: keep the headset within easy reach of your dominant hand to avoid overreaching and shoulder elevation.
Purpose-built mounting solutions:
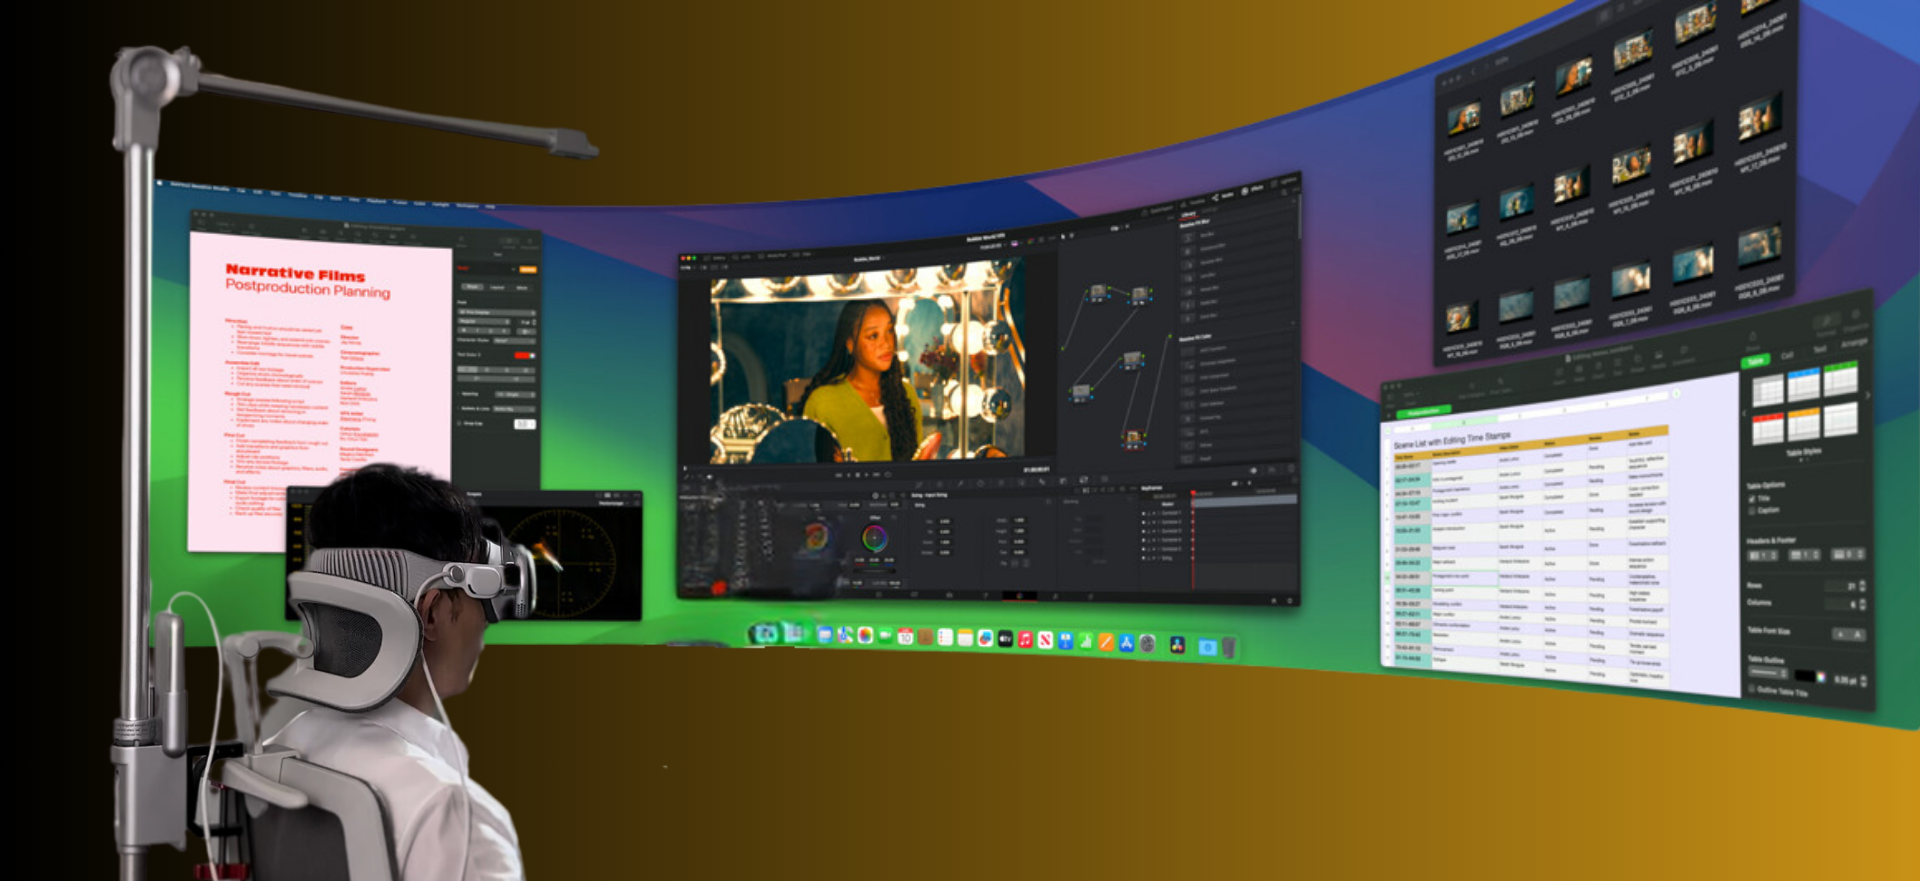
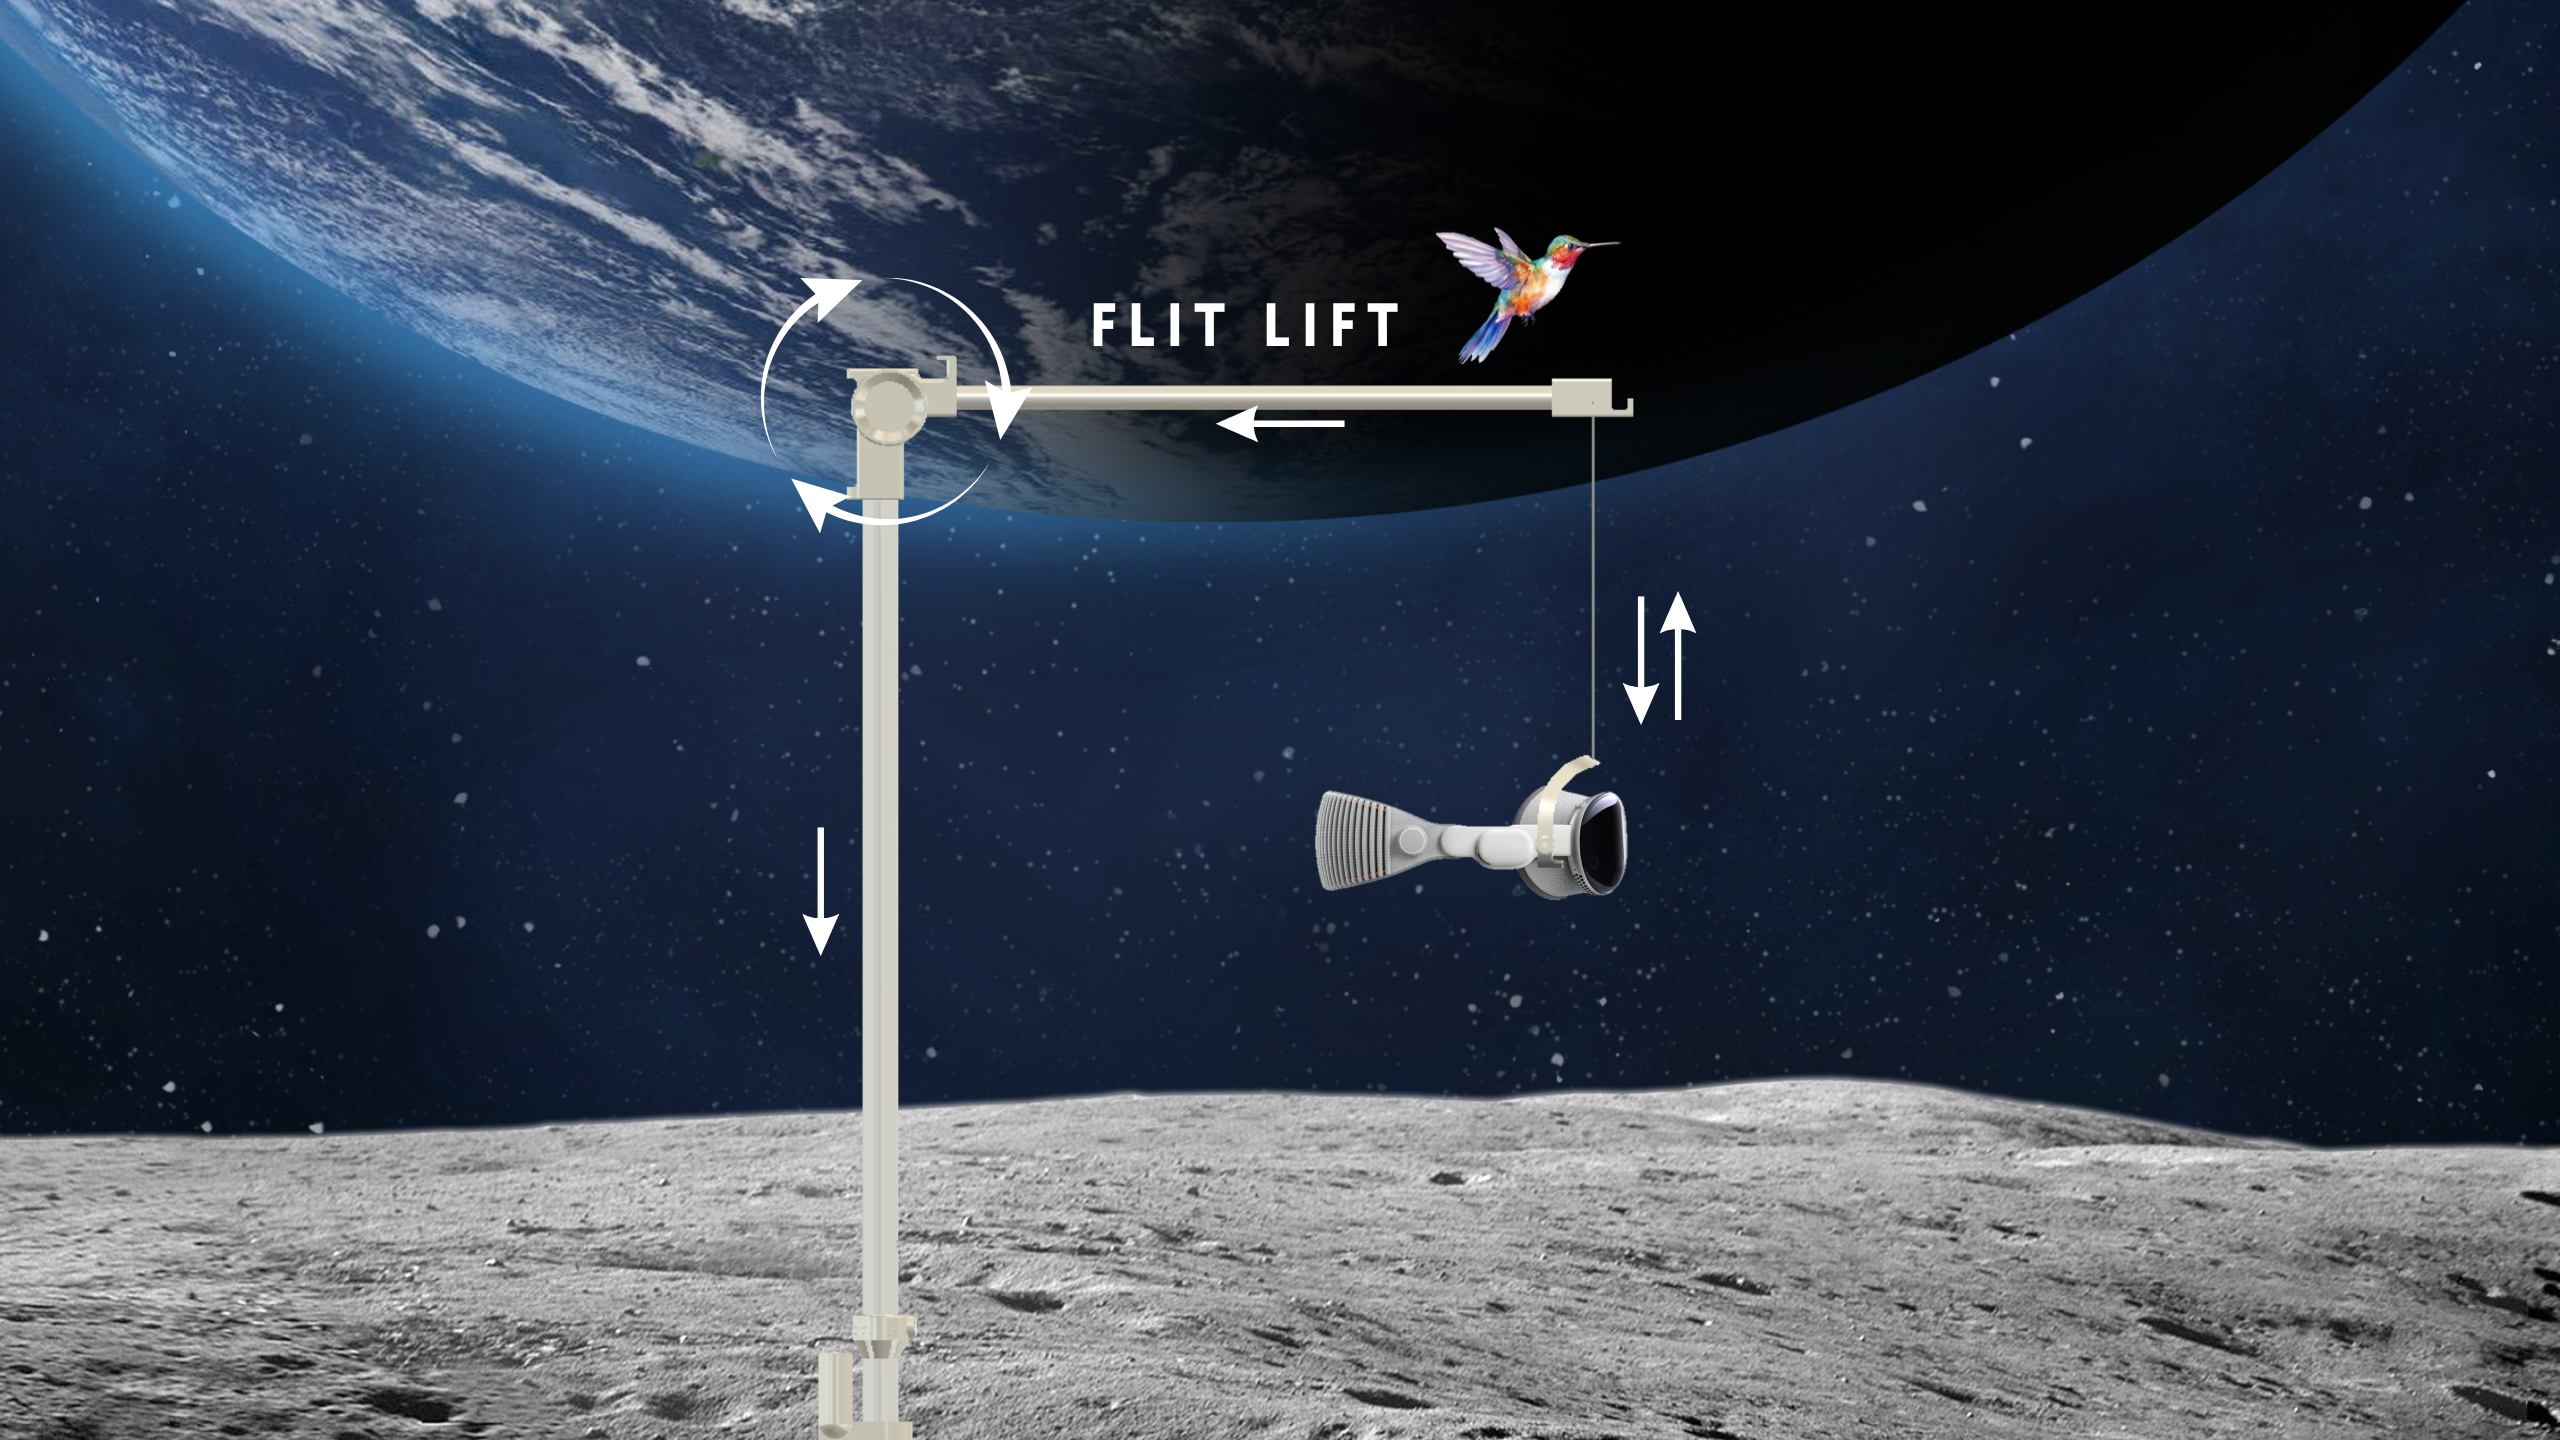
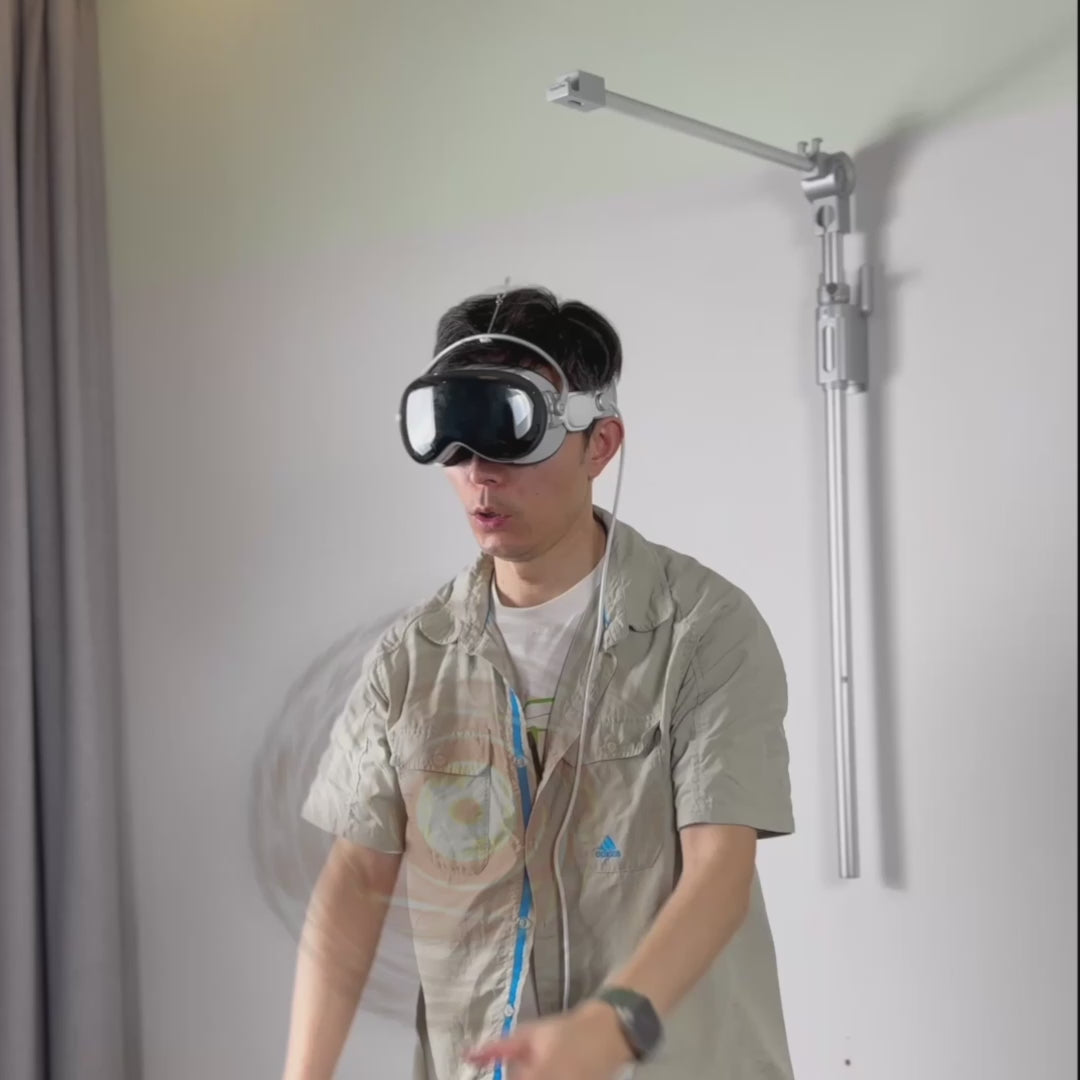
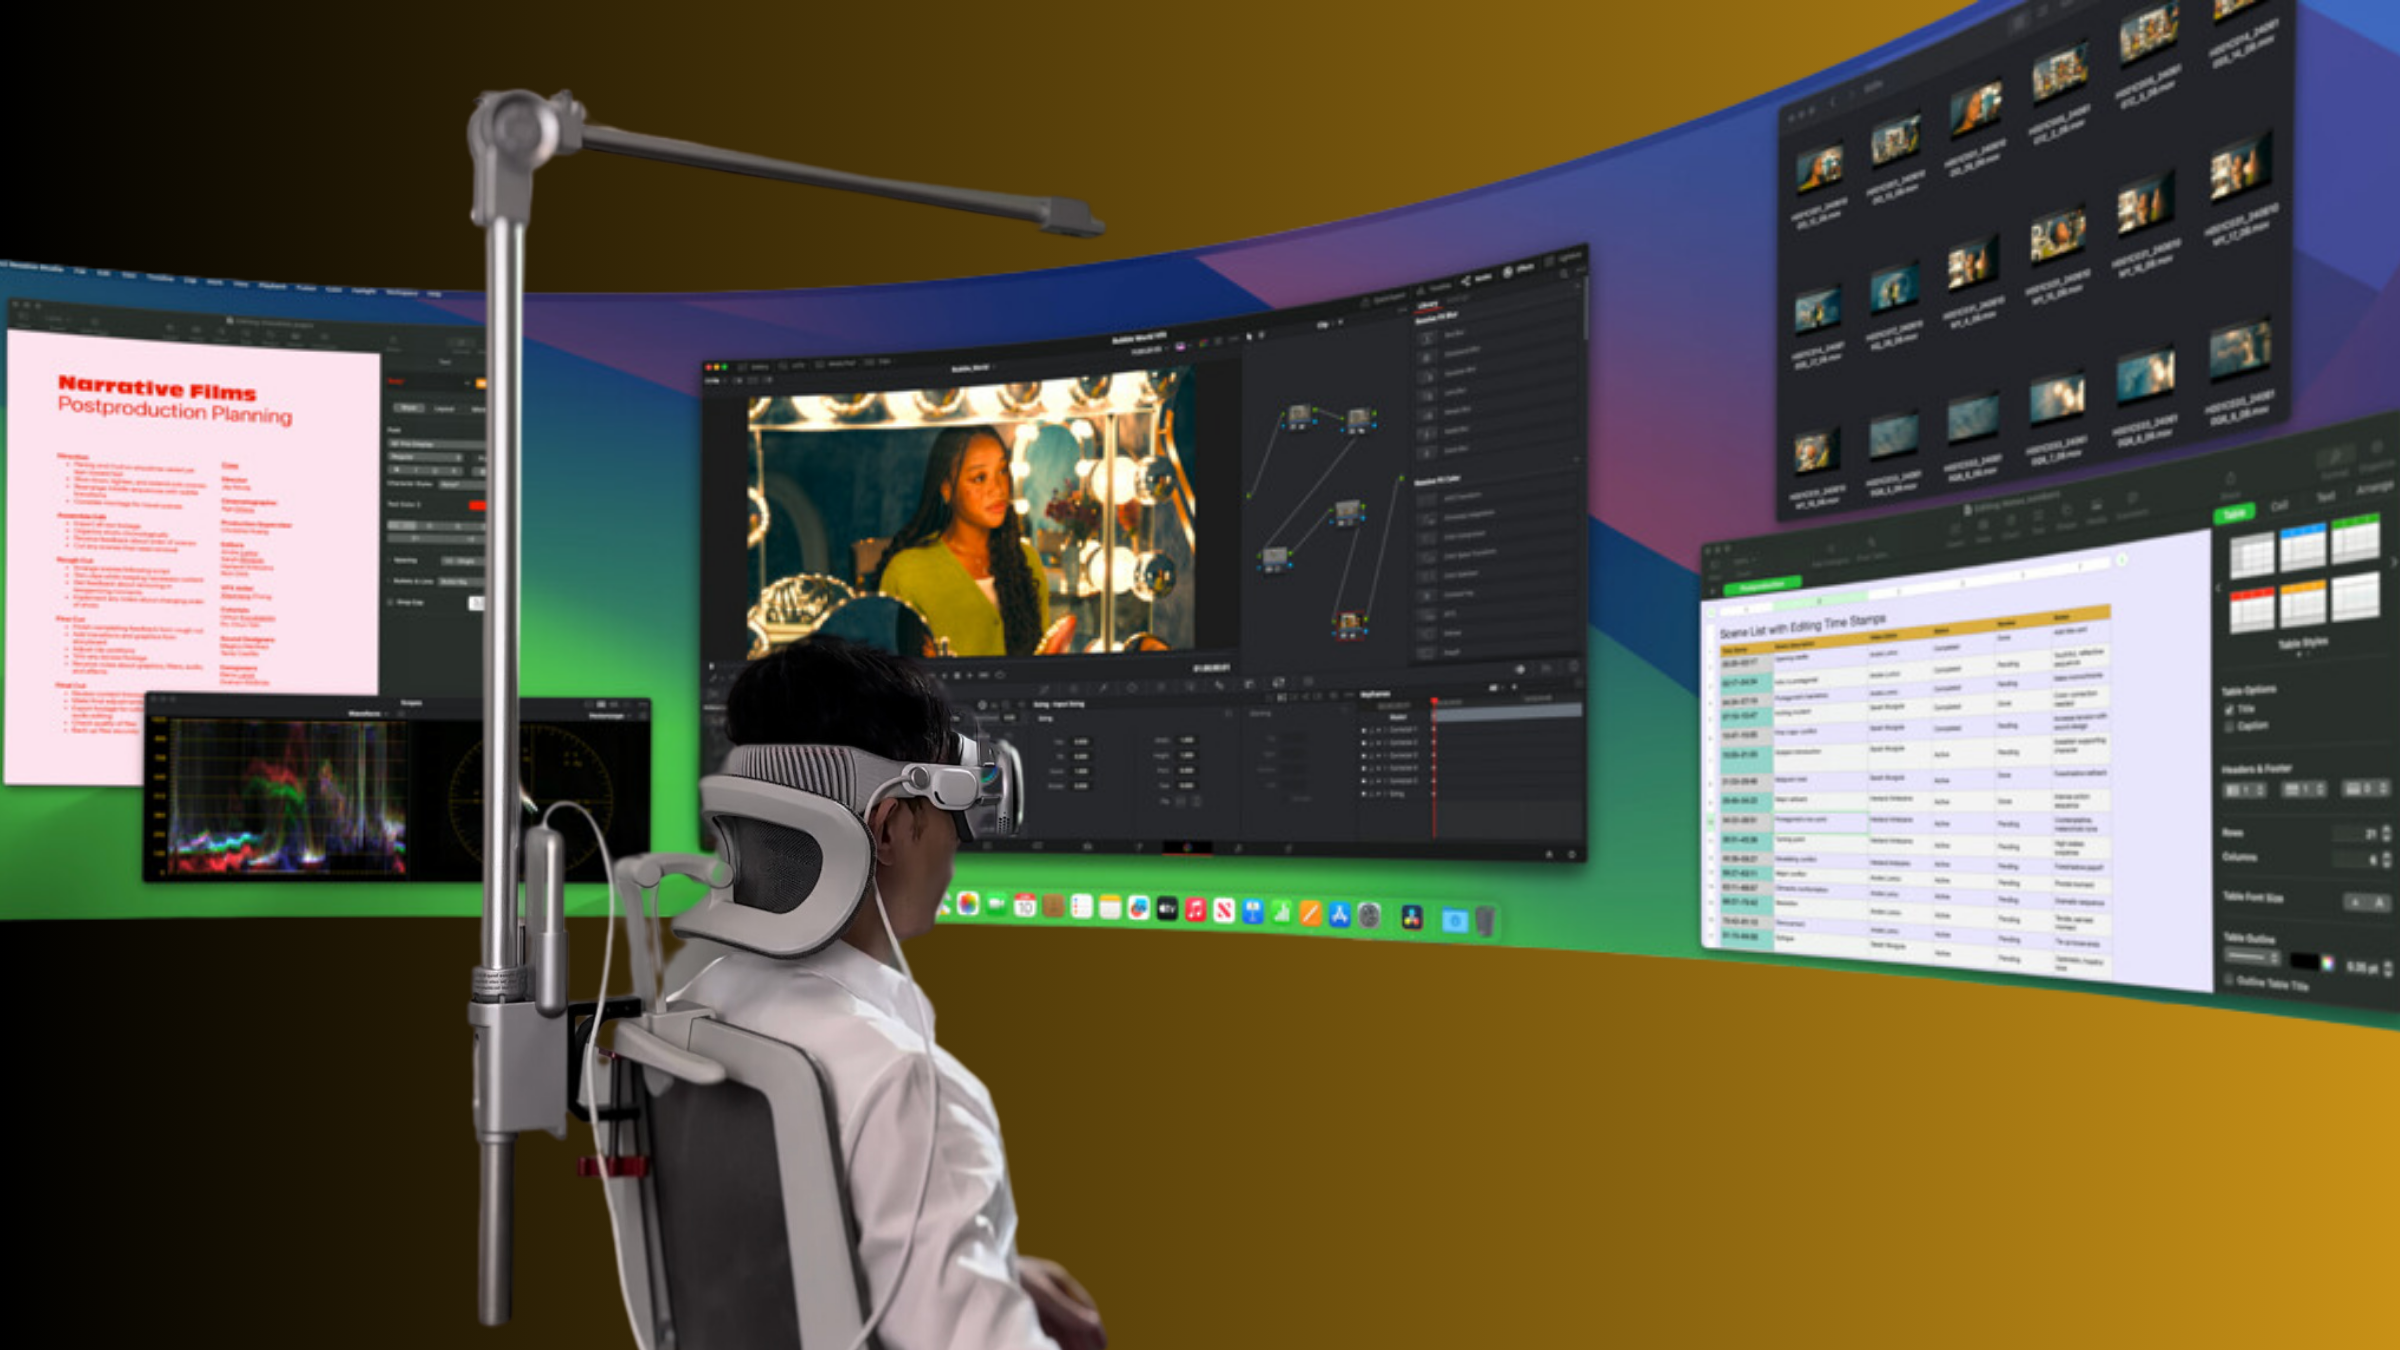
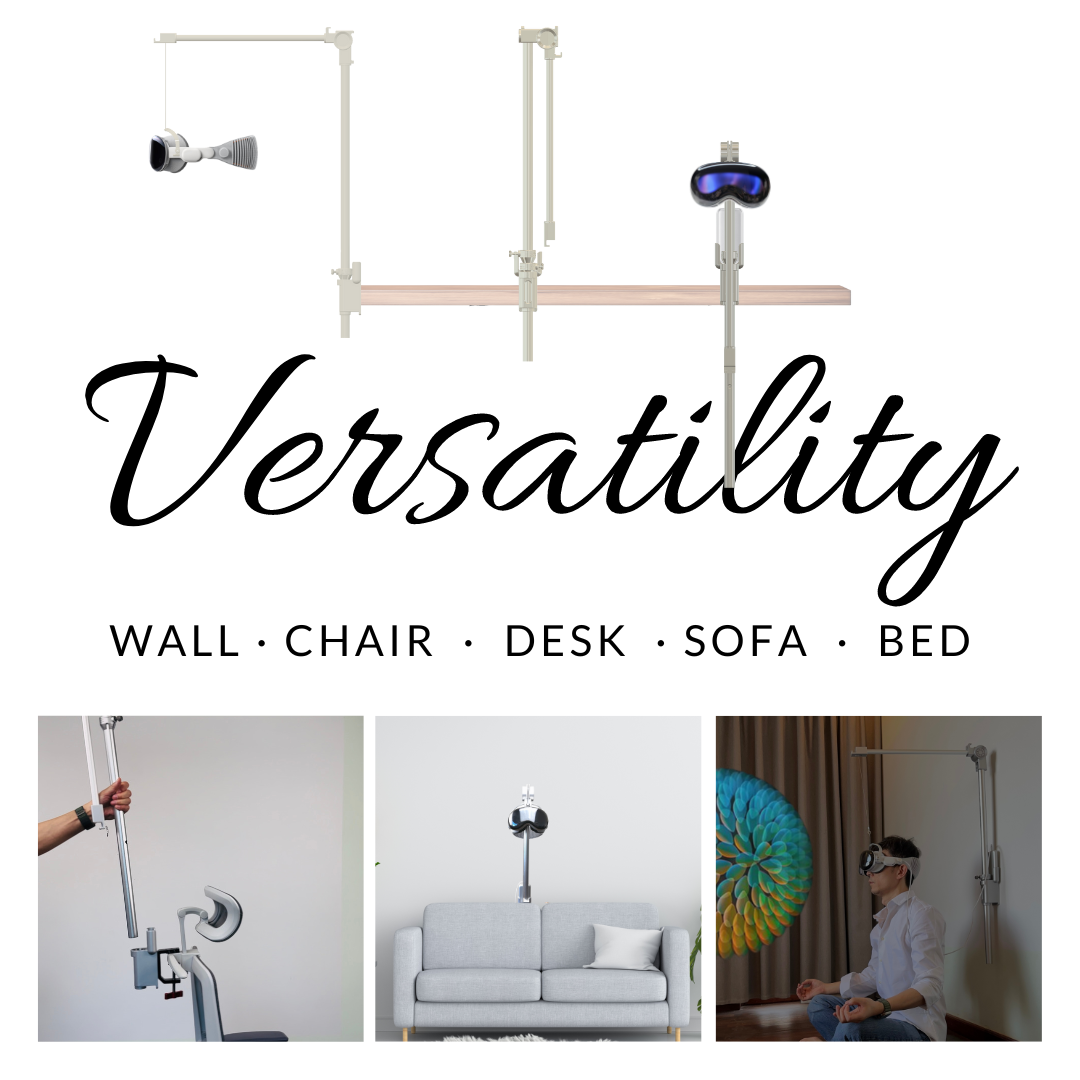
- Assisted mounting rails: these desk or wall-mounted rails guide the headset along a controlled path and reduce awkward lateral motions.
- Height-adjustable stands with spring assistance: lift and lower the headset smoothly to eye height, letting you don in a neutral posture.
Common donning errors to avoid: swinging the headset forward and then plopping it onto your face (creates sudden face pressure), lifting with arms extended (loads the shoulders), and asymmetrically tightening only one side strap (introduces twist and imbalance). Adopting a simple, repeatable rhythm—crown first, seat second, tighten last—reduces these mistakes and preserves your adjustments for longer.
Desk-ready setups: stands, cases, and space-saving solutions
Where you store and rest your Vision Pro affects how readily you use it and how often you end up misaligning straps through hurried donning. A well-chosen stand preserves tilt geometry, protects sensors, and keeps the headset at a convenient height so you avoid awkward lifts.
Stand features that matter:
- Tilt stabilization: a cradle that supports the back of the head and the crown prevents the unit from sliding or tilting when you set it down or pick it up.
- Weighted base and non-slip footing: prevents the stand from moving during single-handed grabs.
- Open sensor windows and minimal padding where cameras sit: preserves tracking and ventilation while protecting contact zones.
Case considerations for active users:
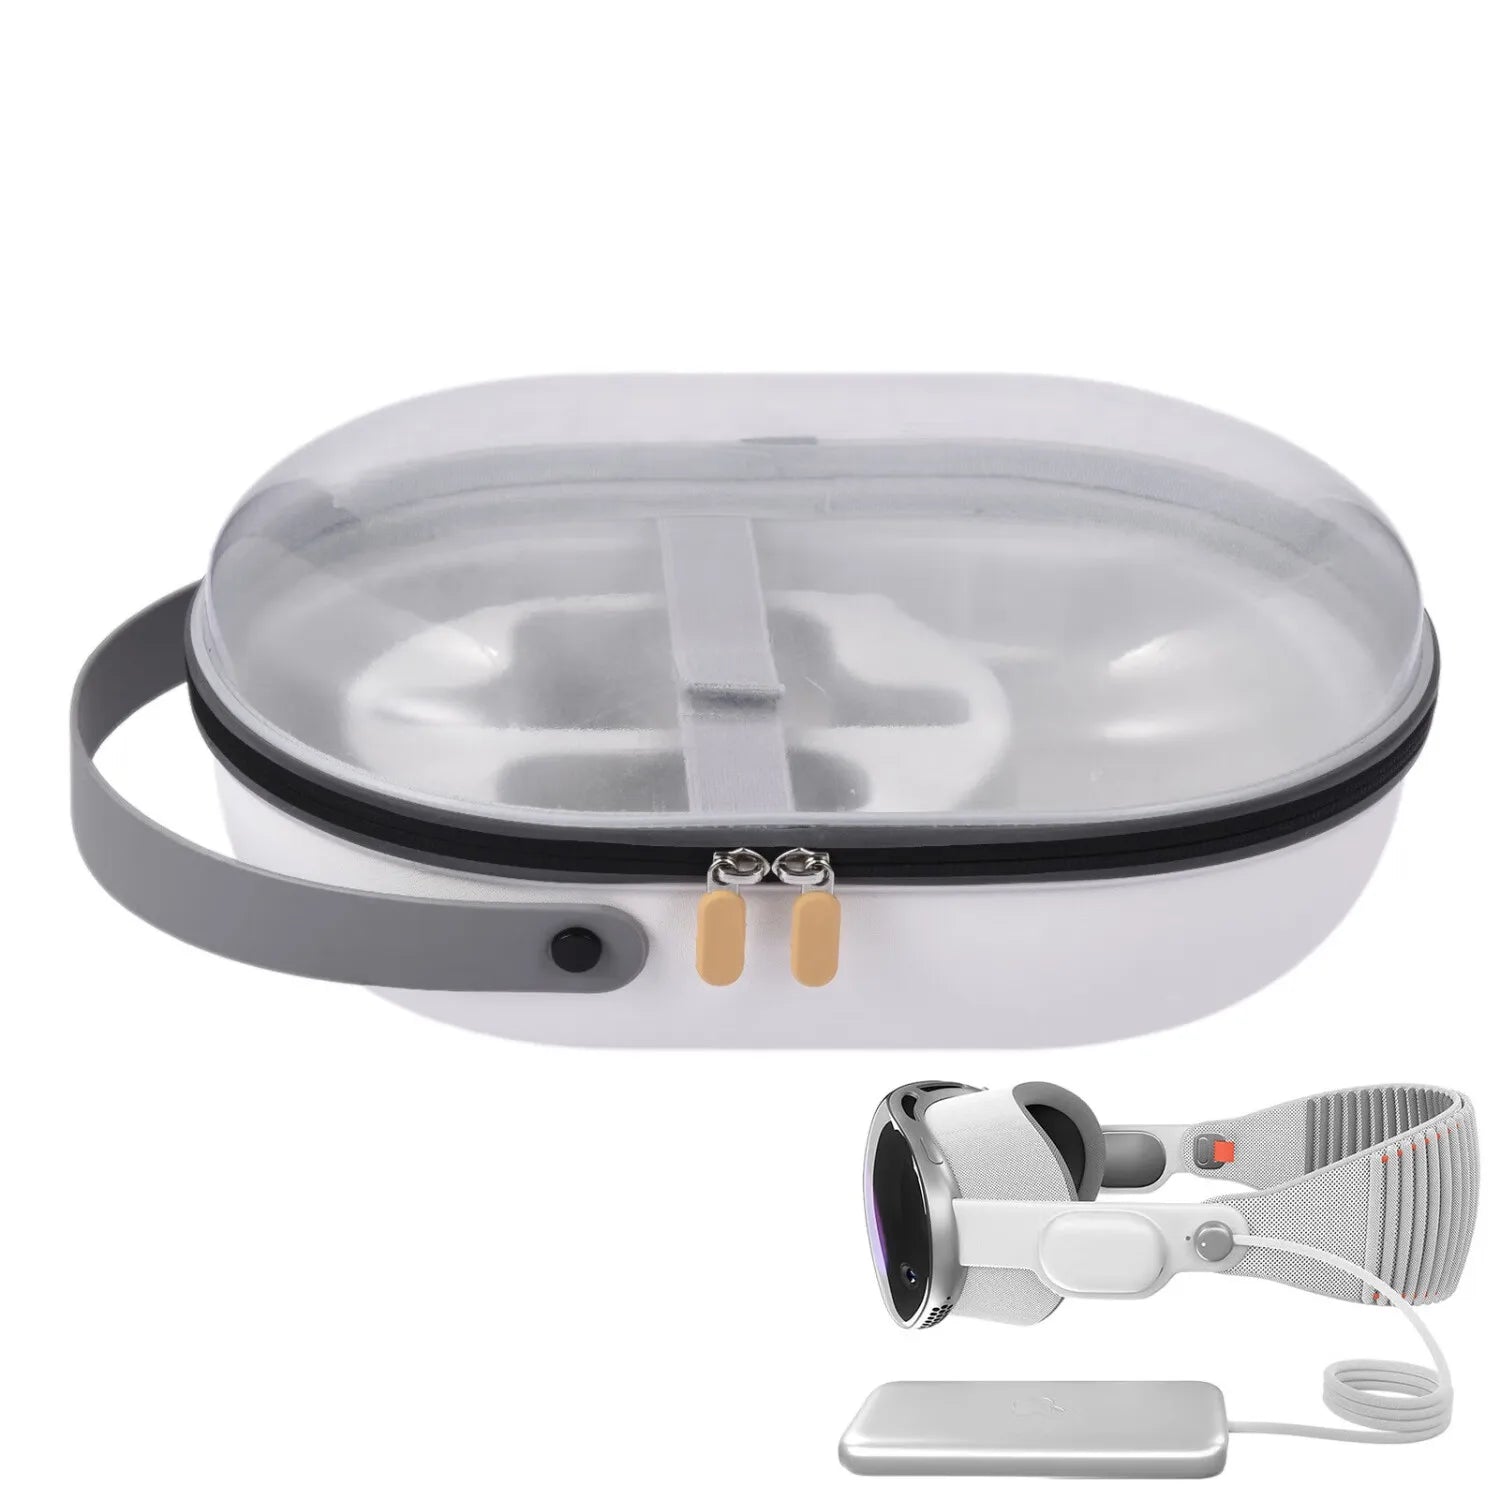
- Low-profile protective cases that match the headset’s contours limit bulk, preserve the center of gravity, and keep sensor apertures unobstructed.
- Internal padding at contact zones and an elastic strap to hold the unit stationary are preferable to loose cavities that allow shifting.
- Avoid thick, insulative cases that block ventilation if you often put the headset away between short sessions—heat buildup shortens component life.
Space-saving mounts and layout ideas:
- Monitor-arm adapters or wall brackets mount the headset above the desk and swing it into place when needed, freeing desktop real estate.
- Under-desk drawers with a shallow cradle keep the unit accessible yet out of the way of keyboards and wrist space.
- Integrated cable management and quick-release connectors reduce clutter and make the headset easier to pick up with a consistent path.
Practical setup path: choose a stand that matches your routine. If you don and doff frequently for short bursts, a spring-assisted arm or swing mount is worth the cost. If you use the device in predictable long blocks, a padded cradle with tilt lock preserves alignment between sessions and reduces micro‑adjustments.
Cross-device comfort comparison and testing practices
To improve comfort reliably, measure it. Build a simple rubric that blends subjective reporting with basic objective checks so you can compare Vision Pro against other headsets (Quest 2, PSVR) and quantify the effect of each tweak.
Standardized comfort rubric (0–10 for each category):
- Fit stability: how often does the headset require readjustment during a 30-minute session?
- Tilt tolerance: does the headset maintain comfortable gaze during typical tasks without chin tuck or lift?
- Facial pressure: note hotspots on cheeks, nose, temples after 30, 60, and 120 minutes.
- Thermal comfort: rate heat buildup in facial interface and rear pad.
Repeatable testing protocol:
- Define scenarios: seated typing (30 minutes), watching video (45 minutes), light movement gaming (20 minutes), standing presentation (15 minutes).
- Use the same baseline strap settings between tests and record starting tilt with an inclinometer.
- Track wear time until first discomfort rating >4/10, and note exact symptoms and locations.
- Repeat after each intervention (padding swap, counterweight, strap retune) and compare scores.
Cross-device comparison points to observe:
- Tilt drift onset: which headset requires more frequent re-tilting?
- Pressure mapping (qualitative): which device concentrates pressure under the nose or on the cheeks?
- Posture influence: does one device encourage forward head posture more than another during typing?
Case examples: knowledge workers who added rear counterweights reported longer comfortable wear from 2–3 hours to 4–6 hours with less shoulder and neck tension. Students benefited from lighter front interfaces and better gasket fit, moving through whole lecture days without distracting red marks. Gamers who combined improved ventilation with contoured cushions extended sessions from roughly two hours to three while keeping a stable seal. Use these archetypes as starting points to prioritize adjustments for your own needs.
Next step: pick one small change—adjust crown tension, swap to a softer nasal pad, or add a 40 g rear clip—and run the quick test plan above. Track your scores, iterate, and keep the headset’s tilt and strap geometry as your reference point; small, measured changes compound into far better comfort and longer productive sessions.



Share:
Safe storage best practices for Vision Pro with a protective case and built in stand
PSVR Weight Balance Upgrades: Reducing Front-Heavy Strain for Prolonged Play