How to Optimize Weight Distribution in Lighter VR Headsets to Minimize Neck Strain
Lightweight VR headsets feel freeing compared with older, bulkier models, but "light" doesn't automatically mean comfortable during long sessions. Even a modest forward shift in center of gravity (CG) can create torque that your neck and shoulders must fight all night, turning a light device into a persistent nuisance. ⏱️ 11-min read
This guide walks through the fundamentals of weight distribution, device-specific tuning for Vision Pro, Quest, and PSVR families, practical strap and padding strategies, mounting and desk workflows, and accessories — all aimed at keeping the headset’s load traveling through the skull and rear band instead of tugging your chin or compressing the occipital region. Expect step-by-step checks, real-world examples, and a simple checklist you can use before every session.
Foundations of Lightweight Weight Distribution
Comfort with lighter headsets comes down to a few physics and fit points: where the headset’s center of gravity sits relative to your head’s natural pivot, how torque transmits through contact points, and the quality and placement of padding. When the CG sits forward of the head’s axis, even a small mass produces a meaningful forward moment — the neck extensors must work constantly to keep your gaze level. Conversely, loading too far rearward offloads the face but concentrates pressure on the occiput and can introduce a subtle wobble when you turn your head.
Think of the load path as the most efficient route for forces to travel from the headset to your skeleton. The ideal path sends weight into a broad crown contact and a gently tensioned rear band that together create a stable perch. Material lightness reduces the absolute force but changes how that force is distributed. If most of the remaining mass is concentrated near the front optics or around the crown, tiny head motions will amplify moments at the neck. The practical aim is near-neutral balance: minimal chin-down tilt, even pressure across the forehead and crown, and predictable behavior during quick glances.
Use a simple framework to tune any headset: Fit, CG alignment, and Padding. Start by assessing natural posture (ears over shoulders, chin slightly tucked), then observe the headset's tilt and hotspots during a 5–10 minute baseline wear. From there, adjust straps, reposition pads, and if necessary add small counterweights toward the rear until the headset sits without forcing head posture.
Apple Vision Pro: Balancing for Comfort
The Vision Pro’s refined optics and crown interface create an experience that’s light yet sensitive to small balance shifts. The optics and front facial interface can pull load forward, producing forehead and cheek pressure while your neck braces to keep the view level. The goal with Vision Pro is a near-neutral CG that reduces facial pressure without dragging the rear band into uncomfortable compression.
Start with the facial interface: thin or uneven gaskets press into cheeks and temples, encouraging jaw clenching and an upward eyes-to-display compensation that engages neck extensors. Swap to a facial cushion with a slightly wider gasket that wraps to the cheekbones; that spreads load laterally and reduces nose-bridge torque. For crown support, raise the top strap incrementally to shift a modest portion of the weight toward the skull’s crown. This shares load across bone rather than soft tissue, lowering the perceived weight on the face.
If you still sense forward pull, consider discrete counterweighting behind the ears. Keep these modules light — typically 5–20 grams per module — and mount them low and centered on the rear strap so they pull evenly. Avoid large, bulky rear plates: they can introduce pendulum-like wobble and stress on fasteners. Finally, tune strap tension so the headset hugs the skull without pinching. Too loose and you get forward pitch during quick nods; too tight and you compress the occiput. The sweet spot is secure, stable, and causes no chin lift or forehead digging.
Other Headsets: Weight Tuning for Quest and PSVR
The same weight-distribution principles apply across the Quest family and PSVR series, but the differences in strap geometry and frame shape change the tuning specifics. Quest headsets often use more compact strap systems, which means small strap and pad adjustments have an outsized effect. PSVR tends to have a more substantial rear wrap, which provides an easy anchor for counterweights but can compress the back of the head if over-tensioned.
For Quest 2 and 3: Inspect the top strap first. Raising or lowering it by a few millimeters shifts contact from soft tissue to the crown broadly. Use thin foam shims (2–6 mm) behind the rear band or under the crown pad to close small gaps and prevent the headset from tilting forward during rapid head movements. Aim to seat the front so the forehead carries load in a soft, even line rather than a single hotspot on the bridge of the nose. If the front feels heavy, try sliding a small, removable weight into the rear strap pouch (if available) before resorting to adhesive solutions.
For PSVR: the rear wrap gives you a good lever to counter forward mass. Add a low-profile 10–20 g counterweight centered on the rear wrap to pull the CG back toward the head’s axis. Combine that with even side tension: both sides should feel balanced to avoid the headset rotating on quick turns. Across both ecosystems perform a quick pre-match balance check: don the headset, look level, then nod and shake your head gently. If the horizon tilts down or the device slides, reassess strap routing and pad placement until it rides as a single, predictable unit.
Straps, Cushions, and Facial Interfaces that Shift Weight
Straps, cushions, and facial gaskets aren’t merely comfort add-ons — they are the levers you use to steer the headset’s mass. Different strap designs behave differently: three-point systems focus tension at the forehead and occiput, while four-point or halo systems spread load across a larger surface and often stabilize the CG near the crown. Memory foam cushions smooth pressure, but density and thickness matter: too soft and the headset sinks forward; too firm and pressure concentrates in small areas.
Specific, actionable guidance:
- Strap choice and routing: For long sessions favor a halo or four-point strap that cradles the back of the head. Route rear straps to cup the occipital ridge rather than pushing high on the skull; this avoids upward torque that tips the front down.
- Padding thickness: Start with medium-density memory foam 8–12 mm at the crown and 5–10 mm at the facial gasket. If the headset pitches forward, increase crown thickness in small increments or add a 2–5 mm shim behind the rear band.
- Cheek and temple support: Use a gasket that wraps slightly to the side. A lateral wrap spreads contact to the cheekbones and reduces nose-bridge pressure, which directly lowers forward pull.
- Surface grip: Choose textured or suede-like contact surfaces to reduce micro-shifts. Less slippage means fewer mid-session adjustments that can tug the headset forward.
When padding gaps appear — a common source of forward tilt — fill them with thin adhesive foam strips or reposition modular cushions so the headset hugs the skull without pinching. The goal is an even load map across the forehead, crown, and rear strap so the device rides like an integrated extension of your head rather than a front-heavy object hanging from it.
Stand, Lift, and Mounting Solutions for Daily Use
How you store and mount your headset influences neck strain as much as in-session fit. Frequent donning and doffing multiplies tiny torques; place the headset, controller, and cables so you don’t have to twist or reach awkwardly. A well-chosen stand or lift reduces repetitive neck motions and keeps the headset balanced when you pick it up.
Practical placement rules:
- Keep the stand within a comfortable forearm reach and aligned with your midline so donning follows a natural arc rather than a twist.
- Use a cradle that supports both the front and rear of the headset. Cradles that cup the rear band hold the CG closer to your body, so you don’t have to lean forward to retrieve the device.
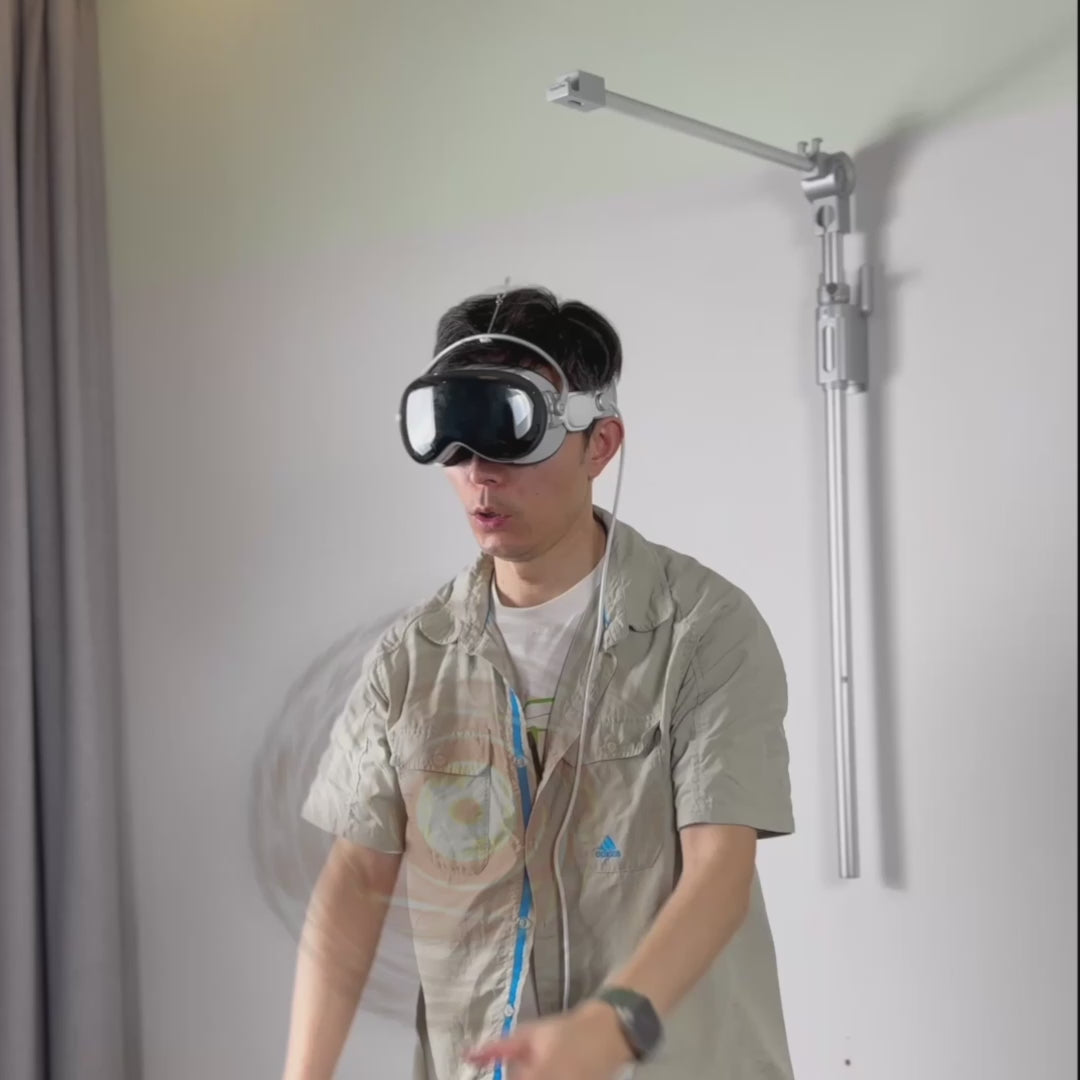
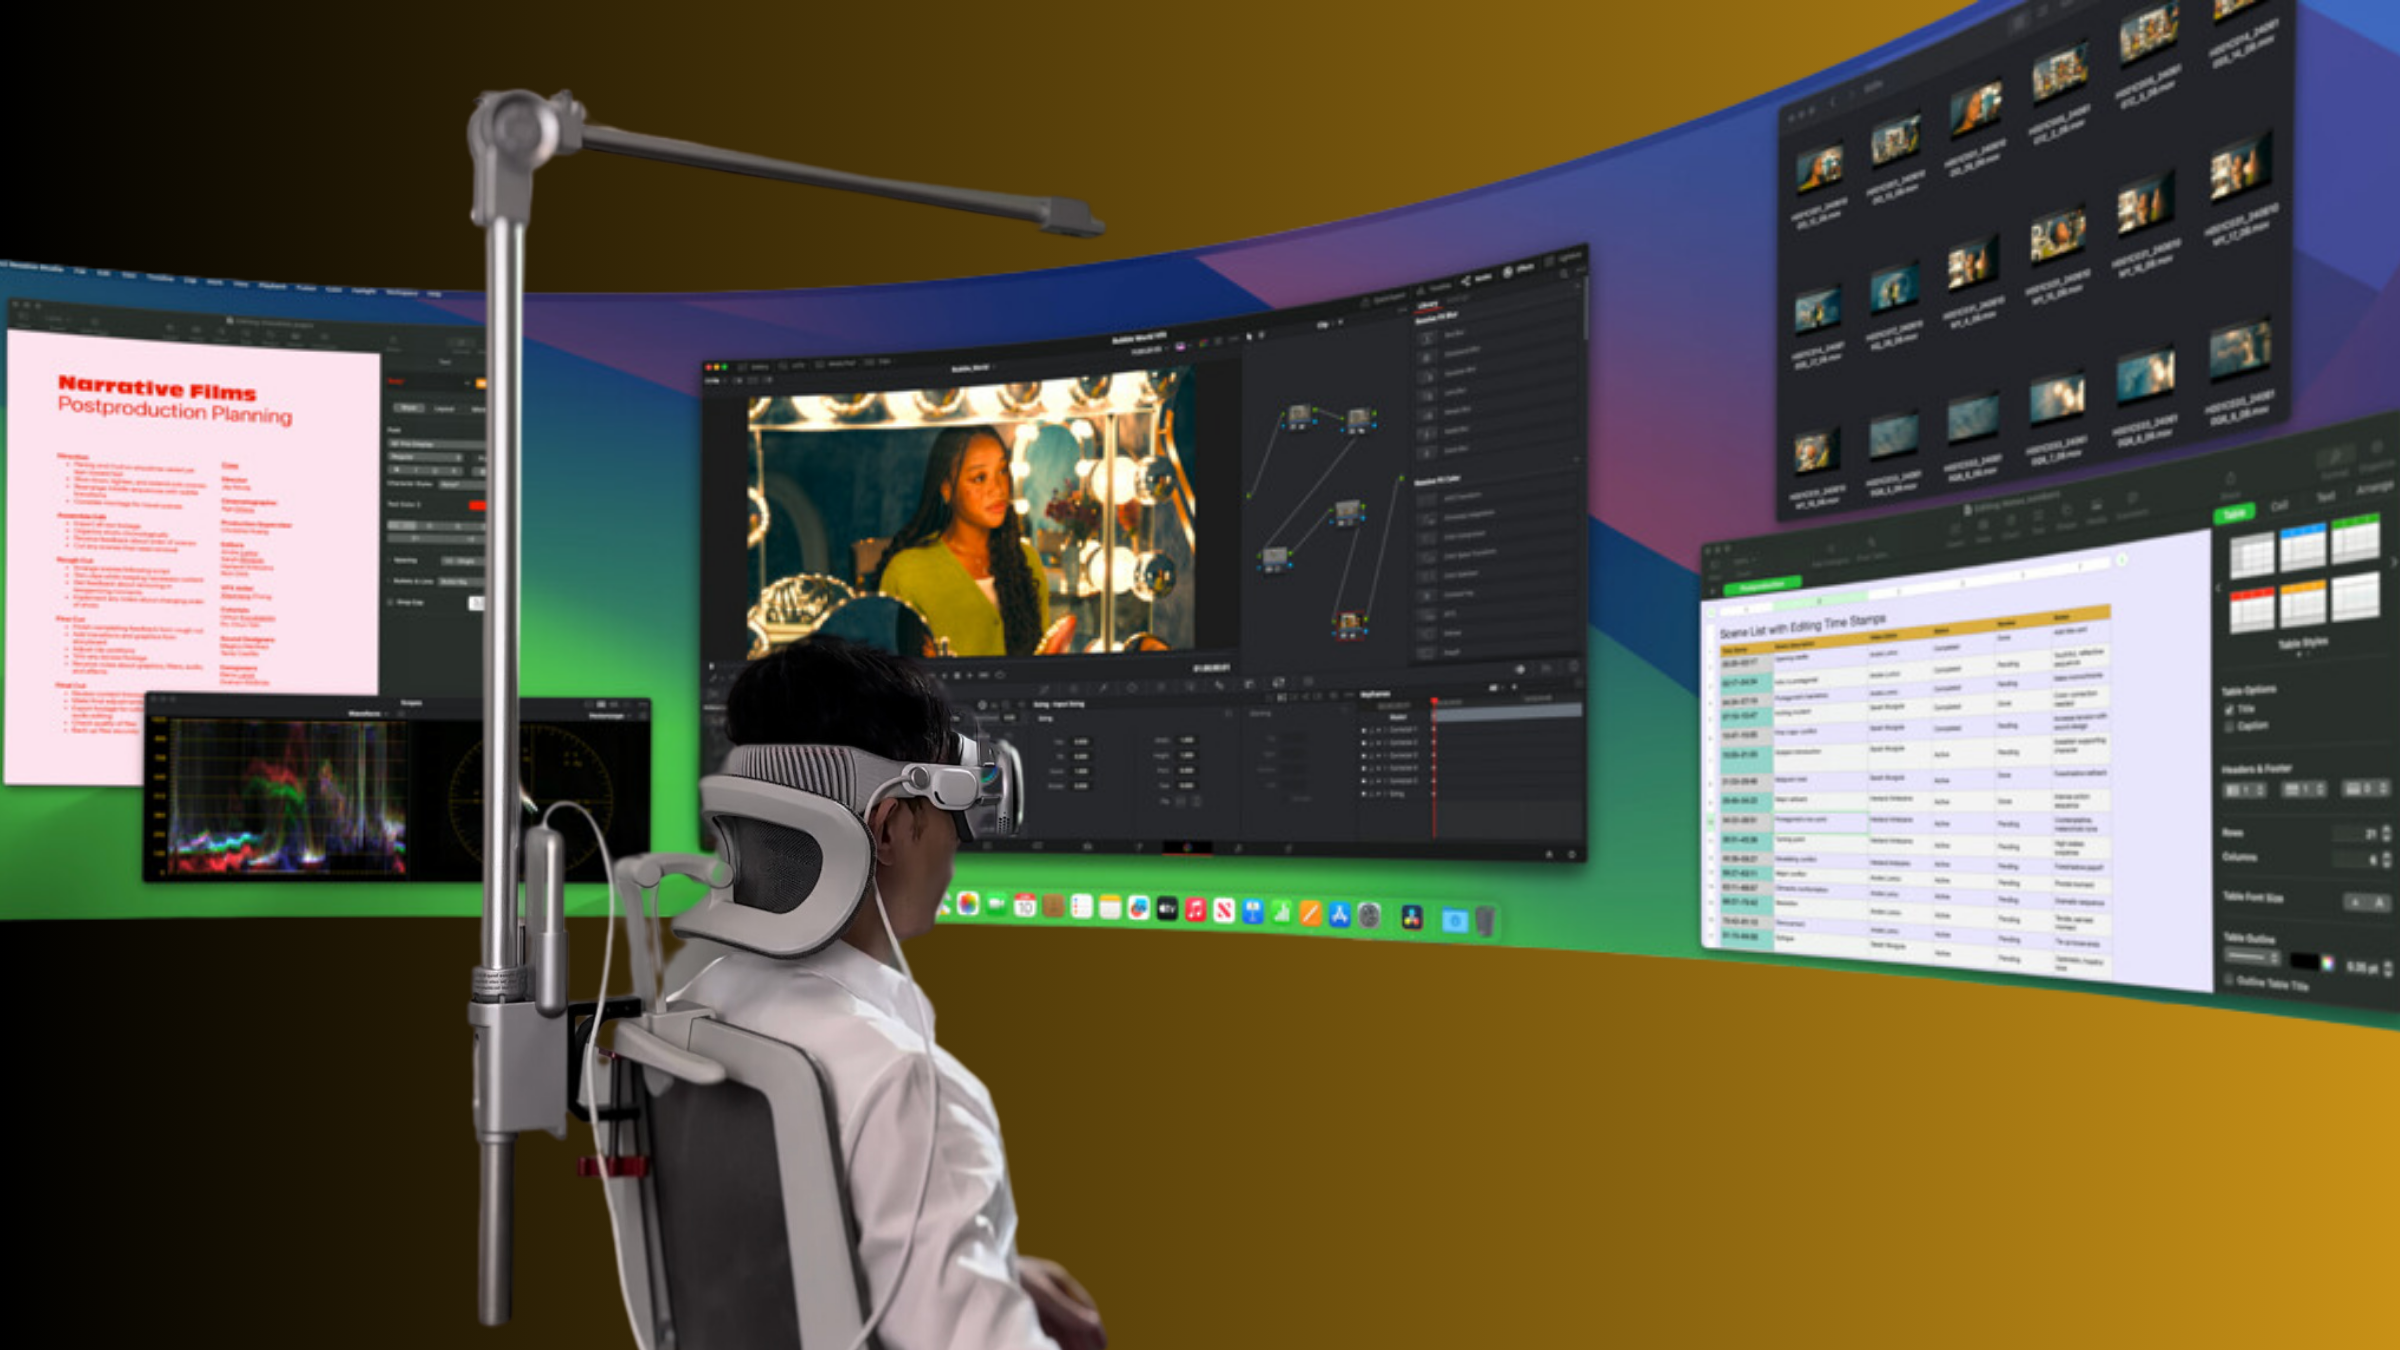
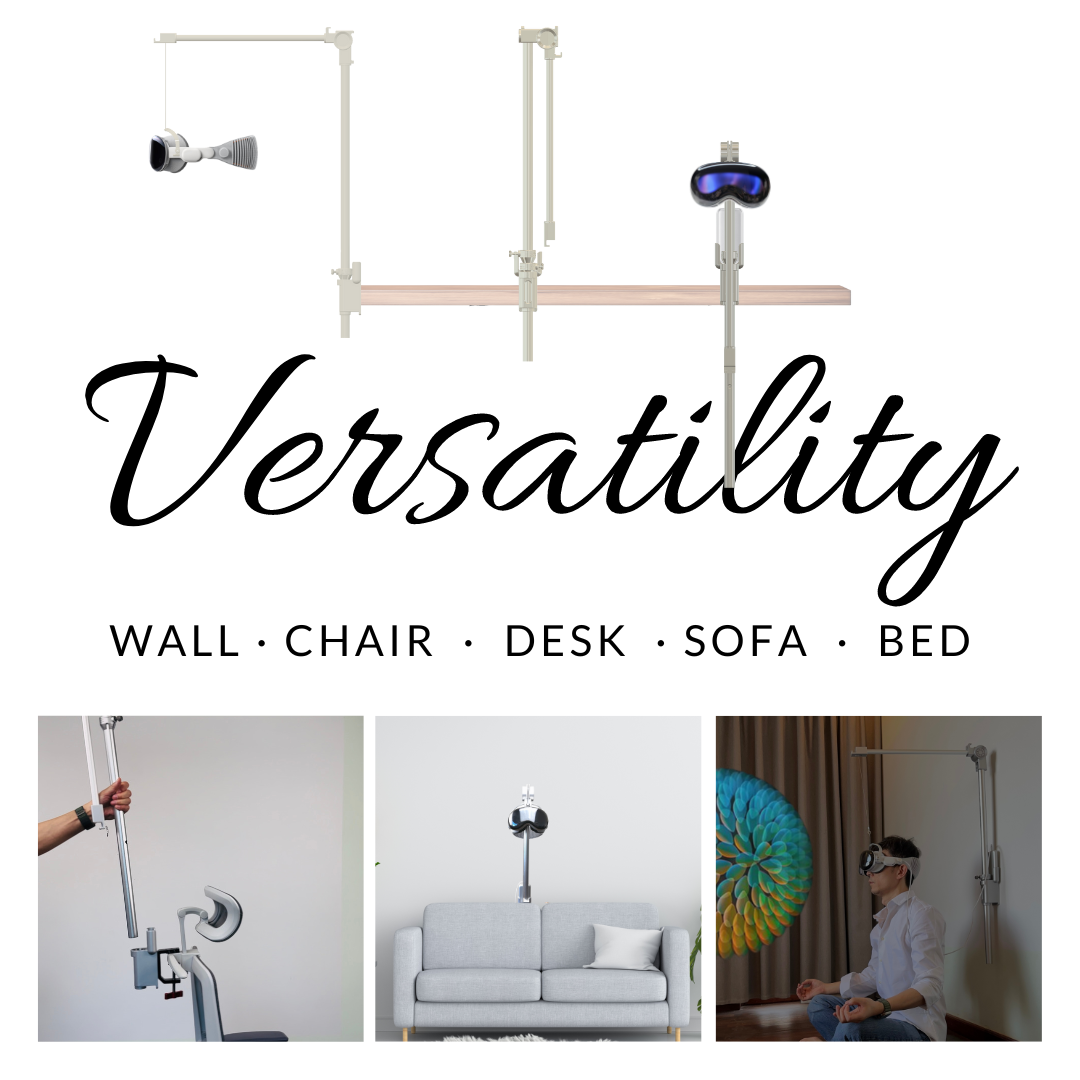
- Desk-mounted arms that pivot at shoulder width let you bring the headset close and remove it with minimal neck rotation. For standing setups, a wall-mounted swing arm positioned near shoulder height does the same.
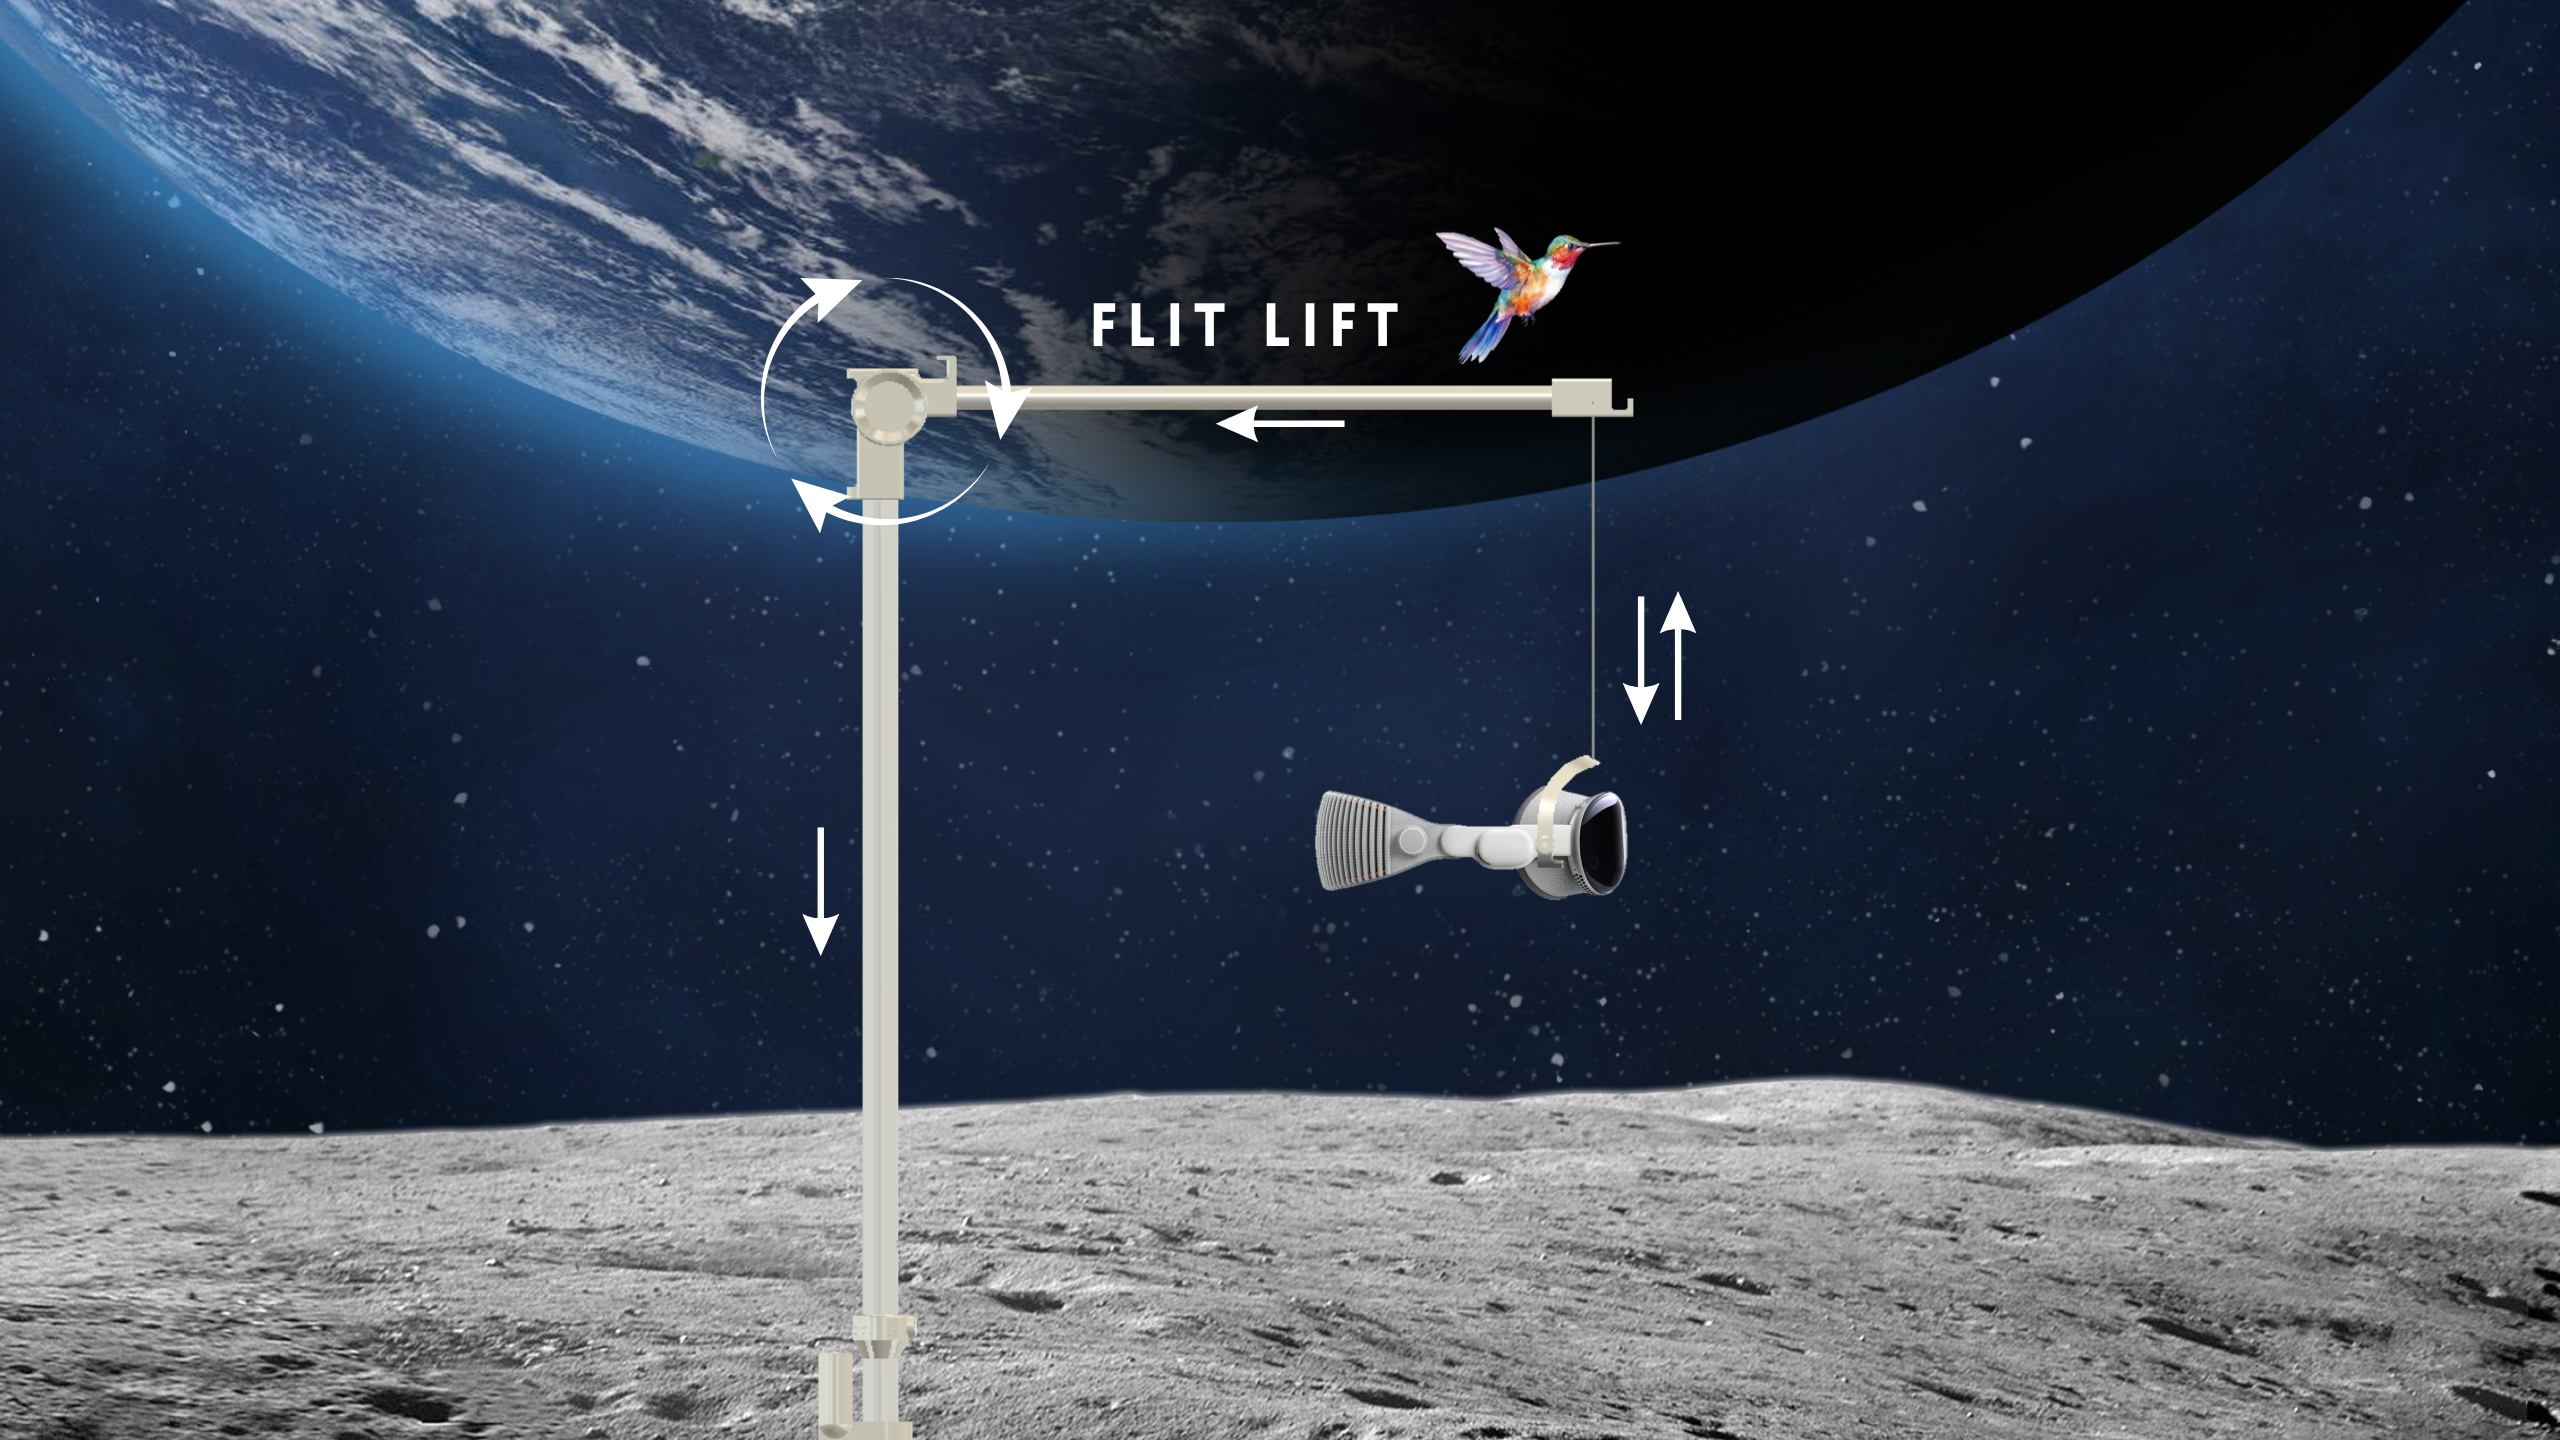
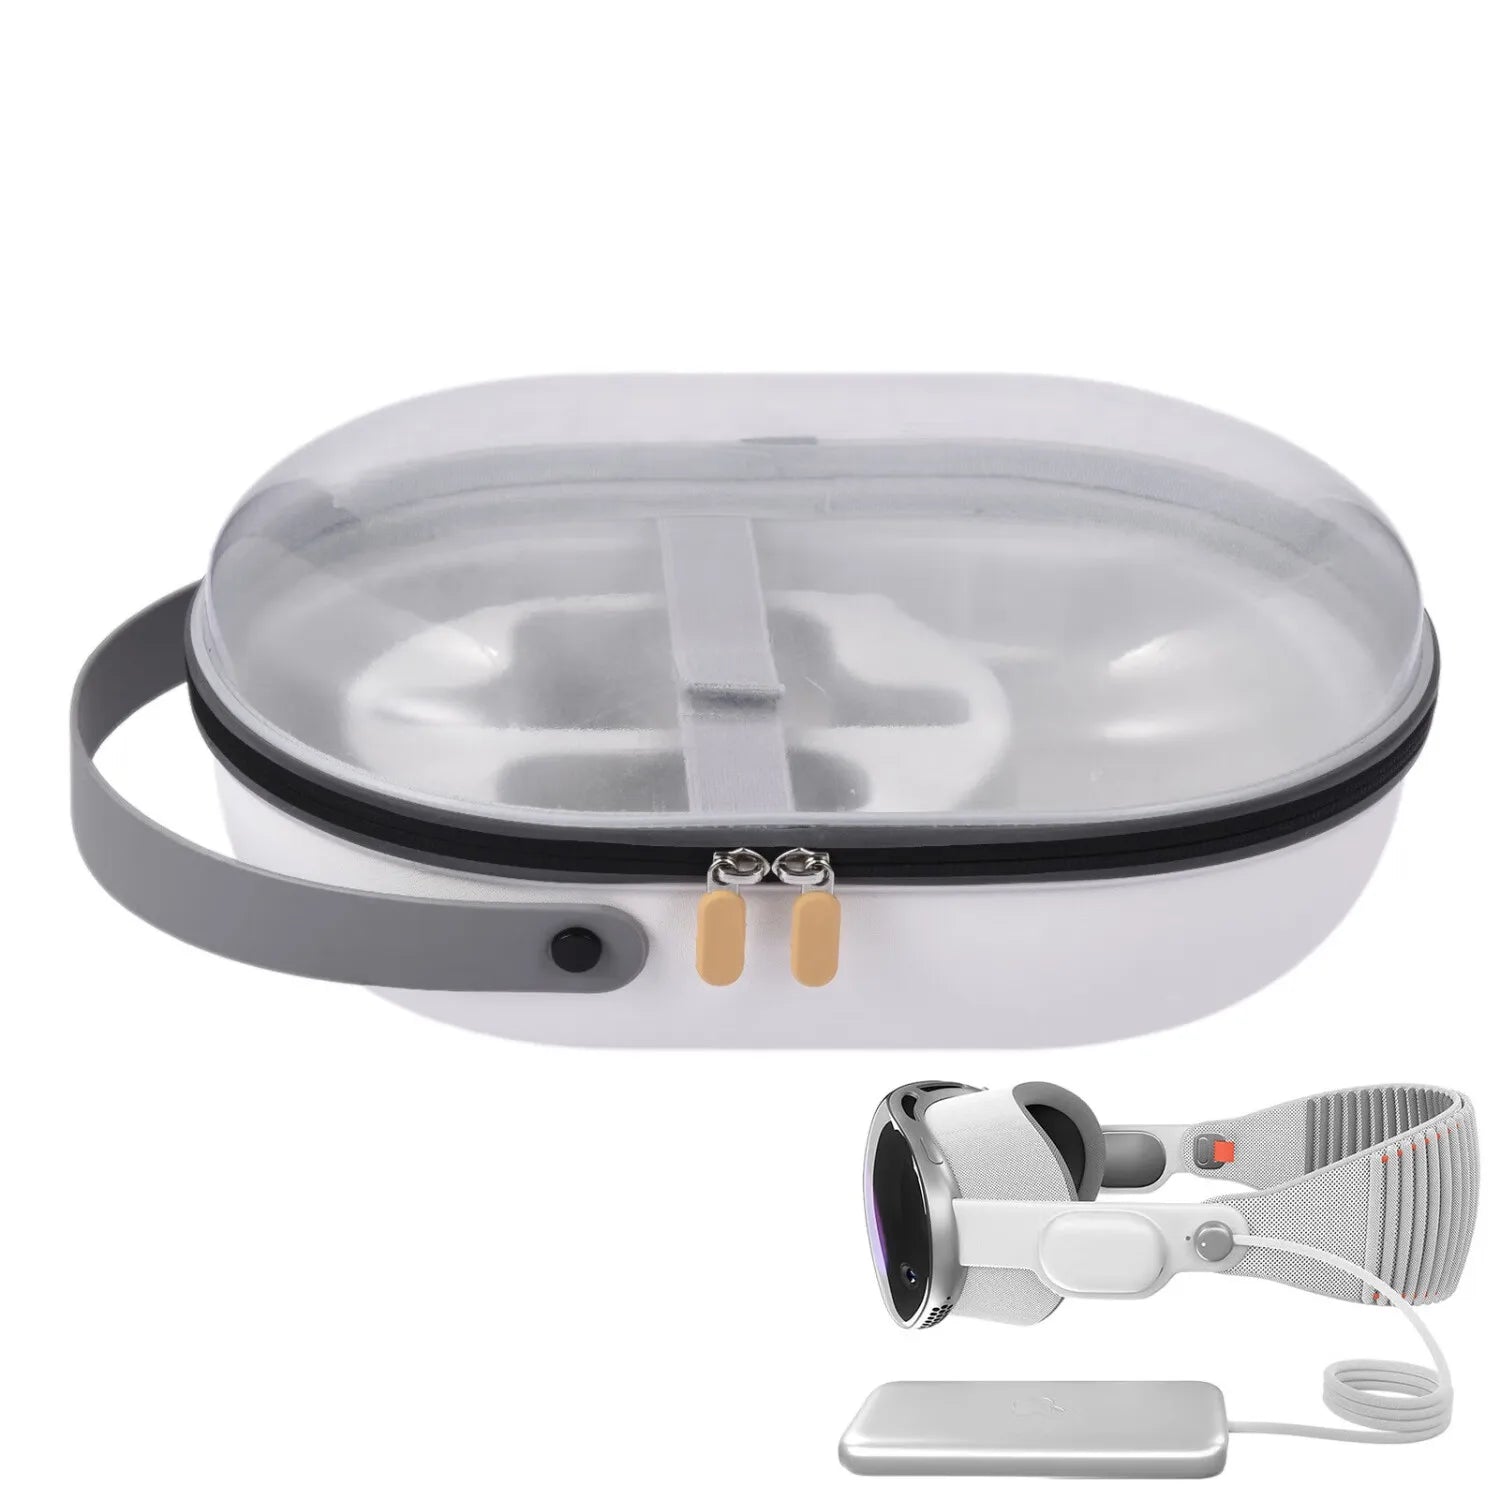
Lift mechanisms that raise the headset to dock height are especially useful for Vision Pro lifters: they prevent you from bending forward to reach the device and reduce static strain in the lower neck. Cable management matters too — run tethered cables along the desk edge into a tray to avoid reaching across your body. Finally, consider non-contact storage options (e.g., padded hooks or cases with integrated stands) that preserve pad shape and optics while keeping the headset at a neutral, predictable pick-up point.
Padding, Posture, and Interface Details
The facial interface and fine posture cues are where most users win or lose comfort. Forward pull commonly starts at the face: a gasket that crowds the nose, uneven eye relief, or a cheek pad that sits too high will tilt the headset forward even if the crown and strap appear correctly adjusted. Precision at the interface level keeps the CG centered and reduces the need for compensatory neck postures.
Tune these areas systematically:
- Facial gasket profile: Prefer a gasket with a soft inner layer and firmer outer shell to prevent collapse during long sessions. A wrap-around gasket that touches the cheekbones spreads pressure and lowers nose-bridge torque.
- Eye relief and vertical alignment: Ensure the optical center aligns with your pupils when you’re in a neutral posture (ears over shoulders, chin slightly tucked). If you must lift your chin to see clearly, the headset is too far forward.
- Nose pads and side pads: Increase nose-pad width rather than adding pressure. A wider pad lowers overall pressure on the bridge and reduces forward pitch. Side pads should be thin and supportive to guide lateral balance without pushing the headset forward.
- Posture routine: Before long sessions, practice a two-minute alignment: stand or sit tall, tuck the chin, relax the shoulders, and take three controlled breaths (exhale with a softly closed glottis) to settle jaw and throat tension. This reduces early slouching that amplifies headache and neck fatigue.
Small, consistent checks help: after adjustments, do a quick nod and a slow head turn. If the headset shifts forward, re-evaluate the face gasket or crown contact rather than tightening the straps. Tightening often increases occipital compression and replaces one discomfort with another.
Accessories and Kickstarter Concepts for Comfort
There’s fertile ground for accessories that deliver fine-grained balance control without bulk. Practical categories include modular balance kits, ergonomic straps, memory-foam facial sets, and tested mounting solutions. Well-designed add-ons let users tune CG in small increments, which is critical for lighter headsets where a few grams can change the feel dramatically.
Ideas worth considering (and what to look for if you buy):
- Detachable balance modules: Snap-in weights of 5–20 grams that fit rear strap channels or crown pockets. A calibration map or mobile guide can help users find the sweet mix for their head size.
- Ergonomic halo straps: Lightweight halos distribute load across the crown and reduce pressure points. Choose models with breathable fabric, sweat resistance, and tool-free adjustment.
- Layered memory-foam cushions: Dual-density pads (soft inner layer, firmer outer ring) preserve eye relief while improving load spread. Removable covers for washing preserve hygiene in long sessions.
- Low-profile mounts and lifts: Desk arms or lifters that keep the headset at neutral pick-up height prevent repetitive forward bending and reduce static neck strain.
Quick evaluation checklist before buying an accessory:
- Materials: hypoallergenic, sweat-resistant, and washable fabrics.
- Durability: secure fasteners and fatigue-tested attachments.
- Compatibility: fits multiple strap geometries (Vision Pro, Quest, PSVR).
- Safety: no interference with sensors, cameras, or field of view.
- Weight: incremental modules in small steps (5–20 g) to tune without overshooting.
A carefully engineered Kickstarter product can deliver modular balance without bulk. If designing or backing such a product, prioritize a small form factor, intermediate weight steps, and a companion guide to help users calibrate based on head size and session length.
Desk Setup, Storage, and Accessory Placement
Your physical environment either amplifies or reduces neck strain over repeated use. A meticulous desk setup reduces unnecessary torque from asymmetric reaches and awkward plug-ins. The principle is straightforward: create repeatable, short, and straight-line motions for all your VR interactions so the headset is always brought to or set down from a neutral axis.
Practical layout and storage tips:
- Define zones: a release area for the headset (centered near your chest), a controller corner at elbow height, and a charging dock within arm’s reach. These reduce twisting and overhead reaches.
- Cable routing: run tethered cables into a perimeter tray so you can slide the headset in without pulling across your body. Label cables and adapters to prevent head-turning searches.
- Stand placement: put the headset stand slightly to the dominant hand side but aligned with your midline. This allows don/doff along a natural arc, minimizing neck rotation.
- Protective storage: cases or stands with integrated cushions protect optics and preserve pad shape. Store spare facial interfaces and cleaning cloths in a shallow drawer near the stand for quick swaps.
Workflow integration makes comfort routine. For example, place a foam shim or spare cushion inside the dock so the headset returns to the exact same seating position each time — consistent seating avoids the trial-and-error of rebalancing mid-session. Label common adjustments (e.g., “+2 mm crown shim” or “rear weight: 10 g”) so you can quickly restore a preferred setup after maintenance or swapping headsets.
Next step: before your next long session, run a five-minute baseline check using the balance tests here. Note tilt, hotspots, and which small changes lower perceived neck effort. With a few calibrated tweaks and a tidy workspace, lighter headsets can stay comfortably light for hours.



Share:
Glasses-friendly Apple Vision Pro face padding and frame-safe solutions
The impact of padding materials on VR comfort and cervical support