

Counterweights for VR Headsets: Rebalance Your Quest 2 for Longer, More Comfortable Sessions
The Meta Quest 2 is an outstanding gateway into VR, but its front-heavy design can make comfort-strap-head-cushion-materials-and-comfort-levels" rel="nofollow noopener noreferrer">long sessions a test of endurance. By adding lightweight counterweights to the rear strap, you can shift how the headset sits on your head—reducing facial pressure, easing neck strain, and keeping the display steady without tightening the straps until your temples ache. ⏱️ 10-min read
This guide walks you through why weight distribution matters, how counterweights work, what to choose, step-by-step installation with common comfort straps, compatibility considerations (Elite Strap vs third-party), glasses-friendly tweaks, maintenance and troubleshooting, and budget-friendly or DIY setups you can try today.
Why weight distribution matters for Quest 2 comfort
The Quest 2 packs its screen, processor, and—on many headsets—the battery into the front visor. That concentrated mass creates a forward pull that your neck and facial tissues must constantly resist. Over a short session this may be a mild nuisance; over an hour it becomes fatigue, forehead and cheek pressure, red marks, and sometimes headaches. Most people instinctively tighten the straps to stop sag, but that simply increases clamping force on the face and can make things worse.
Weight distribution changes how gravity acts on the headset. If more of the load sits behind the skull or at the crown, the headset’s center of gravity (CG) shifts rearward and the forward torque that makes the visor poke into your nose and cheeks is reduced. That doesn’t magically make the device lighter; rather, the strap and rear of your head carry more of the load so the faceplate presses less. In practice this can mean the difference between a comfortable two-hour co-op session and one where you keep removing the headset to rub your temples.
What counterweights do and how they affect balance
A VR counterweight is exactly what it sounds like: a small mass you attach to the back of the headstrap to offset the Quest 2’s front-heavy layout. It doesn’t alter display optics or fit geometry; its purpose is mechanical—move the system’s center of gravity rearward so the headset aligns naturally with your head rather than pulling forward.
When you add mass at the rear, the torque about your neck decreases. Imagine a seesaw: the front visor is one weight, the rear counterweight is the balancing weight. As the rear increases, the headset wants to sit more level on your head. That reduces pressure on the bridge of the nose, the cheeks, and the forehead. Users report that a balanced headset feels “lighter” even though you’ve added mass because the load is distributed more comfortably across the strap and back of the skull.
How much weight to add will vary by head size, strap type, and personal sensitivity. Small, incremental adjustments let you find a neutral point where the visor sits steady without the need for aggressive strap tension.
Choosing a counterweight setup for Quest 2
Picking the right counterweight means balancing three factors: weight (grams), form factor (shape and bulk), and attachment method (how it stays on the strap). Too little weight fails to correct the pull; too much can create a new problem—pressure on the occipital region or a feeling of being “back-heavy.”
Weight guidance: as a starting point, many users find 60–120 grams per rear weight effective. You can begin with a single 60 g weight near the center of the rear strap and increase in 15–30 g increments until the headset feels neutral. If you prefer a symmetric feel, use two smaller weights placed laterally to avoid pressure on the spine of the skull.
Form factor and materials: compact dense materials (steel, lead) let you keep bulk small, while soft silicone or fabric pouches can spread the weight and feel less rigid against skin or padding. Magnetic weights and clip-on metal plates are convenient for quick swaps; adhesive-backed Velcro pouches are modular and easy to reposition. Another common dual-purpose option is a third-party battery pack: it adds mass and extends runtime at once.
Attachment matters: ensure compatibility with your strap—stock elastic straps, Elite Strap, halo-style or padded third-party straps all behave differently. Look for weights designed for headstraps, Velcro-friendly pouches, or clip systems matching the strap’s thickness and material. Security is essential; you don’t want a weight sliding mid-game.
Step-by-step install: counterweights with the Quest 2 comfort strap
Installing counterweights is straightforward; the key is measured placement and secure fastening. Gather these items first:
- Counterweight(s) sized 60–120 g each to start.
- Comfort strap or aftermarket strap with rear surface access.
- Attachment supplies: adhesive-backed Velcro pads, short Velcro straps, or small clip mounts.
- Isopropyl alcohol and a clean cloth to prep surfaces.
- Optional: lightweight ruler or tape to ensure symmetry.
Installation steps:
- Clean the rear strap area where you’ll attach the weight using isopropyl alcohol. Let it dry so adhesives bond well.
- Decide single vs. dual weights. Place a single weight in the center for a straightforward neutral point. Use two small weights placed symmetrically if you prefer lateral balance.
- Position the weight at the occipital region—the soft curve just above the base of the skull—without pressing on the neck. This placement stabilizes the cranial resting point and keeps pressure off the face.
- Attach using Velcro wraps or adhesive-backed Velcro. For Velcro wraps, loop around the strap and cinch snugly; for adhesive pads, press firmly for at least 30 seconds and allow adhesive to set if recommended.
- Put the headset on, set a comfortable strap length, and play for short intervals (5–15 minutes) while adjusting weight position and tension. Small shifts of a centimeter can significantly change the feel.
If you use clips, make sure they lock into strap slots and don’t protrude where they might snag hair or clothing.
Elite Strap vs. third-party options: balance, fit, and compatibility
The strap you pair with counterweights changes everything. Meta’s official Elite Strap (and especially the Elite Strap with battery) is rigid and provides clear anchor points for weights. Its solid structure keeps adhesive or Velcro-secured weights stable—good for heavier or single-piece counterweights. If you have the Elite Strap battery pack, that built-in mass often serves as a very effective counterweight by design.
By contrast, third-party straps vary widely. Halo-style designs like the BoboVR M2 Pro distribute forces around the crown and frequently include a small rear counterweight or battery; they tend to work best with slim, low-profile weights attached to the support ring or the small battery housing. Kiwi Design and similar padded straps usually offer broader rear surfaces and thicker padding, making them ideal for Velcro pouches that spread weight and avoid a hard lump at the occiput.
Compatibility checklist:
- Rigid straps: favor solid attachments (adhesive Velcro, clips) and can handle compact denser weights.
- Fabric-padded straps: use wrapped Velcro pouches or soft pouches to avoid abrasion and allow some conforming to the head shape.
- Halo straps: attach weights to the halo band or use purpose-built slim packs that sit against the halo’s back section.
Finally, consider integrated options: some third-party battery packs are sold specifically to mount on certain straps and are the simplest dual-purpose counterweight if you need extra runtime.
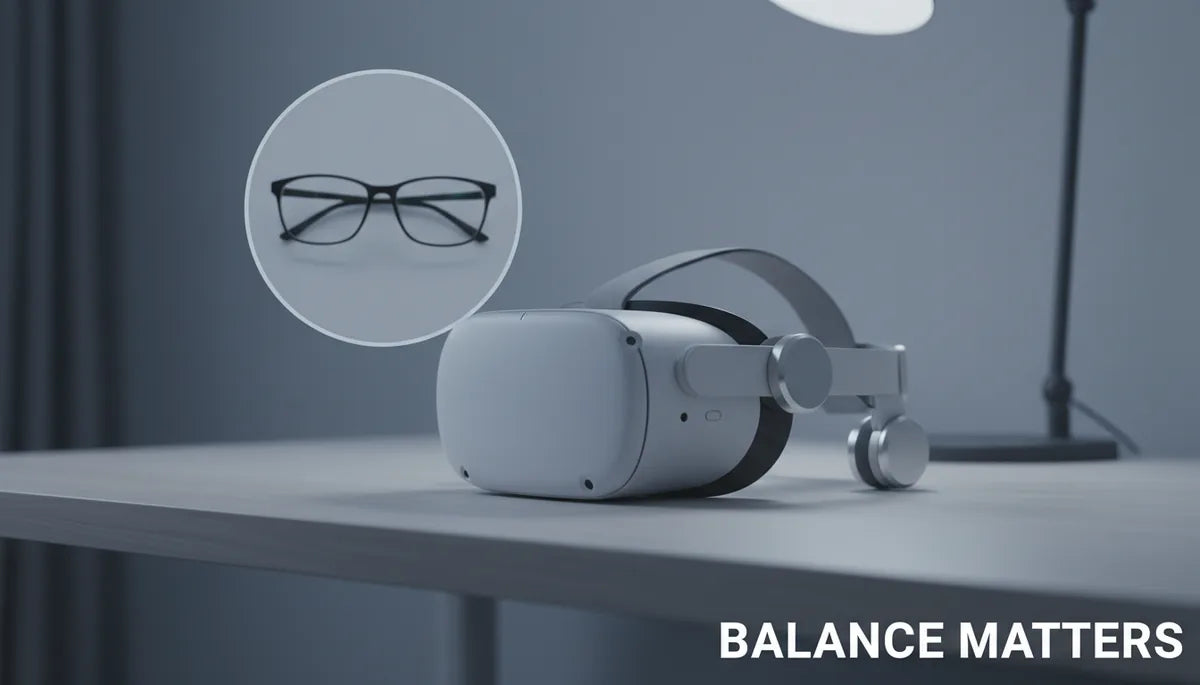
Glasses-friendly fit and long-session tweaks
If you wear glasses, adding counterweights can be a game-changer—reducing the inward press that squeezes the nasal bridge and lens frames. But you’ll also need to fine-tune padding and spacing to prevent your glasses from contacting lenses or feeling pinched.
Practical glasses-friendly tweaks:
- Lens spacer: use a thin foam spacer between your face and the headset foam to keep the headset slightly off your glasses. Because counterweights move pressure away from the face, you often can use a thinner spacer than you'd need otherwise.
- Adjust cheek pads: thicker cheek padding combined with rear weight avoids the headset tilting down and pressing on your glasses' arms.
- Micro-adjust strap length: counterweights let you loosen front straps without losing stability. Loosen in small increments and test while seated—look for the point where the headset doesn’t shuttle forward during quick head turns.
- Use lateral weights if you feel backward pressure centered at the occiput; spreading mass helps avoid a “helmet” feeling that can press the skull.
For long fitness or social VR sessions, build up endurance: start with 15–20 minute blocks and gradually extend once you’ve found a neutral setup. Repositioning small amounts between sessions—moving the weight a centimeter or swapping a 60 g for an 80 g—lets you find the sweet spot without adding pressure to glasses frames or the bridge of your nose.
Maintenance, safety, and troubleshooting
Maintaining your counterweight setup ensures safety, longevity, and consistent comfort. Regular checks prevent a mid-session surprise where a weight slides or adhesive fails. Start each session with a quick inspection: tug the weights gently, look for loose Velcro, worn clips, or peeling adhesive.
Cleaning guidelines:
- Metal weights: wipe with a damp microfiber cloth and dry thoroughly to avoid corrosion. Avoid harsh chemicals.
- Plastic/silicone pouches: mild soap and water is fine; dry fully before reattaching to prevent adhesive failure.
- Adhesive surfaces: keep clean and replace adhesive pads periodically—sweat and oils degrade bonding over time.
Troubleshooting common issues:
- Headset still pulls forward: move weight slightly higher on the rear strap or increase mass incrementally by 15–30 g until neutral.
- Uncomfortable pressure at the back of the head: spread the mass laterally with two smaller weights or use a soft pad between weight and skin. Avoid placing a hard edge directly on the occipital bone.
- Weights shifting mid-session: switch to wrap-around Velcro or clip mounts; check for strap slippage and replace worn components.
- Adhesive peeling: clean surfaces with alcohol and allow full cure time; for humid environments, prefer mechanical clips to adhesives.
Safety note: don’t stack heavy weights or exceed what your strap is designed to hold. Excessive rear mass can strain the neck differently and create a new kind of fatigue. The goal is balance, not counterbalance overcompensation.
Affordable setups and DIY options you can try
You don’t need to spend a lot to see meaningful comfort gains. Many budget-friendly or DIY solutions work surprisingly well and let you fine-tune weight distribution before investing in premium accessories.
Simple, affordable options:
- Reusable lead or steel adhesive weights (automotive or hobby stores): small metal puck weights (60–120 g) are compact and cheap. Put them in a soft fabric pouch or wrap with Velcro to protect the strap and skin.
- Small coin-style weights in Velcro pouches: flexible, low-profile, and easy to position laterally.
- Portable USB battery pack: many third-party packs designed for Quest 2 straps double as counterweights and add hours of battery life. Choose a compact model and mount it with Velcro or a clip designed for your strap.
- DIY sand or rice pouch: fill a small fabric pouch with sand or rice and sew or tape it closed. This lets you fine-tune the grams by adding/removing fill. Use a Velcro strap to secure the pouch to the rear strap.
DIY installation tips: always use a protective layer (thin foam or silicone) between hard weights and the strap padding to avoid wear. If you’re experimenting with homemade pouches, try short playtest sessions and tweak position before making the mount permanent. Label weight experiments (e.g., 60 g, 80 g) so you can repeat the setup that felt best.
Real-world examples illustrate effectiveness: Sarah stopped experiencing neck pain after adding a small adhesive lead weight to her stock strap; Mike combined a battery pack with a padded third-party strap and found his sessions more immersive and far less distracting. Those low-cost changes often deliver the most immediate comfort ROI.
Next step: try a small rear weight and fine-tune for your head
Start simple: attach a single 60 g weight near the occiput on your comfort strap, play for 10–15 minutes, and note where pressure has eased or shifted. Increment the weight, reposition laterally, or switch to two smaller weights until the headset feels stable and relaxed. If you need extended battery life, consider a slim rear-mounted power bank that also serves as a counterweight. Experimentation—small, measured changes—unlocks the best long-session comfort without adding unnecessary facial pressure.


Compartir:
How to choose the right Meta Quest 2 comfort strap head cushion materials and comfort levels
Step-by-Step Guide to Adjusting Straps and Adding Counterweights for Better Balance