

How to Install GraviPro on Vision Pro: Step by Step for Comfort Upgrades
If you use Apple Vision Pro for long sessions, GraviPro’s Dynamic Lifting System can help reduce neck strain and create a weightless feel. This guide walks Vision Pro users—gamers, developers, and VR enthusiasts—through a safe, step-by-step installation and setup so you get balanced comfort without interfering with sensors or optics. ⏱️ 5-min read
Overview and Compatibility
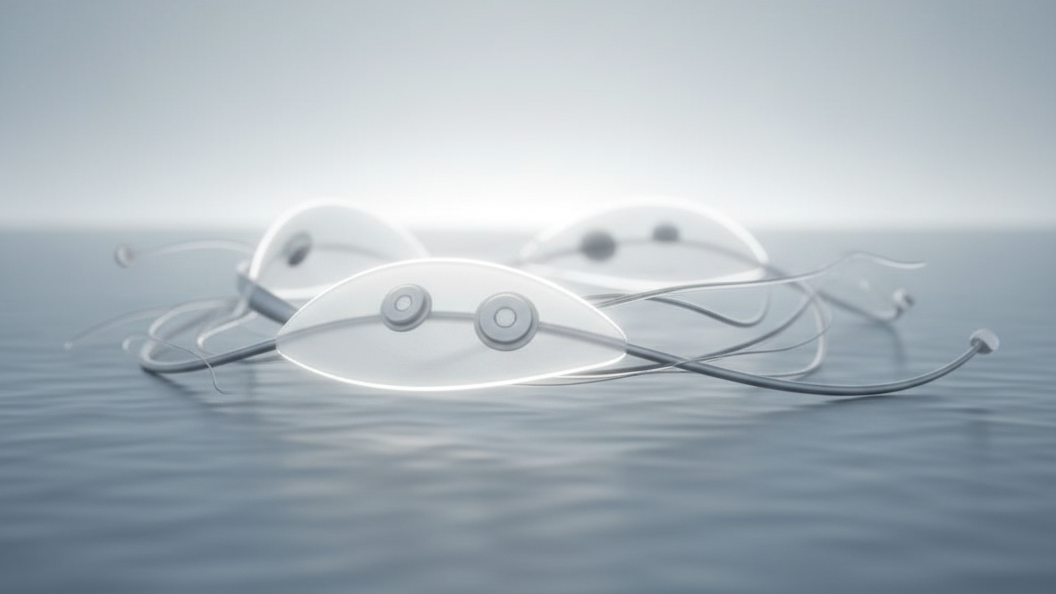
GraviPro is a suspension-style comfort upgrade that transfers headset weight from your face and neck to a balanced crown band and rear support. The Dynamic Lifting System uses adjustable anchors and tensioning components to lift and stabilize the Vision Pro so you feel lighter during extended sessions.
Compatibility: GraviPro is designed to integrate with Vision Pro head straps and official accessory anchor points. It works best with Vision Pro models that have the standard crown band and rear adjustment assembly; some third-party mods or nonstandard frames may need adapter hardware. Always confirm anchor compatibility on the product page or with customer support before installing.
What You’ll Need
Before you begin, gather everything so the install is quick and tidy.
- GraviPro kit: Dynamic Lifting System assemblies, crown band adapter(s), and included fasteners.
- Vision Pro accessories: your stock crown band and rear strap (or compatible aftermarket strap).
- Tools: small Phillips screwdriver or hex driver as specified by GraviPro, and a torque-limiting driver if provided or recommended.
- Replacement fasteners: if you plan to swap originals, have the spare fasteners that come with the kit on hand.
- Cleaning supplies: microfiber cloth, mild isopropyl wipe or manufacturer-approved cleaner, and lint-free swabs for tight spots.
- Flat, clean workspace and soft surface to rest the Vision Pro faceplate during installation.
Safety and Fit Considerations
Comfort upgrades should never compromise safety or device performance. Follow these principles:
- Protect sensors and optics: avoid placing hardware or tape over cameras, depth sensors, or passthrough windows.
- Even weight distribution: the goal is to offload forward weight evenly across the crown and rear; asymmetry increases neck torque.
- Secure fasteners: use the hardware supplied by GraviPro. If replacing fasteners, match thread type and length and do not overtighten.
- Manufacturer guidance: powering down the Vision Pro and following Apple’s cleaning/maintenance guidance reduces risk of damage during installation.
- Comfort check: if you have preexisting neck conditions, consult a medical professional before prolonged VR use.
Step 1: Prepare Vision Pro
Start with a powered-down, stable device.
- Power off the Vision Pro and disconnect any external cables or accessories.
- Place the headset on a soft, lint-free surface with the faceplate up to avoid scratching lenses.
- Loosen or remove the existing straps per Apple’s instructions so the crown band and rear adjustment are accessible.
- Clean the contact areas where GraviPro will attach: use a microfiber cloth and manufacturer-approved cleaner to remove oils and debris. Allow any solvent to fully evaporate before proceeding.
Step 2: Attach GraviPro to Vision Pro
Attach the Dynamic Lifting System to the Vision Pro frame using the supplied adapters and fasteners. Work methodically and don’t force parts into place.
- Align the GraviPro anchor plates with the compatible anchor points on the crown band and rear frame. The kit should include indexing marks—match them for correct orientation.
- Hand-thread the included fasteners to ensure proper alignment. If your kit uses captive nuts or inserts, make sure they are seated before tightening.
- If your Vision Pro uses a detachable crown band, route the GraviPro straps or cables so they sit comfortably above the crown pad and don’t press on the headset housing.
- Confirm that no cables or housings contact the sensor windows or vents.
Step 3: Secure and Align
Balance is key. Tighten and align components to achieve even lift without interfering with fit.
- Tighten fasteners in small, alternating increments to draw components together evenly—this helps maintain alignment with the crown band.
- Adjust strap tension to center the headset on the face when the crown band is engaged. Use symmetrical tightening so the headset does not tilt forward or backward.
- Level fore-aft balance by sliding the crown band or altering rear tension until the headset feels neutral—neither nose-heavy nor rear-pulling.
- Re-check that sensors, cameras, and vents are fully unobstructed and that the face seal and optical alignment are unaffected.
Step 4: Calibrate and Test Comfort
With GraviPro installed, dress the headset and test through realistic movements.
- Put on the Vision Pro and fasten the crown band and rear strap to your usual comfort setting.
- Perform a range of movements: nod, look left/right, lean forward and back. Note any pressure points or shifting.
- Fine-tune tension and fore-aft balance: reduce tension on the crown if you feel a pressure hotspot; increase rear support if the display tips forward.
- Run a short VR session and pay attention to sensor behavior—confirm passthrough, eye tracking, and any onboard sensors operate normally.
- If you detect instability or occlusion, power down and revisit attachment points and routing before further use.
Maintenance, Care, and Troubleshooting
Keep GraviPro performing well with simple upkeep and quick checks.
- After each extended session, wipe grippy surfaces and sweat-prone contact areas with a dry microfiber cloth; use a damp cloth with manufacturer-approved cleaner when needed.
- Inspect fasteners and anchors regularly for loosening—retorque to the kit’s recommended specs if available.
- Store GraviPro in a cool, dry place away from direct sunlight and heavy loads to avoid warping the crown band adapter.
- Troubleshooting tips: if the headset feels unbalanced, re-center the crown band and re-evaluate strap routing; if sensors are affected, remove the attachment and confirm no part is overlapping sensor windows.
- Contact GraviPro support for persistent fit or performance issues; keep your purchase information and device model handy to speed service.
Availability, Discounts, and How to Buy
GraviPro is available through the official GraviPro website and select authorized retailers. Many regions offer free delivery and occasional early-adopter discounts or bundle promotions with Vision Pro accessories—check the product page for current offers.
Before buying, review the warranty and return policy listed by the seller. Typical protections include a limited warranty and a trial or return window, but exact terms vary by region and retailer. If you rely on same-day or next-day use, confirm shipping times before purchase.
Installing GraviPro on your Vision Pro can make long sessions far more comfortable when done carefully. Follow these steps, double-check sensor clearance, and fine-tune tension to enjoy weightless VR with reduced neck strain.
Powered by Trafficontent


Compartir:
GraviPro vs standard ergonomics: a comparative guide for VR headset comfort and stability
GraviPro vs competing mounts for Vision Pro: weight, balance, and performance compared