

Upgrade Your Quest 2 Padding: Purpose-Built Materials to Reduce Pressure, Improve Fit, and Game Longer
Swapping the stock Quest 2 facepad is one of the simplest upgrades with the biggest payoff: better fit, fewer pressure points, less sweat, and a noticeably longer comfortable playtime. This guide walks you through why padding matters, which materials perform best for different use cases, how to choose compatible pads, and the small installation and strap adjustments that produce a balanced, fatigue-free headset feel. ⏱️ 11-min read
Whether you’re a glasses-wearing casual player, a fitness VR enthusiast who sweats through cardio sessions, or someone who wants marathon play sessions without nose pain, you’ll find practical advice, brand comparisons, and maintenance tips here so your Quest 2 feels intentionally designed for your face.
Understanding padding impact on Quest 2 comfort
Comfort isn’t just plushness—it's pressure distribution, seal quality, and how the headset’s mass sits on your face and head. The Quest 2’s facial interface transfers load from the headset to your cheeks, nose bridge, and brow. A pad’s contour, width, and edge radius determine whether that load spreads across a broad area or focuses on a painful hot spot. For example, a pad with a sharp internal edge may dig into the nose bridge; a wider cheekpad spreads the same force over bone rather than soft tissue, reducing soreness.
Different session types create different comfort goals. Glasses wearers need deeper relief along the nose and softer compressing material around the cheeks to avoid frame pressure and pushing the headset out. Vigorous play (Beat Saber, Gorilla Tag) prioritizes secure attachment and sweat-resistance: pads that compress predictably and dry fast perform better there. For long seated sessions, breathability and even support matter most—dense foam that spreads weight but traps heat can be worse than a slightly softer open-cell foam that wicks and breathes.
Foam density, perimeter shape, and cover fabric interact with heat, moisture, and breathability. When you test pads, don’t judge only by thickness—pay attention to how the pad rebounds after a minute of pressure and whether it sits flush around your cheekbones without rocking. Aim for a pad that keeps light out, prevents lens fogging, and distributes weight comfortably across the cheekbones and forehead.
Padding material options: what's in play
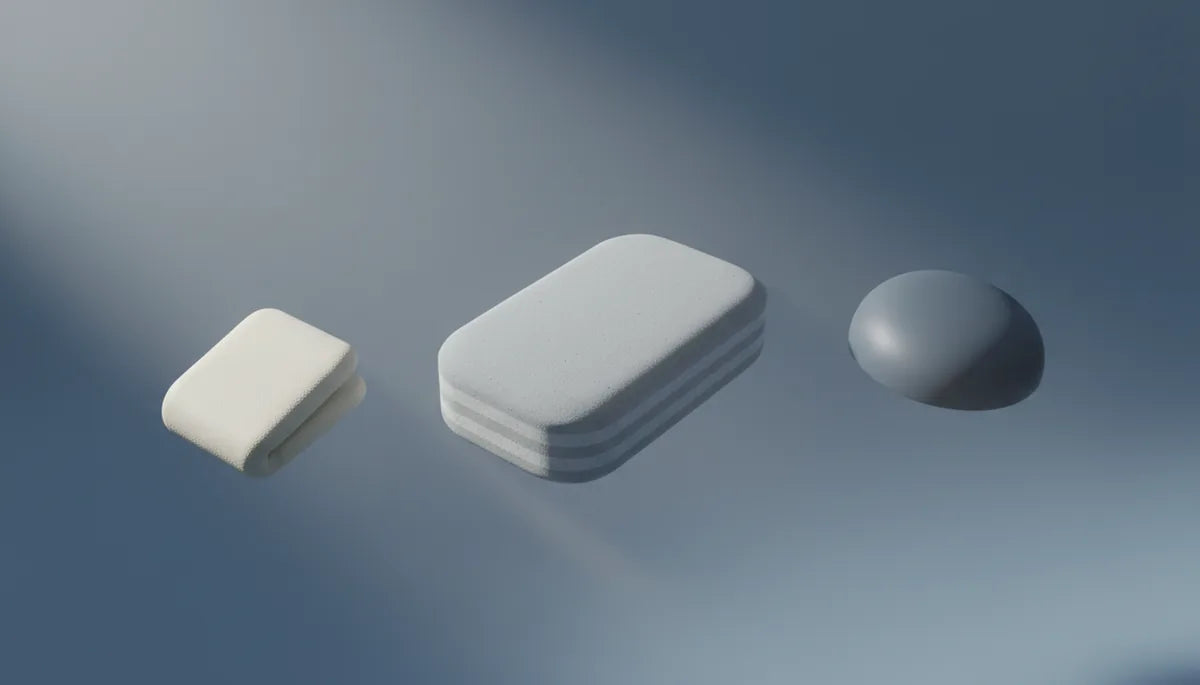
The market boils down to a few material families—each with clear pros and cons depending on your priorities. Memory foam contours to facial features slowly, creating a plush, pressure-relieving interface. That same slow rebound can trap heat and sweat, making memory foam best for moderate-length sessions or when paired with a breathable cover. Open-cell and reticulated foams prioritize airflow; they rebound quickly and dry faster, which is why fitness VR players favor them.
Silicone cushions add a different feel: soft, smooth, and easy to wipe down. They don’t absorb sweat and are resilient under repeated compression, but their slick surface can move slightly on skin unless paired with a secure attachment. Synthetic leather (PU leather) looks durable and is simple to clean, yet tends to trap heat and feel sticky in warm rooms. Fabric covers—microfiber or performance blends—wick moisture and reduce that clammy feeling, while cotton is comfortable but slow to dry.
Hybrid solutions are common: memory foam core with a perforated, breathable cover, or open-cell foam with a gel insert where heat concentrates. Phase-change materials and gel inserts can moderate warmth at high-contact points like the nose. Consider climate and session length when choosing: open-cell or reticulated foam with a moisture-wicking cover works best in hot rooms or for long sessions; memory foam with a breathable overlay suits users chasing plush comfort in cooler environments. Cost and durability also matter—silicone and PU leather are low-maintenance and long-lasting, while softer foams may require replacement every 6–12 months with heavy use.
Face pad compatibility: finding the right fit
Not every aftermarket pad fits equally well on every face. When reviewing options from VR Cover, Kiwi Design, AMVR, and others, compare three practical fit factors: thickness and overall contour, nose bridge cutout and eyewear relief, and attachment method. OEM Quest 2 pads were made for the stock interface; some third-party pads change the contact geometry enough that the seal and peripheral visibility alter—sometimes for the better, sometimes not.
Thickness shifts the headset’s stance. A thicker pad moves the display away from the eyes, which can improve comfort for some but might reduce peripheral visibility for others. The nose-gap shape dictates light leakage and how well glasses fit. If you wear glasses, look for pads explicitly advertising a wider nose gap or “glasses-friendly” cutouts. Cheek width and curve determine whether the pad sits on bone or soft tissue—widening the pad moves load to cheekbones and reduces soreness.
Attachment matters more than people expect. VR Cover typically uses a snap/clip system compatible with Quest 2 mounts, AMVR offers modular plates and adapters for customizable setups, and Kiwi Design often provides slightly firmer, snug-fitting pads favored by users who want minimal light leak. If a pad uses adhesive or requires an adapter, plan for secure installation. When in doubt, choose a pad sold as “Quest 2 specific” or check user photos for your face type—many product pages include images of glasses wearers, broader faces, and slimmer faces to help evaluate fit.
Step-by-step install and adjustments
Swapping the pad is straightforward and tidy if you prepare and move deliberately. Gather a microfiber cloth, a mild cleaner (or alcohol-free wipes), and your replacement pad. Start by wiping the headset’s face area to remove oils and sweat; let it dry completely so adhesives and clips seat cleanly. If the stock pad uses clips, begin at the bottom and gently pry outward using your thumbs to unclip—avoid tools that could scratch the plastic frame. For adhesive systems, a plastic card helps peel without prying the frame.
- Inspect the mounting surface and remove any residual adhesive or lint with a dry cloth.
- Align the new pad with the nose cutout and any orientation notches—most pads have an obvious top/bottom difference.
- Seat the bottom edge first, then press the upper clips or adhesive into place, running your fingers around the perimeter to ensure even seating and no twisting.
- Don the headset and adjust the top and side straps. Tighten slowly until the headset rests gently on your face and the strap takes weight; it should feel balanced—not pinching at the nose or sliding forward.
Check for light leaks by wearing the headset in a darkened room; minor gaps around the nose or cheeks are common but adjust the pad orientation or strap tension to minimize them. If the headset rocks during head movement, re-seat the pad—an uneven attachment usually causes that issue. Lastly, test with a few short sessions before committing to long play, because initial comfort can change after a few minutes of play as the foam compresses and heats up.
Strap padding pairing: comparing with Elite Strap and weight balance
Changing the facepad without reconsidering the strap is like changing a shoe insert and keeping the same laces—the whole balance changes. The Elite Strap adds rear support and a thicker contact area at the back of the skull. Paired with a thicker face pad, the headset’s center of gravity can shift, creating a feeling that the unit sits higher or tilts forward. That shift isn’t inherently bad, but it requires re-tuning strap tension to find neutral balance.
Here’s how to think about combinations: the stock strap is light and relies on frontal pad contact for much of the support. If you prefer a plush front pad and don’t want extra rear weight, choose a mid-thickness pad or a softer material to avoid pulling the headset forward. The Elite Strap improves distribution by taking more load off the face; this pairs best with firmer, denser pads that maintain shape under the strap’s counterpressure. Third-party straps and soft rear pads are a middle ground for budget builds.
Practical tips: start with the standard strap clips and adjust the top strap before side straps—this controls vertical pitch. With the Elite Strap, tension the rear dial or adjuster until the headset’s weight rests comfortably on the pad, not the nose. If you feel pinching near the temples, try a slightly thinner pad or a gel-insert model that cushions without adding bulk. For long sessions, many users find the Elite Strap plus a reticulated foam pad gives the best balance of support and cooling. Always test in motion—shake your head, mimic in-game movements—to ensure the pad and strap stay secure during vigorous play.
Care, cleaning, and maintenance
Longevity and hygiene are as important as initial comfort. Different materials require different routines. Fabric and foam covers: lightly spot-clean with diluted mild detergent or use manufacturer-approved wipes. If the cover is removable, follow the label: most breathable fabric covers tolerate a gentle machine wash or hand-wash and should be air-dried fully before reassembly. Avoid saturating memory foam; trapped moisture can break down foam and breed mildew.
Silicone and PU leather are forgiving—wipe them with a damp cloth and a mild disinfectant. For stubborn oily residue, use a small amount of dish soap diluted in water, then wipe down and dry. Always avoid bleach or harsh solvents that degrade surfaces. Drying is crucial: let pads dry in a well-ventilated area out of direct sunlight and heat, which can warp foam and crack synthetic leather. Do not store pads in sealed containers; use breathable pouches to allow air circulation.
Replacement timelines depend on use. Frequent, sweaty play suggests inspecting pads every 3–6 months for compression loss or odor; casual users can extend that to 9–12 months. Rotate spare pads when possible to spread wear—many players keep a quick-swap silicone pad for sweat sessions and a plush fabric pad for long seated sessions. Consider pads with antimicrobial fabric or removable covers to reduce odor buildup and extend usable life. Finally, store your headset and accessories in a cool, dry place to slow foam breakdown and protect adhesives and Velcro from deteriorating prematurely.
Special cases: glasses wearers, long sessions, and cross-headset compatibility
Glasses wearers face a unique set of trade-offs: frames create extra thickness and can press into the nose or cheeks. Look for pads advertising “glasses friendly” relief—these typically have deeper nose channels and softer cheek areas that compress without forcing the headset away from your eyes. Gel-infused memory foams or softer silicone around the nose can cushion frames while maintaining seal. Also consider thinner temples on your spectacles or prescription inserts designed for Quest 2 if you frequently play without modifying padding.
For marathon sessions, prioritize breathability and consistent pressure distribution. Perforated open-cell or reticulated foam with a moisture-wicking cover offers the best balance: the foam breathes and dries quickly while the cover pulls sweat away from skin. Small modular solutions—removable covers or cooling inserts—allow you to tune the interface depending on ambient temperature and activity. For intense, sweat-heavy use, keep a spare silicone cushion to swap mid-session if necessary; silicone won’t absorb sweat and is quick to disinfect.
Cross-headset compatibility: most Quest 2 pads are Quest-specific—shape, clip points, and nose cuts vary across headsets. If you’re migrating pads between different models (or eyeing compatibility with third-party headsets), check the mount type and dimensions before buying. The Apple Vision Pro and many PC-VR headsets use different facial interfaces, so avoid assuming cross-compatibility. If you need prescription lens inserts, many vendors offer inserts specifically keyed to Quest 2 optics rather than generic solutions—pair these with the pad that gives you the correct eye-to-lens distance for clear visuals.
When in doubt, consult user images or ask the brand’s support about glasses clearance and long-session recommendations; many sellers list head circumference, pad depth, and recommended strap pairings to simplify selection.
Real-world upgrades and next steps
Users consistently report that a well-chosen pad from VR Cover, Kiwi Design, or AMVR transforms their Quest 2 experience. VR Cover tends to shine with washable, fabric-forward designs that reduce skin irritation and are easy to launder. Kiwi Design offers a variety of firmness levels and snug fits that reduce light leaks and work well for glasses wearers once you pick the right cutout. AMVR’s modular approach suits tinkerers who want to mix foam densities and swap covers quickly. Common success stories include reduced nose soreness, less lens fogging, and far fewer sweat-related interruptions.
If you’re ready to upgrade, pick one pad based on your primary use: open-cell or reticulated foam with a wicking cover for long, sweaty sessions; memory foam with a breathable overlay for plush daytime play; silicone or PU leather for easy cleaning and fitness VR. Pair that pad with the Elite Strap if you need better rear support and plan to play long or active sessions. Finally, set a maintenance rhythm—wipe or wash covers after heavy use, store pads ventilated, and replace anything that smells persistently or loses shape.
Next step: identify your dominant friction point (nose, cheeks, or temples), then choose a pad that addresses that area specifically—test for a short session, tweak strap tension, and iterate until the headset becomes an invisible extension of your play. Your Quest 2 should feel like a tool, not a chore—small padding choices deliver that balance.


Compartir:
Counterweights and Balance: How Extra Weight Affects Quest 2 Gaming Sessions
Choosing the right comfort strap a guide for Quest users