

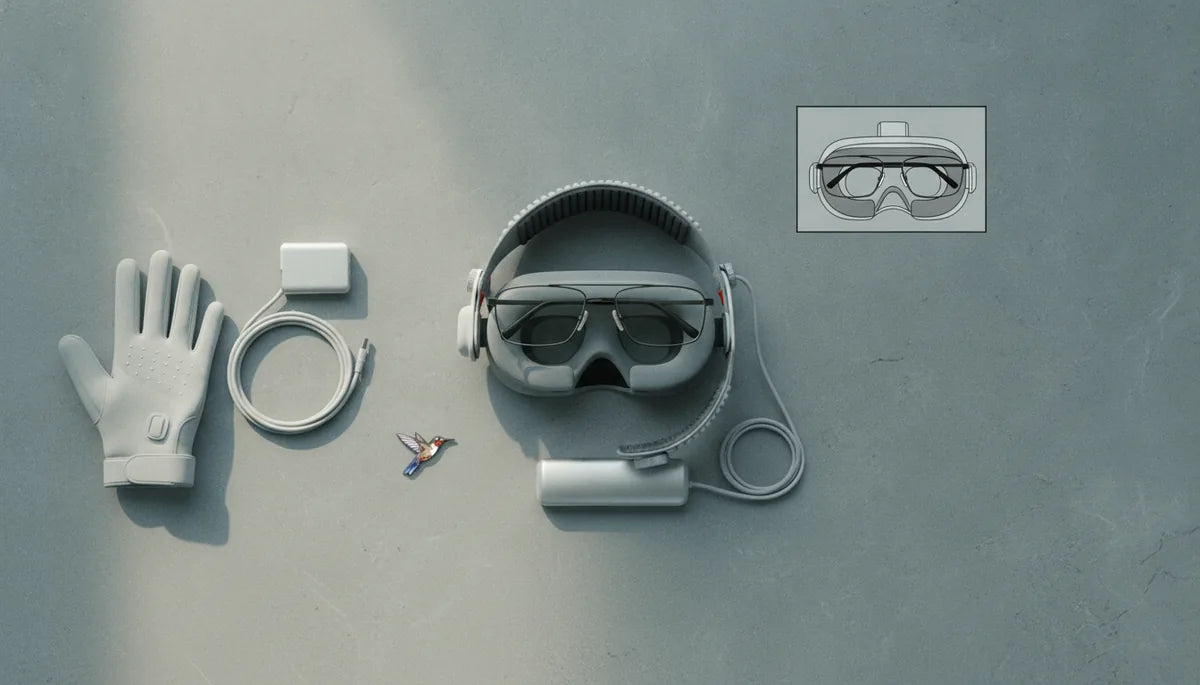
Ergonomic tips to reduce pressure when using Quest 2 straps with glasses
If you wear glasses and want longer, more comfortable Quest 2 sessions, small changes to fit, padding, and balance make a big difference. This guide walks through how to evaluate your glasses and face, pick the right comfort strap, adjust and pad the headset, and maintain everything so temple and nose pressure are minimized during extended VR play. ⏱️ 6-min read
Glasses-aware fit: evaluate frame, face shape, and Quest 2 dimensions
Before changing straps or cushions, check how your glasses sit relative to the Quest 2’s faceplate. Two measurements matter most: temple curvature (how the arms bend behind your ears) and the bridge shape/height. These determine contact points and where pressure is likely to concentrate.
- Temple curve: shallow curves or thick temples press into the headset pads. If your temples sit wide, the facial cushion may press directly on them—note where the contact lands.
- Nose bridge: narrow or high bridges can put excess force on the nose pad. Conversely, a low or wide bridge may push glasses into the lenses unless there’s enough eye relief.
- Head shape and forehead height: high foreheads can change how the headset tilts, shifting pressure to temples or the nose.
Also confirm headset clearance: ensure your glasses don’t touch the headset lenses and that you have enough eye relief. If lenses touch, consider prescription lens inserts (inset optics) to remove glasses entirely and eliminate temple pressure altogether.
Choosing a comfort strap that accommodates glasses
Strap choice is one of the fastest ways to improve comfort for glasses wearers. Look for straps with broad, stable contact areas and a reliable top strap so weight doesn’t shift and compress the temples.
- Official Quest 2 Comfort Strap: lighter and simple—good if you want a modest upgrade and a wider rear surface to distribute load.
- Elite Strap (with or without battery): offers stronger rear support and an option to add a counterweight/battery. The battery variant increases front weight—helpful for long sessions if used with a counterweight at the back, but it can increase temple pressure if not balanced correctly.
- Reputable third-party straps: many focus on wider contact patches and adjustable top straps. Prioritize models with a solid rear cradle and a secure top strap to keep the headset from sliding onto your temples.
Key features to prioritize: wide rear pad, firm but forgiving padding, adjustable top strap, and a design that keeps the headset seated on the crown and occipital area rather than pinching the temples.
Proper adjustment: strap height, length, and pad position for even pressure
Correct adjustment is often more effective than swapping parts. Your goal is to distribute weight evenly across the crown and back of the head so the facial interface doesn’t press down on the nose and temples.
- Strap height: position the rear band higher on the crown, not at the base of the skull. This reduces forward tilt and prevents the front from digging into the nose and temples.
- Strap length/tension: tighten until the headset is stable but not pulling hard. If you can gently shake your head and the headset stays aligned, tension is sufficient. Over-tightening is the main cause of temple and nose pressure.
- Top strap: use it to counteract forward pull. A snug top strap prevents the headset from sagging and transfers load off the face.
- Facial pad alignment: slide the pad (or choose an insert) to center the eyepieces relative to your eyes and to keep cushion contact on cheekbones rather than temples.
Padding and cushion choices to relieve temple and nose pressure
The right cushion material and shape make a big difference in how pressure feels. Look for pads that compress gradually and have enough surface area to spread force away from the temples and nose.
- Foam (memory or closed-cell): conforms to face shape and spreads pressure. Memory foam with a soft outer cover reduces hot spots, but avoid very thin foam.
- Microfiber covers: comfortable against skin and reduce slippage—good with glasses because they reduce friction against temple arms.
- Silicone or gel nose pads: thin silicone wedges or angled pads lift the headset slightly and distribute load across a broader area of the nose bridge.
- Angled or thicker facial interfaces: interfaces that add vertical clearance keep glasses from pressing into lenses and reduce required tightness.
Consider trying a thicker nose pad or an interface with a recessed nose channel—this lowers direct pressure on the bridge. If you’re still uncomfortable, a prescription lens adapter removes the need to wear glasses inside the headset entirely.
Weight distribution and balance: how to reduce headset pressure
Redistributing weight to the back of the head removes the need to clamp the front of the headset against your face. Aim to shift load toward the occipital area (the lower back of the skull).
- Top/back strap configuration: straps that connect to a wide rear cradle let the rear pad take most of the weight.
- Counterweights: a small weight or lightweight battery at the rear can counterfront weight, but choose light, well-secured options so you don’t create a pendulum effect.
- Remove unnecessary front weight: if you don’t need the battery or accessories, use a lighter strap to reduce forward pull.
Balance test: with the headset on and straps adjusted, you should be able to nod without the front digging in. If not, shift or add rear padding to move the center of gravity backward.
Installation, setup, and maintenance
Proper installation and regular maintenance keep fit reliable and predictable. Follow manufacturer instructions for each strap and replace worn parts before they become a problem.
- Install strap: follow the strap’s guide—attach rear cradle, secure clips, and confirm the top strap is centered.
- Align facial interface: position the pad so the eyepieces align with your pupils and the cushion contacts cheekbones first.
- Test fit: tighten incrementally. Check for lens contact with glasses and readjust eye relief if needed.
- Inspect regularly: check seams, clips, and Velcro. Replace pads when foam compresses or covers wear thin.
- Cleaning: wipe cushions with a damp microfiber or mild soap solution; avoid soaking foam. Clean glasses with lens cleaner so debris doesn’t create pressure points.
Keep spare pads and a small toolkit for quick swaps—this makes it easy to experiment with different thicknesses until you find the best setup.
Glasses care and long-session best practices
Glasses and headset care reduce rubbing, slipping, and the need to over-tighten. Small habits prolong comfort during long sessions.
- Keep lenses and cushions clean to prevent micro-slippage that encourages tighter straps.
- Schedule micro-breaks: 5-minute breaks every 30–45 minutes to relieve pressure and readjust glasses and straps.
- Recheck fit after 10–15 minutes: padding compresses and straps settle; a small tweak can prevent discomfort later.
- Store straps and pads flat or on a head-shaped stand to retain shape and avoid permanent creases.
Finally, if you’ve tried adjustments, padding swaps, and balance tweaks and still feel persistent pinching, consider prescription lens inserts or consulting with an optician for frames designed to work better with headsets.
Powered by Trafficontent

Share:
Third party accessories compatibility guide for Meta Quest two
DIY Counterweights for Quest Two: Safe Hack to Even Out Front-Heavy Headsets