

How to Pick an Oculus Quest 2 Strap for Glasses Wearers: Comfort Without Pressure
Wearing glasses in VR shouldn’t mean sacrificing comfort for clarity. The right Quest 2 strap reduces nose and temple squeeze, keeps frames centered, and lets you play for hours without battling red marks or slippage. This guide walks you through what matters—fit geometry, strap styles, practical setup steps, and care—so you can pick a strap that keeps your glasses and your gameplay happy. ⏱️ 6-min read
Glasses-ready comfort: what to look for in a Quest 2 strap
For glasses wearers, comfort goals are specific: minimize temple pressure, reduce nose-bridge squeeze, and prevent your glasses from shifting during movement. Look for straps and pads that create explicit clearance around the frames and nose—ideally a recessed nose area so the glasses don’t rub when you lean forward.
Pad material and thickness make a big difference. Soft but dense materials—odor-resistant foam or silicone—spread pressure more evenly across the nose and cheeks. Thicker face pads reduce focal pressure on a single point and help avoid the common “pressed-in” feeling after long sessions.
Finally, prioritize adjustability. A combination of a rear strap plus an adjustable top (crown) strap lets you shift the headset’s load away from the face. Quick-release buckles and micro-adjust features make on-the-fly tuning simple when experimenting with glasses placement.
Strap options and how they affect fit and comfort
Not all straps are built the same. The stock Quest 2 strap is lightweight and serviceable, but many glasses wearers report forward weight bias that increases nose pressure on longer sessions. From there you have three broad choices:
- Official upgrades: The Quest 2 Comfort Strap improves padding and stability over stock. The Elite Strap (Meta) adds a rigid rear band with a dial-assisted micro-fit that shifts weight rearward for better balance.
- Third-party yokes and halo/side straps: These often use reinforced fabric, metal hardware, or wider cushioned bands. Yoke (crown + rear) designs spread weight across the top and back of the head, reducing nose pressure; halo/side straps deliver strong lateral support and clearer temple space but add bulk.
- Fabric slings and lightweight options: Minimal and breathable, they work well for shorter sessions or users who prefer minimal contact—but they may not eliminate forward pull the way a rear-supported yoke or Elite-style strap can.
Consider trade-offs: heavier, premium straps may add stability and better pressure distribution but can slightly increase total headset weight—often a worthwhile exchange for long-session comfort. If you use a battery pack or accessories, remember that added mass changes how you tune the strap’s rear tension and crown height.
Fit geometry and weight distribution fundamentals
Understanding how weight moves across your head helps you tune pressure away from your glasses. Straps that place more load toward the crown and back shift the center of gravity away from the face. In practical terms, that reduces forward pull on the nose bridge and temples.
Crown bands sit on the top of the head and lift slightly, while a rear yoke or band bites into the occipital area (the lower back of the skull). If crown tension feels tight, loosen the rear yoke a bit; too much crown pressure can trade nose discomfort for an unpleasant spot on top of your head. Wider straps and continuous padding spread force over cheeks and temples, lowering the risk of pinching points behind the ears.
Step-by-step install and initial adjustment
- Power off your Quest 2 and lay it face-up on a soft surface. Unbox and inspect the new strap components: main strap, side arms, crown band, and any spacers or pads.
- Wipe the Quest 2 rails clean and align the side arms with the left and right mounting rails. Slide each arm in until you hear a click; ensure connectors sit flush and secure.
- Gently seat the facial interface and any included pads. If the strap includes shims or height spacers, keep them handy for later fine-tuning.
- Put the headset on. Adjust the crown/top strap so it sits a little above the ears and the headset feels balanced. Tighten the side straps evenly for a snug but comfortable hold.
- Adjust rear tension (or the Elite Strap dial) to shift weight toward the back of your head. Aim for a stable image with minimal forehead pressure and no pinching at the temples.
- Test with your glasses: shake your head briskly, look side-to-side and up-and-down, and check that frames stay centered and comfortable. Make micro-adjustments to strap height and pad position as needed.
Glasses-fit tips and pressure relief strategies
- Center the glasses on your nose before settling the headset. If frames are off-center, strap adjustments will only amplify discomfort.
- Use a recessed nose pad or a thin silicone spacer if your glasses touch the face gasket—this creates breathing room without forcing the headset forward.
- For larger frames, choose a wider rear strap or thicker face padding to distribute weight; narrow straps can concentrate force at the temples and behind the ears.
- Tune the top strap height to sit just above eye level; that small shift often reduces pressure on the nasal bridge.
- Check temple-arm alignment: if the headset’s side arms press into your frame temples, slightly loosen side tension and increase rear tension to move load backward.
- Consider aftermarket face cushions with increased height if you experience fogging or persistent nasal pressure—taller pads increase clearance from lenses to foam.
Care, maintenance, and longevity of your strap
Keep your strap fresh and functional with a few simple habits. After sessions, wipe fabric and foam with a microfiber cloth dampened in mild soap and water; rinse lightly and air-dry completely. Avoid harsh chemicals or machine-washing unless the manufacturer explicitly says it’s safe.
Inspect stress points regularly—clips, rivets, seam lines, and foam for compression or fraying. Replace cushions or the strap when foam becomes flattened or fabric tears: a worn pad stops protecting your glasses and your skin. Store straps in a cool, dry place away from direct sunlight, and if you own several straps, rotate them to spread wear evenly.
Compatibility, accessories, and buying guide
Not every strap fits every Quest 2 revision exactly the same, so check product pages for explicit Quest 2 compatibility. Look for memory-foam or plush replacement pads labeled “glasses-friendly” and for straps that offer adjustable crown height and dual-fit clamps.
Budget straps can deliver excellent results—many third-party options use high-quality foam and reinforced anchors—while premium straps add convenience features like micro-fit dials, replaceable cushions, and accessory mounts. Verify vendor return policies and warranties before buying; being able to test with your glasses and return if it pinches is worth more than the initial discount.
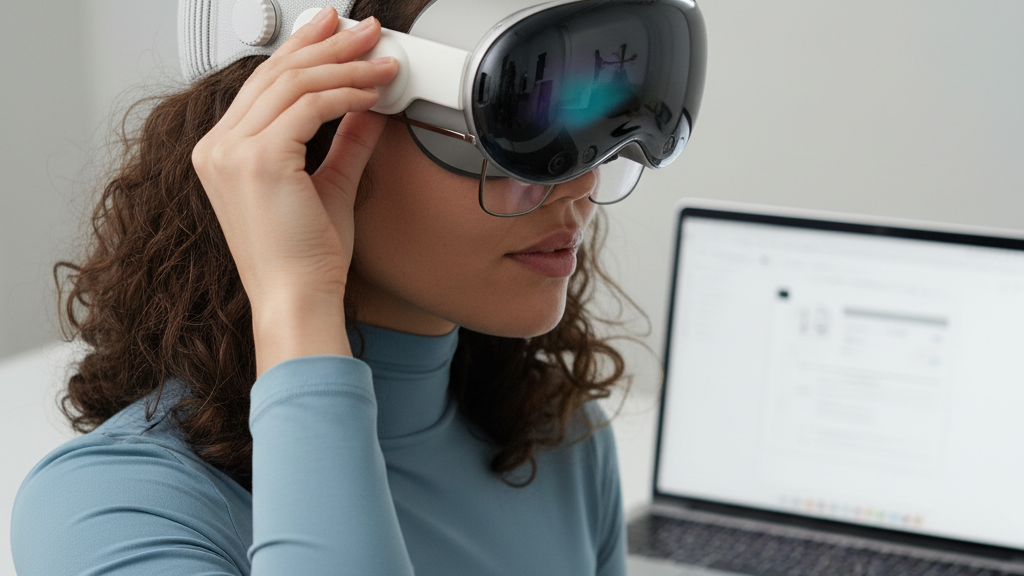
Avoid mixing ecosystems: Apple Vision Pro straps and adapters are not compatible with Quest 2 hardware. Use only straps designed for the Quest 2 or explicitly marketed as compatible; adapters can change fit geometry and may void warranties.
Next step: pick the strap style that matches your typical session length and frame shape—start with a rear-supported yoke or Elite-style strap for long play sessions or large frames, try a padded comfort strap for everyday use, and always test fit with your glasses before committing. If buying online, choose a seller with a clear return window so you can fine-tune comfort risk-free.
Powered by Trafficontent


Share:
Upgrading Quest Two: the best third party straps for balance and all day wear
Extending Strap Longevity: Material Care Habits for the Quest Two Comfort Strap