Rebalance Your PSVR: A Practical, Device‑Agnostic Blueprint to Eliminate Front‑Heavy Neck Strain
Long VR sessions should feel immersive, not like an endurance test for your neck. Many headsets—from PSVR to Quest 2 and even the top‑heavy Vision Pro—share a common ergonomic problem: mass biased forward over the face, which forces your neck and upper traps to compensate. The result is forehead hotspots, chin jutting, and a sore neck after an otherwise great play session. ⏱️ 14-min read
This guide gives you a hands‑on, device‑agnostic plan to diagnose front‑heavy fit, apply ergonomic strap and padding upgrades, add subtle counterweights and stands, and validate improvements safely. Follow the step‑by‑step checks, practical product‑type recommendations, and testing routines here and you’ll gain longer, more comfortable play sessions without sacrificing seal, tracking, or immersion.
Assessing Front‑Heavy Strain: Baseline Fit, Symptoms, and Weight Distribution
Before you buy parts or add weights, establish a clear baseline. Think of this as mapping the headset’s center of gravity (CG) on your head and documenting the symptoms that matter most: forehead pressure, jaw or temple pinching, chin lift, and neck fatigue. A careful baseline prevents chasing symptoms caused by small adjustments.
Do this quick sequence while standing upright in a neutral posture:
- Put the headset on as you normally would. Stand naturally—feet hip‑width, ears roughly above shoulders, eyes level.
- Note first impression: does the visor feel like it’s pulling forward? Is the crown strap taking load or is the brow pad doing most of the work?
- Run three short movements: a slow chin nod, a 45° head turn left/right, and a light forward/back tilt. Watch for lag, slip, or a “nose‑first” tilt when you move.
- Check contact geometry: are foam seals flush to the skin or are there gaps under the cheeks or at the nose bridge? Gaps encourage tilt and make the front feel heavier.
- Score symptoms on a simple 0–10 scale: forehead pressure, temple pinch, neck soreness after 20 minutes, and perceived forward pull. Record strap positions (top strap height, rear band placement) and cushion thickness.
These notes become your CG map: which side needs padding, whether the crown strap is too slack, and where to add rearward bias. When you change straps, add a cushion, or attach a counterweight, repeat the same sequence and compare scores. Doing this keeps upgrades targeted and prevents overcompensating with too much rear weight or excessive tightening.
Ergonomic Straps, Cushions, and Facial Interfaces for PSVR and Beyond
The interplay of strap geometry, cushion contouring, and interface materials decides whether weight is shared across your skull or concentrated on the face. The goal is to move load from the nose and brow to the crown and occipital region so neck muscles don’t act as a permanent support strap.
Start with strap design: wide, curved straps distribute force and resist digging. Look for systems with a halo or rear band that anchors behind the crown and a micro‑adjuster at the top—these let you incrementally shift load rearwards without compromising lateral stability. A properly tensioned halo keeps the headset centered so you don’t instinctively jut your chin to counter a forward pull.
Cushions matter more than you might think. Memory‑foam or gel‑enhanced pads that use gradient density—firmer near temple edges, softer across the midface—spread pressure and reduce hotspots. Chamfered edges prevent a hard ridge at the seal that would otherwise pivot the headset forward. Replace thin, compressed stock foam with thicker, contoured foams designed for your headset profile; many third‑party facial interfaces are cut to create a bigger cheek contact patch and a lower, secure seal at the bridge of the nose.
Material choices affect both comfort and durability. Closed‑cell foams are durable but trap heat; open‑cell memory foams breathe better but can absorb sweat. Covers with moisture‑wicking, antimicrobial fabrics reduce slippage and skin irritation while preserving a solid seal. For those who prefer easy cleaning, silicone face interfaces offer a washable alternative and can slightly alter how the headset rests, often reducing nose pinch.
Fit checks after upgrades:
- After changing the strap, tighten in 1–2 mm increments until the halo feels supportive without compressing the crown bone.
- Swap cushions and test with light head movements; note any reduction in forehead redness or temple pressure.
- If stability worsens, the issue is usually a loose rear anchor—not too much front padding. Rebalance by shifting tension to the rear band or adding a small counterweight behind the crown.
Balancing Add‑Ons: Lifts, Stands, and Weight‑Redistribution Tools
You can’t always redesign a headset’s shell, but you can change where the mass sits relative to your head. Rearward‑bias lifts and slim counterweights add grams where they help most—behind the head—without turning your rig into a weight vest.
Counterweights come in several practical flavors: modular snap‑in weights that attach to a strap rail, pouches that accept coin or plate weights, and removable discs that clip to a rear band. Use small increments (10–30 g steps) and place weight low on the backstrap near the occipital bone. This subtle rear mass shifts the headset’s CG without creating pendulum motion when you turn your head.
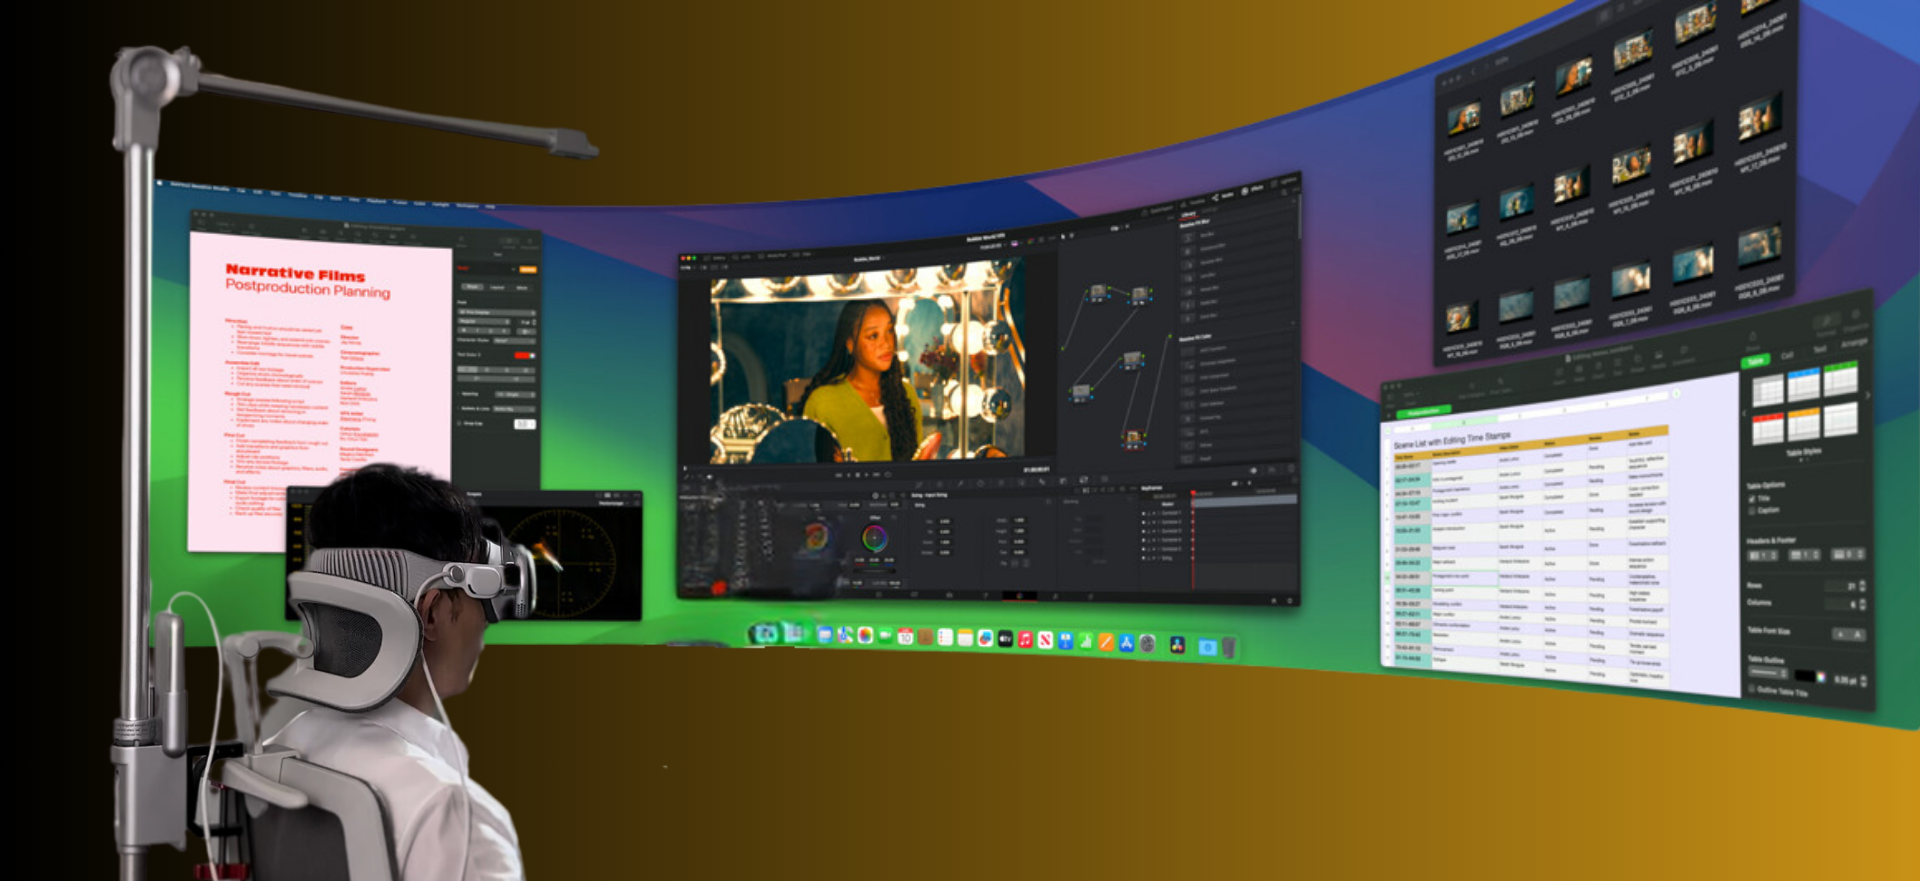
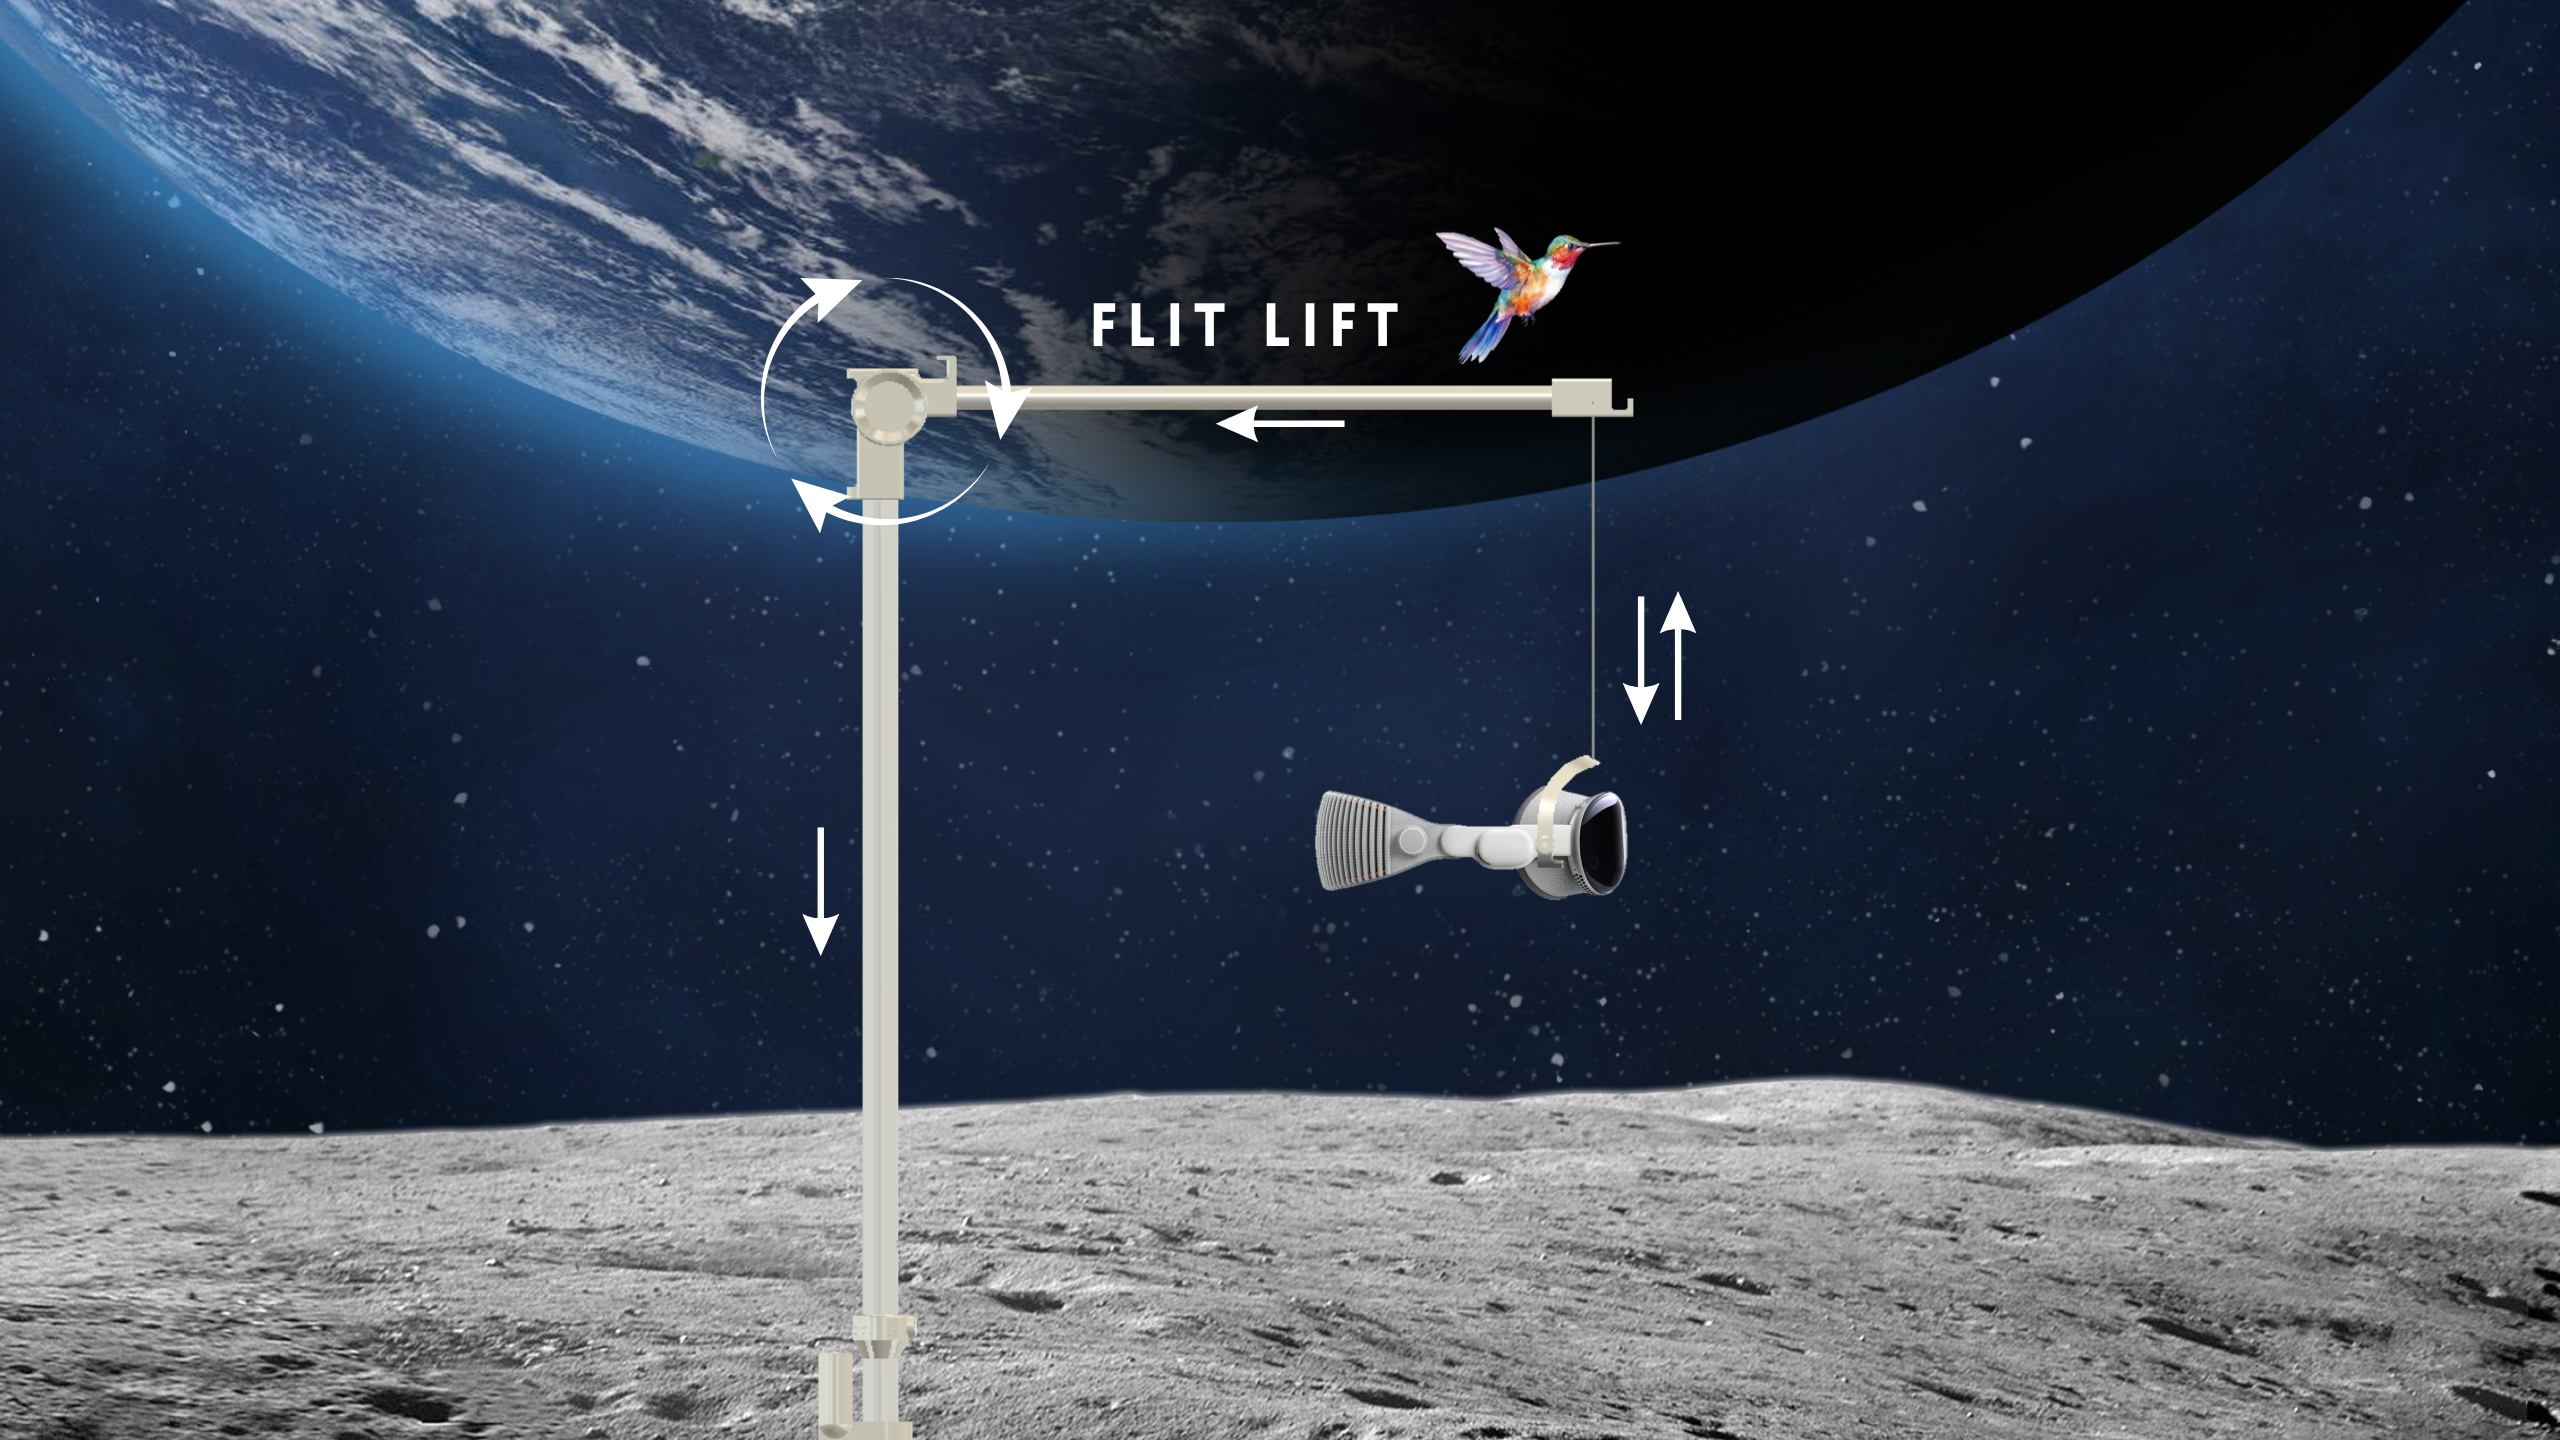
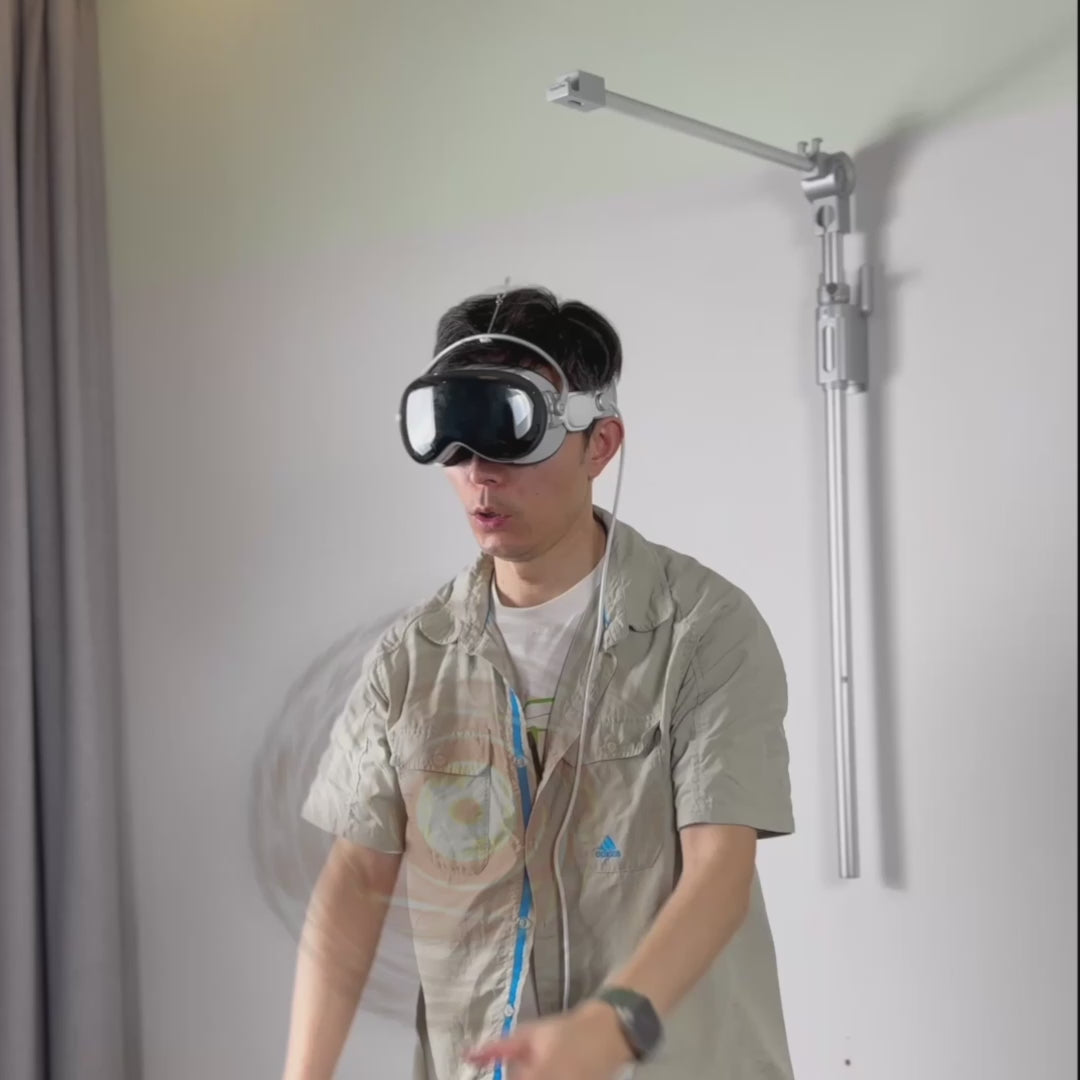
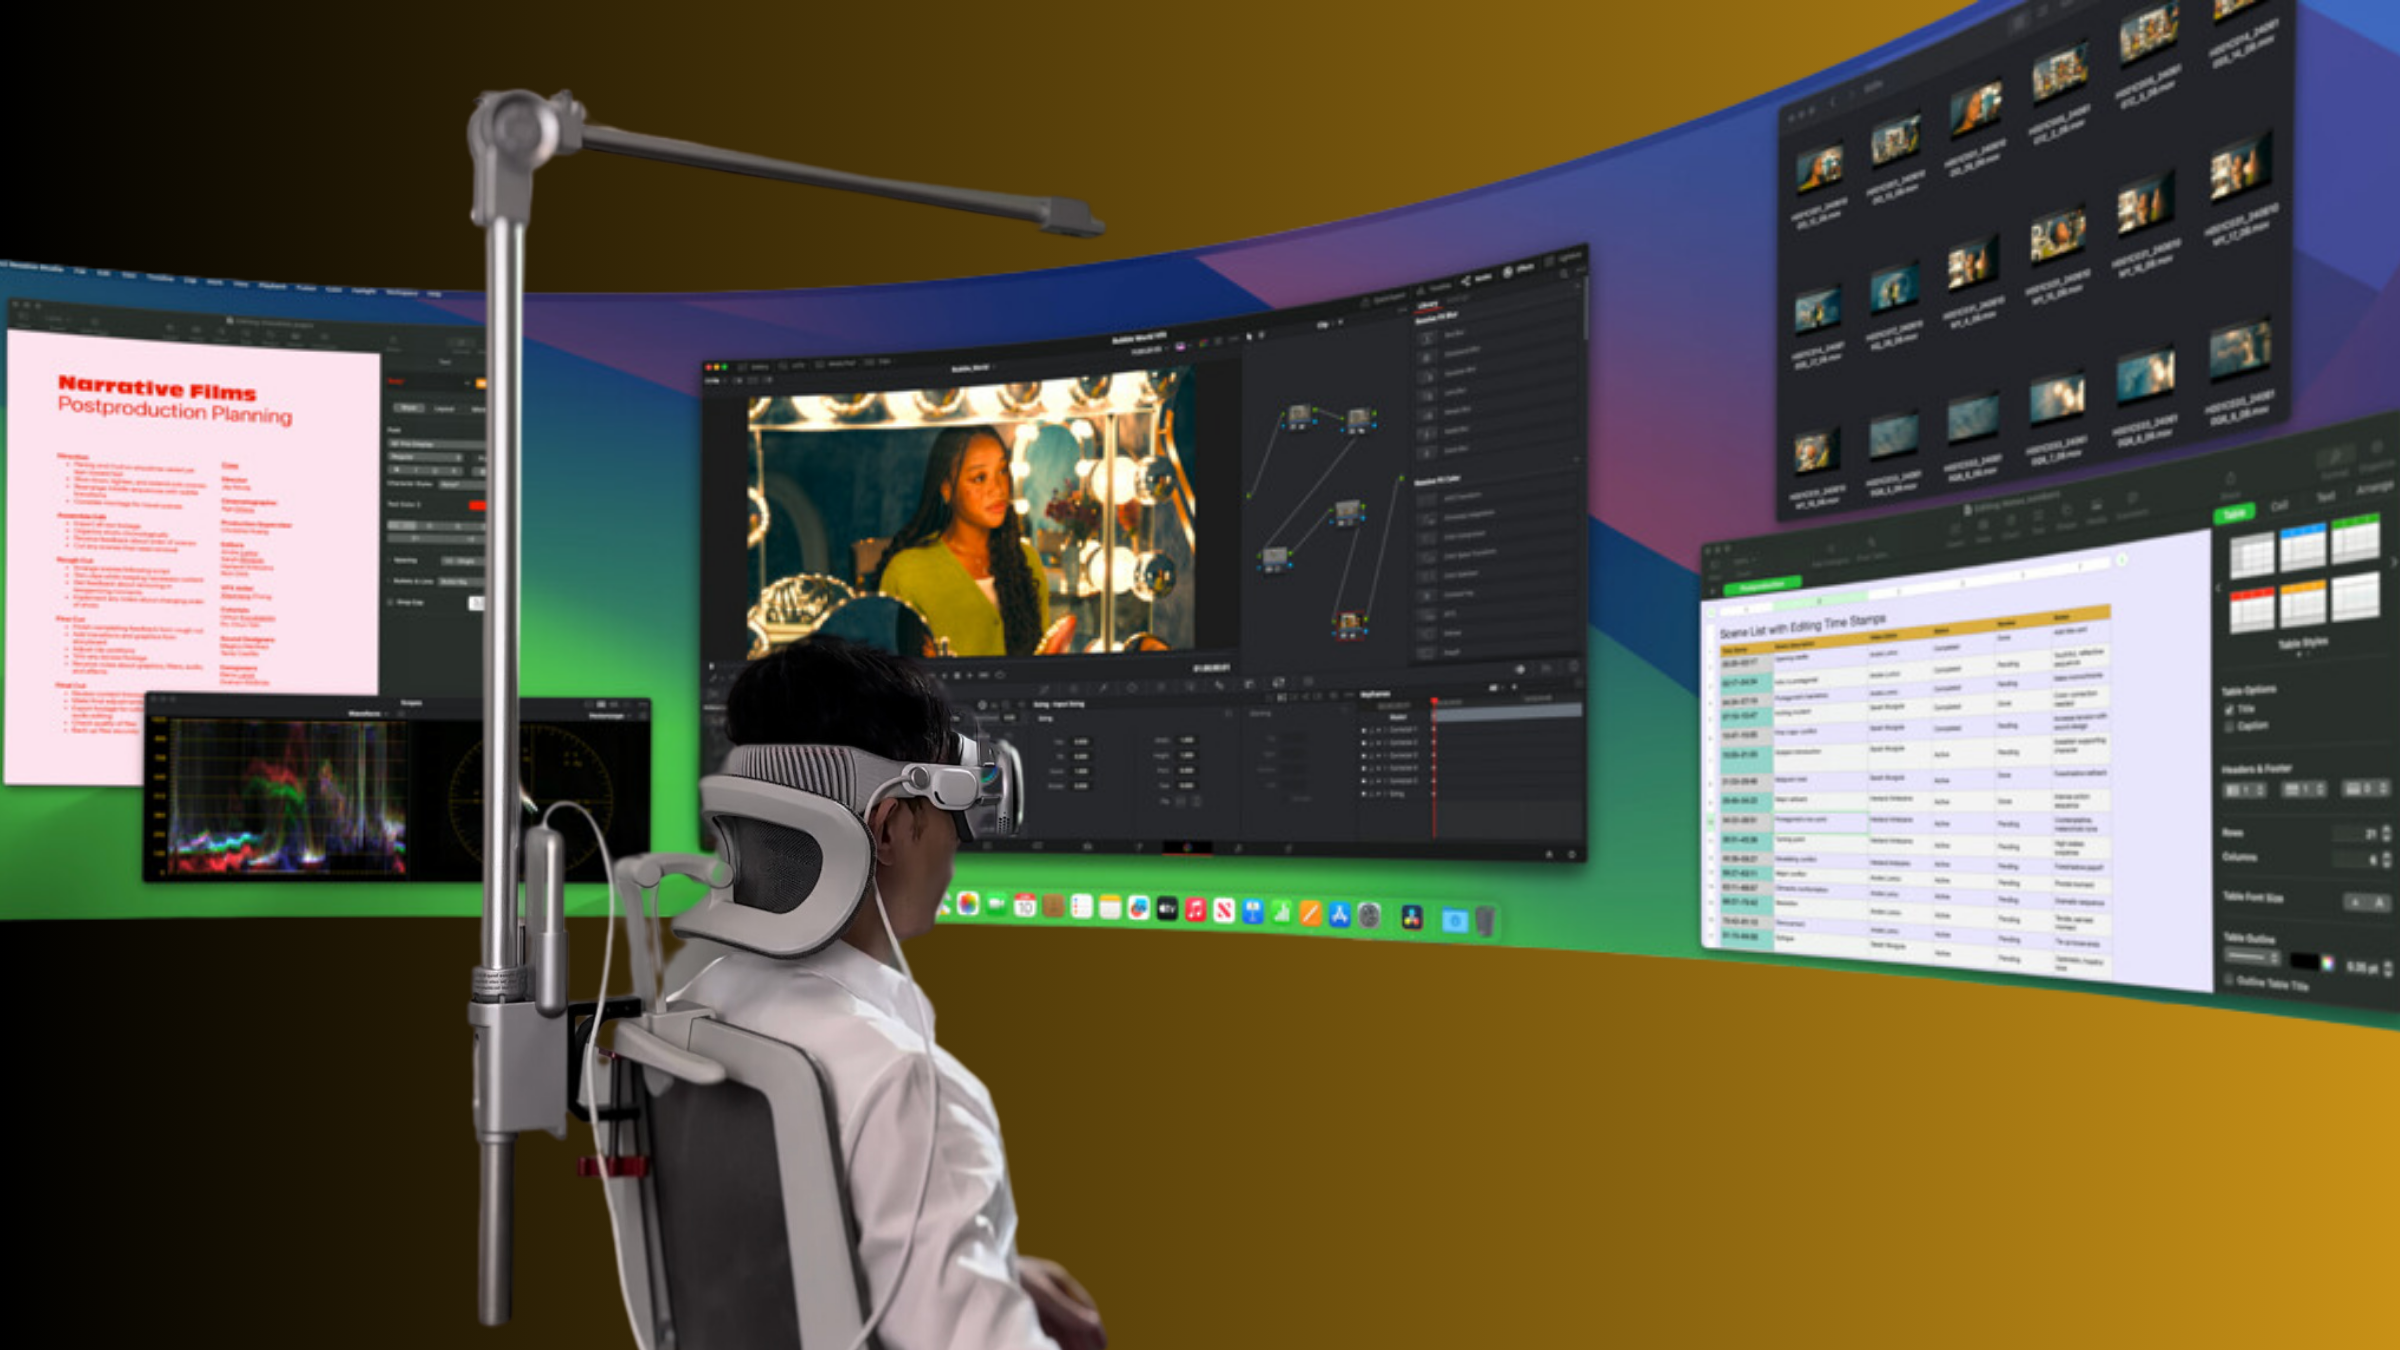
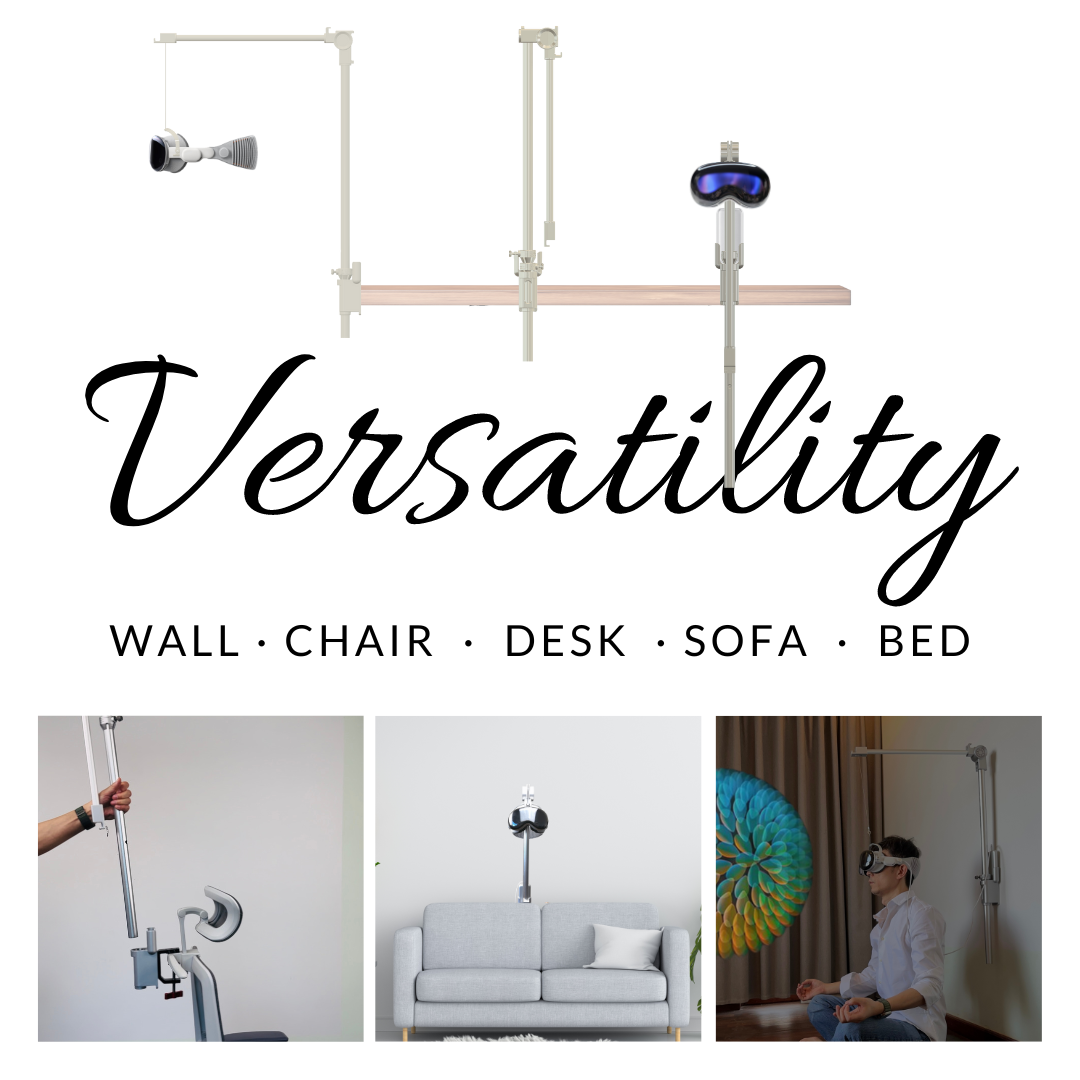
Pair weights with stands and mounts that preserve balance between sessions. Desk stands that cradle the headset from behind keep cable routing organized and prevent the front from sagging when you lift it on and off. Wall‑mounted hooks with a slight backward tilt are space‑efficient and reduce the chance of deforming foam by keeping the headset supported along its natural balance line.
Lift devices—used for very front‑heavy headsets—raise the display slightly to improve eye alignment and reduce chin lift. These are particularly useful when aftermarket cushions increase pad thickness and push the display forward. When combining lifts with counterweights, pay attention to pivot: a lift that raises the front is helpful only if the rear strap remains capable of countering the new moment. If you find the display still drifts while playing, move the counterweight a little higher up the backstrap to increase its torque arm.
Practical pairing rules:
- Always test one mod at a time—first strap, then cushion, then a single small weight—so you can see the effect of each change.
- Use low‑profile stands with cable management to avoid accidental tugs that pull the headset forward when you pick it up.
- If you need to swap weights between players, use labeled pouches or color‑coded discs for quick rebalancing.
Posture and Padding: Aligning Neck, Head, and Face for Prolonged Play
Even the best mechanical upgrades rely on good posture to shine. The headset should behave like an extension of your skull, not a dangling object you must brace with your jaw or shoulders. Small posture changes and strategic padding placement make a huge difference over multi‑hour sessions.
Neck and head alignment cues to follow:
- Start with a gentle chin tuck—this encourages a neutral cervical curve and reduces the torque on your upper traps.
- Keep your ears roughly vertical above your shoulders and your eyes level. Avoid tilting the head forward to “peek” into the display; this is a sign the headset is pressing too far on the forehead or nose.
- If you feel neck strain, pause and recheck strap tension. It’s often better to loosen the brow slightly and pull more load onto the halo or rear band.
Padding height and density choices should aim to line the headset’s CG with the broad, stable parts of your skull. Too much padding at the nose bridge can tilt the front out and make the headset feel heavier. Conversely, pads that are too thin let hard points bite into skin and cause you to push the headset back with your jaw.
Quick‑start fit checklist (do this before any long session):
- Set your natural posture and sit or stand tall.
- Loosely place the headset and slow‑adjust the rear band until it sits on the occipital area without pinching.
- Tighten the top strap so the halo bears some load; the front should still feel secure but not pressing into the forehead hard.
- Adjust cheek pads so they contact evenly—no air gaps under the cheeks or at the nose.
- Run a 5‑minute play test and score comfort. If forehead pressure appears, drop crown tension 10–15% and reassign load rearwards.
Routines matter: building these checks into every session keeps small imbalances from becoming chronic strain. If you use multiple headsets or share with friends, keep presets or marked strap settings so you can return to the same comfortable fit quickly.
Cross‑Device Comfort: Adapting PSVR, Quest 2, and Vision Pro for Consistent Comfort
Each headset has its own form factor and balance tendencies. The practical upgrades here are device‑agnostic, but knowing the typical quirks of your model speeds things up and avoids common pitfalls.
PSVR and PSVR2: These systems often have a forward‑biased visor and narrow brow contact. Solutions that work well include a firm halo or top strap plus a small rear counterweight and thicker cheek pads to push the screen slightly back. If you add padding to the face interface, verify the headset’s IPD and lens distance are still correct—moving pads can change eye alignment.
Quest 2: Compact and light, but with a small plastic halo in stock setups that can concentrate pressure. An aftermarket halo strap or flexible rear band with a cushioned cradle distributes weight better. Because Quest 2 is lighter, smaller counterweights are usually enough; avoid overloading and creating a heavy backward pendulum effect.
Vision Pro (or other top‑heavy devices): These designs move electronics into the crown and sides, but the display can still pull forward when seal integrity relies on the face interface. Precision matters here: use a crown‑anchored band that spreads load evenly, and prefer thin, supportive padding that doesn’t push the lenses forward. Add modular counterweights in small increments and prioritize a stable rear anchor to keep tracking reliable.
Universal adapter strategy:
- Use modular counterweight pouches with Velcro or clip adapters to fit multiple strap types.
- Choose cheek pads in three sizes—small, medium, large—to accommodate face shapes across devices while maintaining similar padding thickness.
- Label settings for each headset: strap position, weight amount, and pad size so riders in the household can switch quickly.
Safety and tracking considerations:
- Avoid metal counterweights that can interfere with sensors or magnets built into the headset; use nonmagnetic plates or coin weights in pouches.
- Keep any added mass away from tracking cameras or sensor windows—blocking sensors can cause drift and force you to tighten straps, worsening discomfort.
- For shared setups, note that thicker padding changes facial spacing; recheck IPD and lens focus after any major padding swap.
Testing, Validation, and Safety: How to Verify Gains Without Creating New Strain
Small changes matter, and a structured test plan helps you confirm whether adjustments truly reduce strain. Combine simple subjective surveys with a few objective checks that you can do at home without special gear.
Subjective validation protocol:
- Record baseline: wear the headset for 20–30 minutes and rate forehead pressure, temple pinch, neck soreness, and overall comfort on 0–10 scales.
- Apply one upgrade (strap, cushion, or small weight) and repeat a 20–30 minute session. Re‑rate immediately after play and 30 minutes later.
- Log results—simple notes are enough. Look for consistent drops in scores by at least 2 points to call a change meaningful.
Objective checks without special sensors:
- Horizon drift test: watch a static horizon or HUD element during a 10‑minute wear while slowly nodding. If the image maintains level, tilt stability improved.
- Slip and reset test: mark the strap position with a removable marker or tape, perform quick head turns and jumps, and see if the mark shifts—less movement means better distribution and fewer corrective motions.
- Time‑to‑discomfort: measure how long before you first feel notable neck tension. If this increases by 50–100% after an upgrade, that’s a clear win.
Safety checklist to prevent new problems:
- Do not overtighten. Excessive strap tension raises compression forces on the skull and can increase intracranial pressure feelings or restrict circulation.
- Watch for skin irritation. Rotate or wash face pads regularly and avoid adhesives that pull at the skin. Use breathable covers for prolonged sessions.
- Monitor heat buildup. Thicker pads can trap heat—if you experience excessive sweating, switch to gel pads or breathable open‑cell foams and take more frequent breaks.
- Confirm sensor clearances. Ensure nothing blocks cameras or line‑of‑sight sensors to avoid tracking errors that make you overcorrect and strain.
Progressive testing cadence: try a single change, validate over several sessions, then add another. This method isolates what helps and prevents a pileup of small mods that together create a new problem.
Material and Build Quality Considerations for Weight Reduction
When customizing for balance, material choices determine how much you can shave from the visor without losing stiffness or safety. Lightweight engineering is about strength‑to‑weight ratios and smart placement—remove mass where it matters and reinforce load paths where the headset meets the skull.
Smart materials to look for or request in accessories include glass‑filled nylon for structural brackets and carbon‑fiber‑reinforced polymers (CFRP) for thin, stiff plates. These materials provide rigidity with fewer grams than stamped metals, allowing thinner shells and lower perceived front weight. For counterweights and rails, use nonmagnetic alloys or dense polymers to avoid sensor interference.
Padding construction is equally important. Gel inserts provide localized cushion without compressing excessively over time, while layered open‑cell foams offer breathability and long‑term resilience. Covers should be antimicrobial, moisture‑wicking, and durable—these prevent smell, reduce slippage, and preserve padding geometry that supports balance.
Manufacturing touches that improve comfort and longevity:
- Integrate thin, stiff ribs where straps attach to spread the load over a wider shell area.
- Use replaceable pad modules—if a pad compresses after months of use, swapping it restores balance without replacing the whole headset.
- Design counterweight mounts with secure locking clicks to prevent rattles and accidental detachment during motion.
Be mindful of trade‑offs: ultra‑light shells reduce forward mass but can transmit vibrations; overly rigid shells require better padding to avoid pressure points. Aim for a balanced set of materials—stiff where load paths exist, soft where the skin contacts the device.
Custom Fit Profiles, Long‑Term Maintenance, and Durability
Personalized fits and routine maintenance preserve the benefits of any weight‑distribution upgrade. A custom profile approach—mapping head shape and saving strap/pad settings—makes comfort repeatable across sessions and users.
How to create a custom fit profile:
- Measure and note head circumference, crown height, and typical hair thickness (dry vs. with beanies). Keep these values in a simple log or smartphone note.
- Record strap positions visually—take a photo of the headset on your head from the side so you can replicate top strap angle and rear band height.
- Store preferred pad and counterweight combinations with labels: “Gaming—2×15 g rear, medium pads; Coop—no weight, thin pads.”
Maintenance schedule to protect longevity:
- Daily: wipe sweat from pads and straps with a damp cloth. Let pads air dry thoroughly between sessions.
- Weekly: inspect Velcro seams, strap anchors, and counterweight pouches for looseness. Re‑tighten snaps and check for tears.
- Monthly: remove and wash removable covers or sanitize non‑washable foam surfaces with a recommended disinfectant. Check hard mounts for hairline cracks or flexing.
- Every 6–12 months: replace heavily used pads, small pins, or worn Velcro. Keep a small parts kit with spare screws and a thin hex key for on‑the‑fly fixes.
Durability tips for weights and mounts:
- Prefer sealed weight pouches to prevent moisture ingress which can corrode metal plates or degrade dense polymer weights.
- Test mount engagement monthly by applying light pulling forces—there should be no rattle or wiggle at the attachment point.
- Replace fabric straps before fraying becomes significant; a frayed strap is a safety hazard and leads to shifting balance.
Commit to records: a short log—date, part replaced, comfort notes—helps you spot patterns and plan replacements before performance drops. Over time, the small maintenance steps preserve fit and keep your headset feeling new.
Space‑Saving Storage and Aesthetic Upgrades: Cases, Stands, and Kickstarter Picks
How and where you store your headset can have a subtle but real effect on comfort. Leaning a heavy front‑biased headset on an improper mount can warp foam, deform seals, and shift the perceived balance over weeks. Choose storage that supports the headset along its balance axis and keeps cables tidy.
Storage strategies:
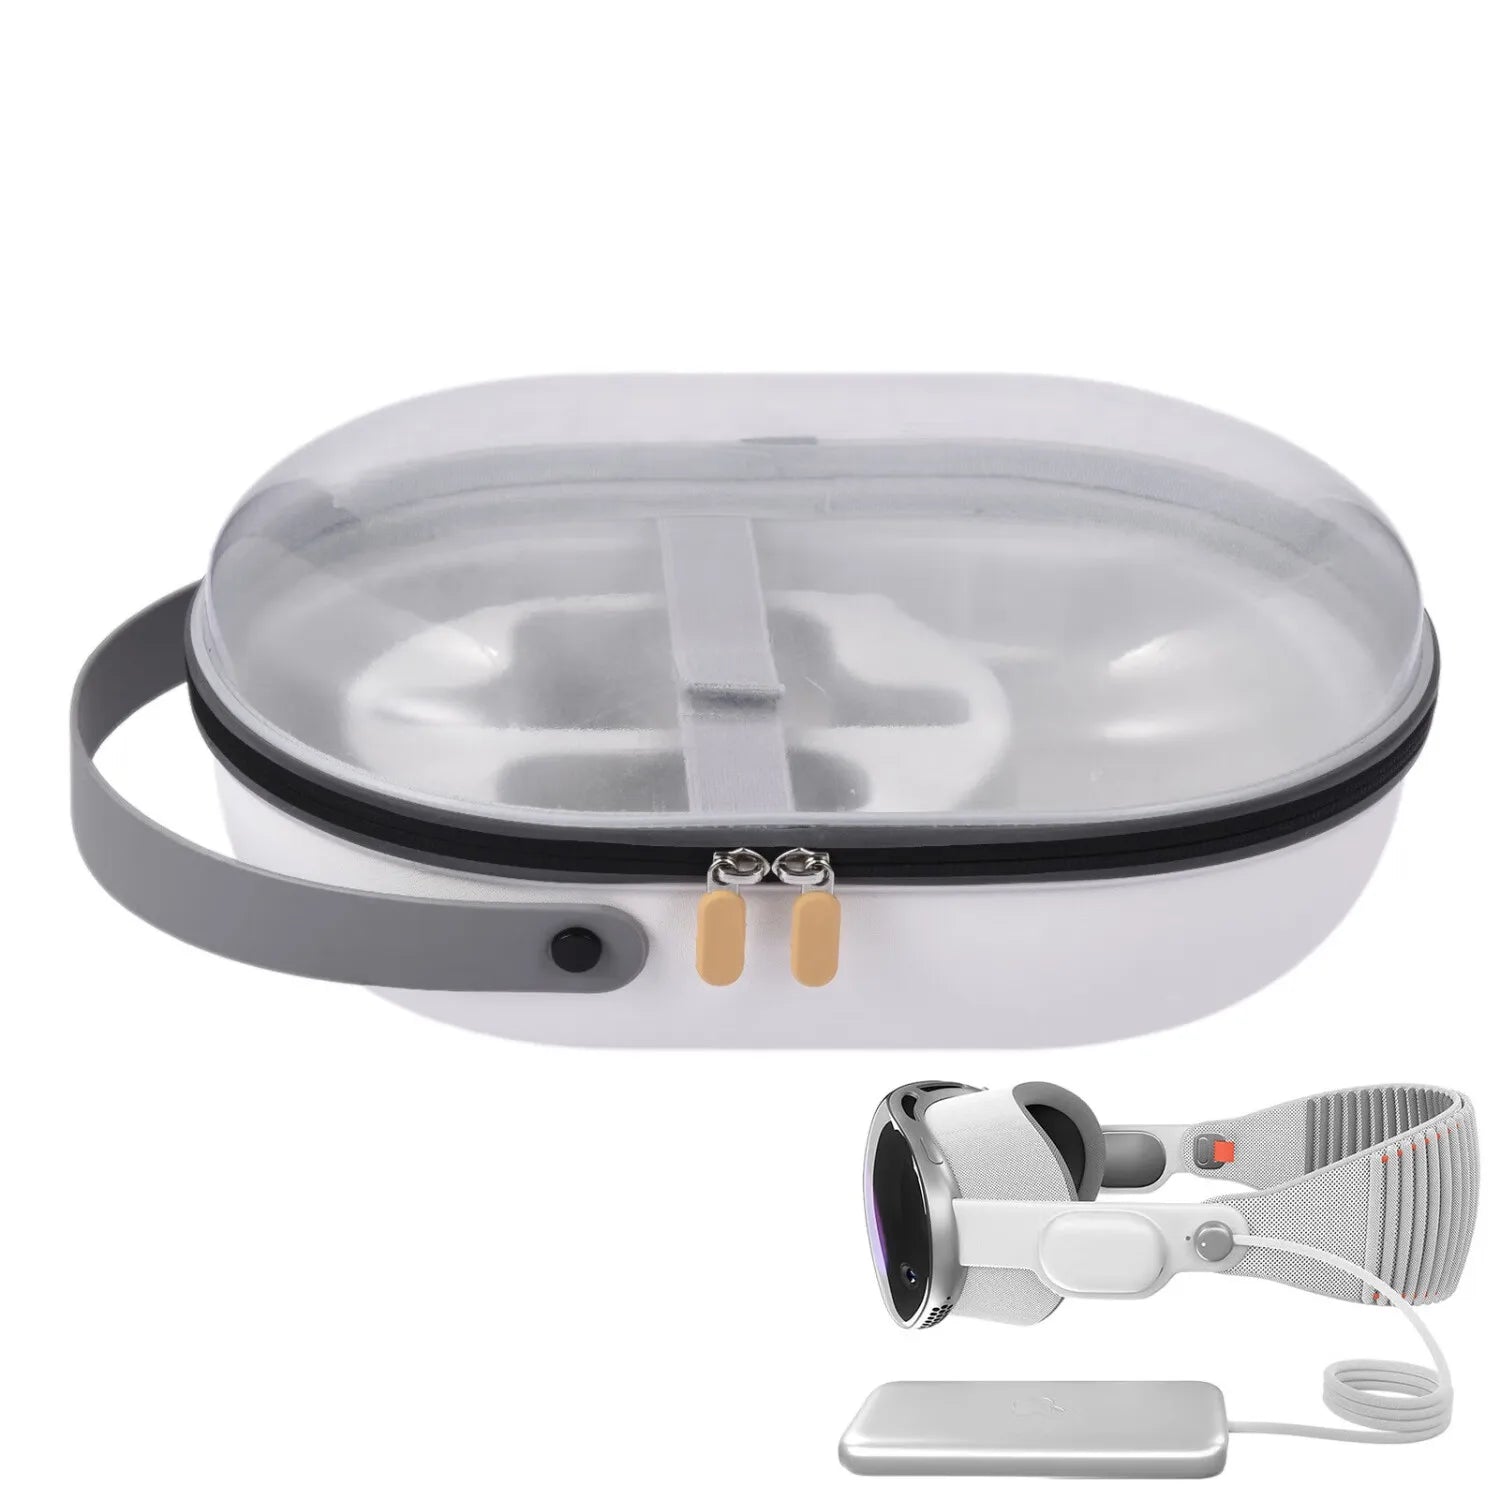
- Flat‑fold or slim cases: these protect the headset while minimizing shelf space. Choose one with padded internal bays for controllers and small accessory pouches for weights and spare pads.
- Wall mounts with cradle geometry: select mounts that support the rear band and the visor simultaneously, keeping both foam surfaces free of concentrated pressure.
- Desk stands with integrated cable channels: a low footprint stand that cradles the headset from the back is ideal. It maintains balance while offering a convenient place to dock and charge controllers.
Accessibility features that double as comfort improvements:
- Handles and quick‑release mounts that allow you to lift and don the headset without forward tugs—preserving strap geometry.
- Modular bays for pad and weight storage so you can readily swap components and keep your presets organized.
- Aesthetic options like textured covers or color‑matched straps that encourage routine use and care—people treat gear better when it looks cared for.
For households or small studios, label systems and small containers for different pad sizes and weights reduce the friction of switching setups. When gear is easy to access and returns to a stable mount every time, balance stays consistent and long‑term comfort improves naturally.
Takeaway / Next step: Start with a 10‑minute baseline test (wear, move, score), pick one upgrade (strap, pad, or 20 g rear weight), and re‑test after three sessions. Keep a small parts kit and a simple log—small, repeatable changes compounded over weeks will eliminate most front‑heavy strain without sacrificing immersion.




Share:
Optimizing Vision Pro tilt and headband fit for all-day comfort
Apple Vision Pro stand alternatives: compact options for clutter-free desks