

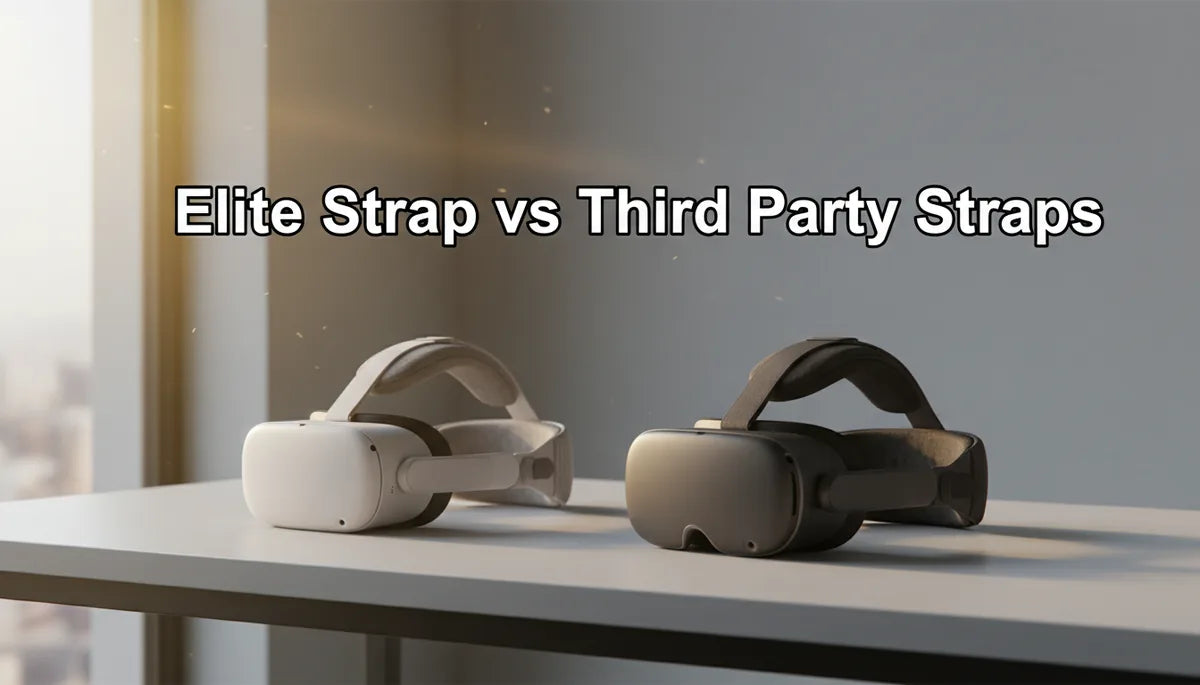
Elite Strap vs Third-Party Straps for Quest 2: Which One Keeps You Comfortable During Long Sessions?
If you spend hours in VR, the standard Quest 2 elastic strap quickly reveals its limits: pressure on the nose, a loose fit that shifts during movement, and frame-squeezing for glasses wearers. Upgrading to a better headstrap is one of the most effective ways to make long sessions comfortable, but the market splits into two camps—Meta’s official Elite Strap and a growing ecosystem of third‑party alternatives. Which one actually reduces fatigue, fits your glasses, and stays reliable over hundreds of uses? ⏱️ 11-min read
This guide compares the Elite Strap and representative third‑party straps across real-world factors: cushioning and materials, weight and balance, installation and adjustment, glasses ergonomics, durability and maintenance, price and value, and compatibility with batteries and accessories. Read on for practical tips, step‑by‑step installation advice, and sensible buying recommendations so your next VR marathon doesn’t end with a sore nose and a stiff neck.
Overview: Elite Strap vs Third-Party Straps
Meta’s Elite Strap is the factory-backed upgrade designed to replace the Quest 2’s stock band with a more robust, dial-driven system. You get a two-rail side clip, a padded crown, and a curved rear pad that sits against the back of your head. The ratchet dial provides micro‑adjustment and repeatable tension, and Meta offered a bundled Elite Strap with Battery for people who wanted both improved balance and extra runtime. The official fit and finish are intended to be seamless: clipped in securely, with predictable geometry and compatibility guaranteed by the manufacturer.
Third‑party straps, by contrast, are a broad ecosystem. You’ll find halo designs, rigid‑back stabilizers, memory‑foam pads, leather wraps, quick‑release hardware, and attachments for batteries or counterweights. Prices range from inexpensive fabric straps under $20 to premium balances and modular systems above $60. Many third‑party makers emphasize features the Elite doesn’t—thicker forehead padding, removable counterweights, or replaceable face cushions—while others aim at simplicity and low cost. The result: greater choice, more features per dollar for some buyers, and a wider variance in build quality and fit.
Comfort Features: Cushioning, Fit, and Materials
Comfort starts with where the strap contacts your head. The Elite Strap follows a simple, effective formula: a cushioned forehead region paired with a rigid back pad that transfers load to the occipital area. This distribution reduces the nose and cheek pressure typical of the stock band. The key advantage is predictability—Meta chose padding thickness and placement to suit a broad user base, so comfort rarely feels experimental.
Third‑party designs often take a more adventurous approach. Memory foam, gel inserts, silicone liners, and fabric choices differ widely; some brands pad the forehead more heavily, others extend cushioning to the temples. More padding can be great for comfort, but it changes how the headset sits. Too much soft material near the forehead can allow the front to tilt unless the rear is stiff or counterweighted. Materials matter for skin comfort, too—breathable fabric reduces sweat buildup, while leather-like finishes can be easy to wipe but trap heat.
Adjustment mechanisms also influence comfort. The Elite’s ratchet dial holds tension reliably across sessions, which helps maintain stable pressure without constant readjustment. Third‑party options use Velcro, elastic bands, or quick‑release clips—fast and flexible, but they can loosen during intense play or with sweat. When choosing a strap, look for a balance: secure tension that doesn’t require clamp-like force against your brow. If you’re prone to pressure points, favor designs that spread load over the crown and the rear skull rather than concentrating it along the nose bridge.
Weight and Balance: How Straps Affect Long-Session Comfort
The Quest 2 is naturally front-heavy: the display, optics, and cameras sit forward, so anything that doesn’t counterbalance that weight increases facial pressure and neck strain. A good strap reduces fatigue by shifting more of the headset’s mass to the back of the head and the crown, where muscles can support it without the same discomfort.
Halo‑style and rigid rear supports achieve this by creating a stable anchor point behind the skull. The Elite Strap’s rigid rear pad provides that counterforce, and when paired with the ratchet dial it keeps the headset steady through head turns. Third‑party solutions often go a step further by offering attachable counterweights or integrated battery packs. Those rear weights move the center of gravity back, reducing nose pressure and stopping the headset from tilting forward during longer sessions.
Counterweights improve balance, but they add absolute mass. The key trade-off is whether the strap redistributes weight effectively: a light rear plate that doesn’t move the center of gravity provides little relief, while a heavier battery that sits low behind the head can offer substantial comfort gains. Some users report that a modest rear weight—paired with good forehead padding—feels noticeably better than simply adding more foam at the front. If neck strain is your primary concern, prioritize straps with rigid rear supports and options for backward mass (battery or weight) rather than thicker front padding alone.
Installation and Adjustment Guide
Getting the right fit matters as much as the strap you choose. A poorly installed Elite Strap will outperform a well-intentioned cheap halo just as often as the reverse. Below is a practical step‑by‑step guide to remove the original band and install a replacement, with tips for dialing in tension and ensuring glasses clearance.
- Power down the headset and set it on a soft surface to avoid scratching optics.
- Remove the stock strap: locate the release tabs at both side clips, press inward, and gently pull the strap free. If your strap has a separate back piece, detach it last.
- Attach the Elite Strap: align the two clip connectors with the headset’s side slots, press until you hear a click, and ensure the rear dial is accessible. The top strap should sit across the crown, and the back pad must rest flat against the skull.
- Install a third‑party strap: designs vary—attach the rear stabilizer first if present, then clip in each side arm. For halo straps, ensure the curved halo hugs the rear skull and the top strap rests evenly.
- Adjust tension gradually: tighten until the headset is secure, then back off slightly. The goal is minimal front‑to‑back movement during head turns without pinching the forehead.
- Check vertical position: you should be able to look down without the headset sliding down over your nose. Use depth spacers or an adjusted facial interface if you need more eye-to-lens room.
- Do a quick motion test: jog in place, move your head quickly, and make sure the headset doesn’t rotate on your face. Re‑adjust if you feel slippage or concentrated pressure.
For glasses wearers, perform the fit test with your frames on (see the next section). If possible, keep the Elite dial or the strap’s quick‑adjust at a setting you can repeat for consistent fit across sessions.
Glasses-Friendly Fit and Ergonomics
Glasses compatibility is a make-or-break issue for many Quest 2 users. The headset already provides a glasses spacer, but the strap’s geometry determines how much room the headset leaves for frames and whether temple arms are pinched or pushed into the sides of your head.
The Elite Strap’s relatively rigid rear and predictable clamp provide a stable platform; however, when tightened too far it can push the headset forward and press glasses against the face. The advantage is repeatability: once you find the sweet spot, the dial helps you return to that tension. If you have thicker frames or cat-eye shapes, test the strap with your glasses before committing.
Many third‑party straps are more forgiving around the temples because they use flexible rear cradles or different anchor points that change how the headset hugs your skull. Look for straps that explicitly advertise glasses clearance or show pictures of glasses being worn. Some third‑party facial interfaces extend the depth between your eyes and the lenses, which reduces the chance of lens scratching and gives you breathing room for bulkier frames.
Practical tips: choose a strap that widens the temple area rather than compressing it; use the included glasses spacer or an aftermarket facial interface to increase lens distance; and adjust the helmet’s vertical position so the weight is distributed across the crown and rear, not directly on the nose bridge. Fogging can be mitigated by ensuring the headset seals well around the face or by using anti‑fog wipes on your lenses—mindful adjustments are often more effective than swapping straps alone.
Durability, Maintenance, and Cleaning
A comfortable strap should also last. The weakest points on most headstraps are the hinged connectors and the fastening hardware where the strap clips into the headset—areas that see repeated stress during attachment, removal, and adjustment. The Elite Strap tends to offer consistent build quality at these stress points because Meta designs them to match the headset’s tolerances. That said, repeated rough handling accelerates wear in any strap.
Third‑party strap quality varies. Budget models might use single‑stitched seams, cheap plastics, or softer cushions that flatten with time. Premium third‑party options typically reinforce connectors, use thicker textiles, and provide replaceable pads or straps. When evaluating durability, inspect pivot points, test for side‑to‑side play, and check whether replacement parts are available.
Cleaning is straightforward but essential for hygiene and longevity. Wipe fabrics and synthetic leather with a microfiber cloth and a mild solution—water mixed with a drop of gentle soap. Avoid soaking pads or exposing adhesives to excessive moisture. Foam and memory‑foam face pads can trap sweat, so let them air dry thoroughly between sessions; consider swapping in a removable, washable cover if you run long daily sessions. Regularly check screws, buckles, and Velcro for fraying and replace worn components before they fail. For battery‑equipped straps, follow the battery manufacturer’s care instructions and avoid exposing battery packs to moisture.
Cost, Availability, and Value
Price influences decisions but shouldn’t be the only consideration. The Elite Strap historically sits in the mid‑to‑premium range—commonly around $70–$90 for the strap alone and higher for battery bundles—reflecting the official compatibility and build consistency. That premium translates to predictable fit, a robust dial, and the assurance of manufacturer support.
Third‑party straps cover a much wider price spectrum. You can find simple fabric and elastic replacements under $20 that slightly improve fit, while feature-rich third‑party models with memory foam, metal hinges, and optional counterweights fall in the $40–$80 bracket. Premium third‑party offerings with replaceable face pads, gel inserts, or integrated batteries may rival or exceed the Elite Strap’s price, but they often include features the Elite lacks—like heavier rear weights, tool‑free modularity, or softer premium materials.
Value comes from the junction of price, features, and longevity. If you want a hassle‑free, well‑supported upgrade that just works with the Quest 2’s geometry, the Elite Strap’s slightly higher price can be justified. If you prioritize thicker padding, a rear battery, or a strap specifically tuned for glasses, a third‑party strap may deliver better value per dollar—provided you pick a reputable maker. Check warranty terms and customer reviews for longevity signals; a lower upfront price can become a poor deal if replacements or repairs are needed soon after purchase.
Compatibility, Accessories, and Long-Term Considerations
Beyond comfort, think about what you might add later. Battery packs, wireless adapters, and accessory mounts aren’t standardized across all straps. The Elite Strap and its battery bundle were designed to work together, supporting a neat, integrated look and predictable balance. Many third‑party straps, however, deliberately include attachment points for batteries or modular weights and sometimes offer dedicated accessory plates for specific battery packs.
If you plan to attach a third‑party battery or a wireless PC‑VR adapter, verify that the strap’s rear plate and clip geometry are compatible. Some adapters require clearance at the back or take up space where a counterweight would sit. Also be mindful of cross‑compatibility myths—straps designed for other headsets, like Apple Vision Pro accessories, are not intended for Quest 2 and generally won’t fit safely. Always check manufacturer notes or community-tested compatibility lists before assuming a part will work.
Future‑proofing means choosing replaceable components and manufacturers that sell spare pads and clips. A strap that lets you swap the foam, replace the Velcro band, or tighten loose screws is more sustainable than one you have to discard when a cushion flattens. For heavy daily use—arcades, demos, or long streams—favor straps with accessible service parts and clear warranty support. In many cases, a slightly more expensive strap that lasts two to three years without sagging wins on total cost of ownership.
Next step: try the Elite Strap if you want an official, no‑surprises upgrade with a dependable dial and consistent geometry; consider reputable third‑party models (BoboVR M2, Kiwi Design variants, Aubika) if you need extra padding, counterweights, or modularity. Test with your glasses on, confirm accessory compatibility if you’ll add batteries or adapters, and prioritize replaceable parts for long‑term reliability.


Compartir:
How Weight Distribution Affects Quest 2 Comfort During Long VR Sessions
How to Choose a Quest 2 Comfort Strap That Fits Glasses Without Pressure