

How to Beat VR Fatigue on Quest 2: Ergonomic Strap, Fit, and Posture Strategies for Long Sessions
Playing the Oculus/Meta Quest 2 for hours can be immersive — and exhausting. Fatigue during long sessions usually isn’t about the headset “being uncomfortable” in the abstract; it’s about how weight, balance, strap fit, and user posture interact over time. With a few thoughtful adjustments to straps, pads, comfort-strap-materials-durability-and-longevity-explained" rel="nofollow noopener noreferrer">weight distribution, and movement patterns, you can extend comfortable playtime and protect your neck, face, and eyes. ⏱️ 11-min read
Below you’ll find a practical, step-by-step guide that explains why fatigue happens, how to choose and install the right strap, how to fine-tune fit and weight placement, posture and break routines to prevent cumulative strain, and basic maintenance so your comfort gear keeps performing. Each section includes real-world tips and quick fixes you can apply right away.
Understanding Quest 2 weight and fatigue drivers
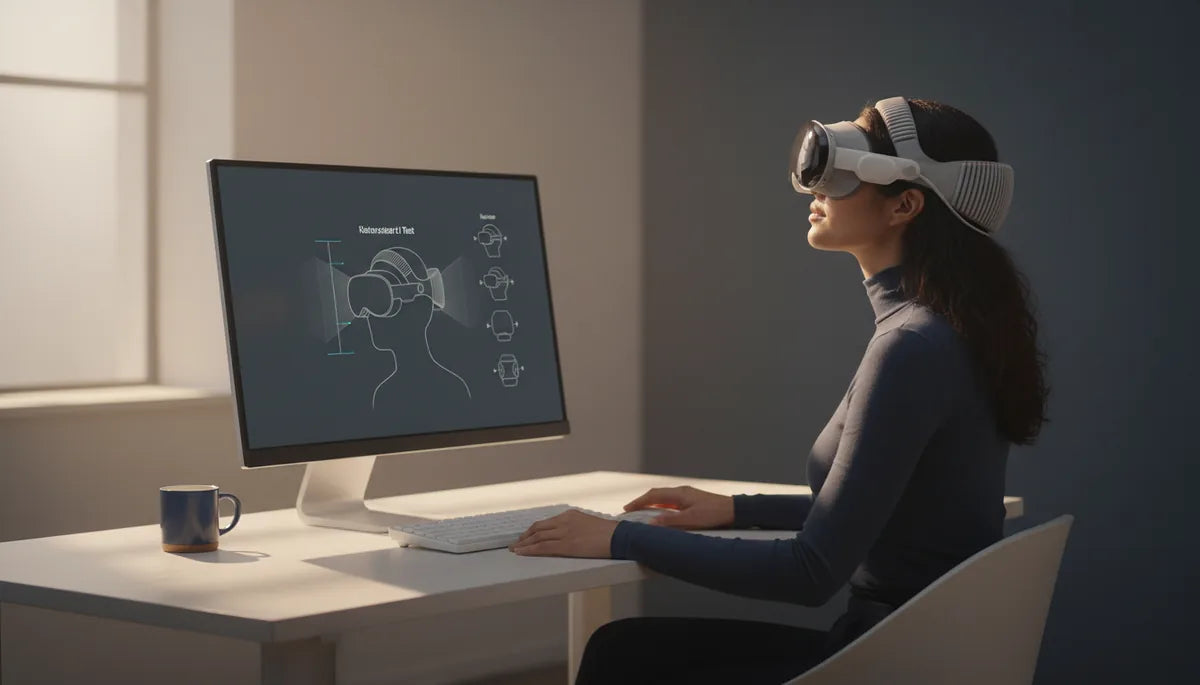
Fatigue begins where the headset contacts your head. The Quest 2 has a front-weight bias: the optics, electronics, and battery sit ahead of the face, and that torque pulls the headset forward. Your neck extensor muscles must work constantly to resist that forward pull, which leads to soreness after prolonged sessions. That’s different from some PC-tethered headsets that use heavier halo frames or counterweights from the factory — the Quest 2 is relatively light overall, but its center of gravity sits forward.
Uneven pressure on the face and nose bridge is another major driver. If the strap and facial interface don’t distribute load across the crown and sides of the skull, pressure concentrates on the cheeks, forehead, or nasal bridge, creating hotspots and headaches. Visual factors compound the problem: an IPD mismatch or slightly wrong lens distance forces your eyes to strain to focus, which quickly escalates perceived fatigue even if the fit feels okay.
Finally, a static posture — head slightly forward, shoulders tense, eyes fixed — accelerates muscle fatigue. Players often adopt a narrow range of movement in VR, but small shifts in how you wear the headset, and tiny changes in behavior (moving more, taking brief breaks), can change how your body handles the same weight. Understanding these drivers is the first step to making the Quest 2 feel lighter for longer.
Choosing and installing the right Quest 2 strap
Not all straps are equal. When shopping, focus on three common styles: halo (or halo-like) straps, Elite-style cradle straps, and battery-integrated straps. Halo straps wrap around the back and top of the head, spreading weight away from the face and reducing nose pressure. Elite-style cradles use a rigid frame that hugs the sides and crown for very even balance and stability. Battery-integrated straps move mass to the rear, which reduces forward torque but adds overall weight and potential heat near the back of the head.
Material and padding matter as much as shape. Look for memory foam or EVA padding with breathable covers; mesh panels can help wick sweat during long sessions. Durable frames — reinforced plastics or lightweight metal components — keep tension even and prevent sagging. Avoid straps that dig into the temples or leave gaps around the face gasket: either extreme creates pressure points or allows slippage, both of which increase fatigue.
Install basics for beginners:
- Power down the Quest 2 and locate the stock strap release tabs on each side.
- Remove the factory strap gently, then align your new strap’s anchors with the headset’s mounting slots — start at the top to center weight.
- Click the anchors into place, attach side anchors, and secure any clips or fasteners.
- Do an initial fit test: the headset should sit even on the face without visible gaps or pinching; tighten straps progressively rather than all at once.
Choosing the right strap is partly preference, partly how you play: seated social VR favors softer halo straps, high-intensity fitness sessions might benefit from a rigid Elite-style cradle plus extra rear fixation.
Fine-tuning fit: strap height, length, and comfort pads
Fit is iterative. Small changes in strap height or pad thickness can dramatically alter how the headset distributes pressure. Start by adjusting the top strap to shift load away from the forehead and toward the crown: loosen, slide the top strap upward about 1–2 cm, then tighten evenly. The headset should remain balanced when you look up — if it tips forward, move the top strap slightly higher or add a rear counterweight.
Next, tune the side straps. Tighten them in small increments, aiming for even tension so the headset hugs the temples without pinching the cheeks or behind the ears. A useful rule: if you can insert two fingers between the strap and your head easily, it’s likely not too tight for stability but may need a touch more tension to stop slipping during fast head turns.
Upgrade the facial interface for longer comfort. Swap the stock foam for a memory foam or open-cell foam gasket with a moisture-wicking cover. These materials spread pressure more evenly across the cheeks and nose and reduce hot, sweaty contact that can become painful after an hour. Make sure the new pad fills the gasket evenly—gaps create localized pressure and allow light leaks.
Glasses wearers: opt for a glasses spacer or low-profile face pad to avoid temple pressure. Slide the headset on with the temples of your glasses already resting on your face, then tighten the straps until the headset seals gently; don’t overtighten to compensate. If you still feel temple or nose pressure, try a thinner insert or use an optical insert that mounts inside the headset to remove contact altogether.
Weight distribution strategies with accessories
Shifting the Quest 2’s center of gravity rearward is one of the most effective ways to reduce neck torque. Rear counterweights — commercial or DIY — can transform how the headset feels. Commercial counterweights attach with Velcro and are designed to distribute mass low and toward the back of the strap. DIY options like a small coin pouch, fishing weights, or a compact power bank work well too: secure them in a pouch at the rear of the head strap and test different placements until the headset feels centered.
Battery packs provide a double benefit: extra runtime and rearward mass. Choose a compact, light external battery and attach it to the back of an Elite strap or halo strap using a built-in pouch or Velcro mount. Aim to keep the pack centered over the occipital bone (the prominent bone at the lower back of the skull) to maximize ergonomic benefit. Avoid oversized batteries that add more weight than they offset.
When adding accessories, remember two rules: minimize front-loaded mass and test balance before long sessions. Lightweight faceplate mods, thick thermal lenses, or heavy third-party front accessories can defeat the advantage of a rear counterweight. Favor wireless and low-mass controllers and remove unneeded attachments during long sessions. If you use a heavy accessory for immersion, counterbalance it with a rear weight rather than tightening straps enough to create pressure hotspots.
Posture, breaks, and movement patterns for long sessions
Ergonomics in VR extends beyond the headset: your body alignment, movement patterns, and break routines determine whether a two-hour session leaves you energized or sore. Aim for a neutral spine and relaxed shoulders. Whether sitting or standing, keep your ears roughly over your shoulders and hips, and set chair or monitor height so elbows rest at about 90 degrees while holding controllers. This alignment reduces forward head drift and distributes weight across larger muscle groups instead of overtaxing small neck muscles.
Plan micro-breaks: short, regular rests beat rare long pauses. Simple routines to reduce cumulative fatigue:
- Every 10–15 minutes: 30–60 seconds to blink, reset gaze, and relax shoulders.
- Every 45–60 minutes: 5–10 minute break to step away, walk, and perform a few stretches.
- Use a timer or app reminder to make breaks habitual rather than reactive.
In-session movement matters. Gentle neck tilts, shoulder rolls, and full-body steps restore circulation and re-center your posture. Keep your play area clear so you can rotate or take a small walk during breaks. Environmental tweaks help too: reduce glare and harsh lighting, choose a supportive chair for seated play, and use flooring or mats that encourage small balance shifts during long standing sessions.
Neck, shoulder, and eye exercises to use during breaks
Fit a set of quick exercises into your micro-breaks to reduce strain:
- Chin tucks: 6–8 reps with a 2–3 second hold to relieve anterior neck tension.
- Controlled head turns and lateral stretches: 6–8 reps per direction and 10–15 second lateral holds.
- Scapular squeezes and shoulder rolls: 10 scapular squeezes holding 5 seconds each, then 8–12 shoulder rolls.
- 20-20-20 eye breaks: every 20 minutes, look at something 20 feet away for 20 seconds and blink slowly several times.
- Box breathing for relaxation: inhale 4, hold 4, exhale 4, hold 4 for two cycles.
These moves only take a couple of minutes and they dramatically lower perceived fatigue when practiced consistently.
Care, maintenance, and longevity of Quest 2 comfort gear
Comfort degrades gradually. Routine maintenance extends lifespan and preserves comfort: clean sweat-prone areas after each long session, rotate removable padding for drying, and store straps flat instead of folded to prevent permanent creases. Use a mild antibacterial wipe or a damp cloth with a tiny amount of soap for foam covers; avoid saturating the foam. For cloth covers, follow manufacturer washing instructions if removable — many are machine-washable on a gentle cycle in a mesh laundry bag.
Inspect wear points monthly: check strap anchor points, Velcro seams, and foam compression. Look for thinning or hardening of foam, loose stitching, or plastic fatigue at pivot points. Replace components proactively — don’t wait until hotspots appear. As a guideline, face pads and thin foam inserts often need replacement every 6–18 months for heavy users (many hours per week), while straps and frames typically last longer but should be swapped at the first sign of structural damage.
Battery-equipped accessories deserve extra attention. Keep external battery packs away from excessive heat, and use short cables or integrated mounts to avoid tugging on the strap anchors. Clean contacts periodically and replace batteries if runtime or temperature behavior changes—swollen or hot packs should be retired immediately.
Cross-compatibility and accessory considerations
Third-party accessories unlock comfort gains, but compatibility and balance must be evaluated case-by-case. Many aftermarket straps, face gaskets, and optical inserts are designed specifically for the Quest 2 mounting geometry, and well-built options will fit without modification. When considering accessories made for other headsets (or new, high-end headsets like Apple Vision Pro), check mounting points, weight, and how the accessory changes the center of gravity.
Safety checklist before adding a non-Oculus component:
- Verify mechanical compatibility—does it mount securely without forcing the headset shell?
- Assess mass distribution—will it add front weight or help rebalance the headset when mounted to the rear?
- Confirm electrical compatibility for battery packs—use only recommended cables and avoid routing heavy cables across the face gasket.
Some high-end accessories promise better comfort but add bulk. A heavy rear pod can help balance a front-heavy headset but may increase overall neck load if oversized. Always trial accessories in short sessions and tune strap tension accordingly. If an accessory makes you tighten straps significantly to compensate, it’s likely creating new pressure points rather than solving the problem.
Quick-start install and troubleshooting for beginners
Here’s a practical, step-by-step quick-start to install a comfort strap and run a fit test that addresses common early-session issues.
- Power off your Quest 2, remove the stock strap by pressing the side release tabs, and set it aside.
- Align the new strap’s top anchor to the headset’s top slot and snap it in; attach the two side anchors next.
- Tighten the top strap so the pad rests on the crown without pressing into the forehead. Tighten side straps evenly until the headset sits snugly without pinching the cheeks.
- Put the headset on and look up, down, and side-to-side; the headset should remain stable and not slide forward on upward gaze.
- Adjust IPD and lens distance to maximize sharpness; if text or UI looks blurry, try small IPD increments and recheck focus after each change.
- Play a short 10–15 minute session with dynamic head movements to verify there are no hotspots. If you feel slipping, add 1–2 mm more tension to side straps; if you feel pressure, either move the top strap slightly back or add a light rear counterweight.
Common fit issues and fast fixes:
- Slippage during head turns: slightly tighten side straps or raise the top strap toward the crown; add a small rear counterweight if slippage persists.
- Hotspots on the nose: move the top strap higher, swap to a thicker face pad or use a glasses spacer.
- Blurry image and eye strain: recheck IPD, then lens distance; if problems persist, consider an optical insert or a professional eye check for binocular issues.
- Excessive heat at the rear with battery pack: reduce battery size or add a breathable pad between the pack and the skin.
Start conservatively and make small adjustments. Comfort is a combination of equipment choices and consistent habits: tune your strap, check your posture, and take regular micro-breaks. The combination will keep your longest sessions feeling fresh.
Next step: pick one adjustment—raise the top strap, add a light rear counterweight, or upgrade your face pad—and test it in a 60-minute session. Measure comfort before and after, and iterate from there; incremental changes yield surprisingly large gains.


Compartir:
Vision Pro Comfort Strap: Materials, Durability, and Longevity Explained
Choosing a Compatible Battery Pack for Meta Quest 2: Safety, Capacity, and Performance