Ergonomic Vision Pro Setups for the Home Office: Balance the Load, Protect Your Neck, and Stay Comfortable for Long Sessions
Wearing an AR/VR headset for hours—whether the Apple Vision Pro, Meta Quest, or PSVR—changes the geometry of your entire workstation. A well-balanced headset and a thoughtfully arranged desk reduce neck torque, prevent the micro-corrections that fatigue your temples and shoulders, and keep you in a productive flow. This guide gives practical, device-agnostic steps you can apply at home: how to center weight on the skull, which cushions and neck supports actually help, smart ways to dock and lift the unit, and the posture habits that make long sessions sustainable. ⏱️ 14-min read
Read this as a playbook: follow the step-by-step fit checks, try the accessories and mounting options that match your space, and use the checklists and mini-cases to quickly test whether your adjustments are working. The goal is not perfect gadgetry—it's a repeatable setup that preserves neutral alignment, reduces strain, and makes switching between headset tasks and regular desk work nearly painless.
Vision Pro weight distribution and fit optimization
Small shifts in where a headset’s mass sits have outsized effects on neck comfort. The principle is simple: move the center of gravity as close to your skull’s midline as possible so your neck muscles don't have to constantly fight forward or backward torque. Start with a short, repeatable protocol: sit upright, relaxed, and let the headset rest as you would for a long session. Nod gently and tilt your head to see whether the device rocks forward or back.
If the Vision Pro (or any headset) tilts forward, increase crown contact and consider a subtle rear counter-pad; if it tilts back, ease the top strap and bring slightly more pressure to the forehead band. Aim for a firm but comfortable crown contact along the top of your skull—enough to stabilize without pinching. A well-centered fit eliminates the tiny, constant corrections your muscles otherwise perform and keeps the display aligned with your eye line.
Tune side straps and the facial seal next. Begin with the lateral straps snug but not tight, and the crown strap relaxed. If you notice slippage during saccadic eye movements or quick gaze changes, tighten in small increments and re-check cheek and under-eye contact. Avoid over-tightening: pressure hotspots around the temples, behind the ears, or across the nose cause headaches and red marks. For repeatability, adopt a simple checklist you run before every session—seat squarely, align the headset vertically, set crown tension, secure side straps, and do a quick tilt test. This produces a reliable baseline you can reproduce quickly and keeps mid-session fiddling to a minimum.
Comfort accessories for head, neck, and face
Material and shape choices matter as much as how tight a strap is. Facial interfaces should balance pressure distribution, breathability, and hygiene. Memory foam gives plush, form-fitting support but can trap heat; gel-infused foams and open-cell cores dissipate heat more efficiently. Choose covers with moisture-wicking fabrics or ventilated mesh panels when sessions stretch past an hour. For oily or acne-prone skin, antimicrobial or hypoallergenic covers reduce irritation; if you have dry or sensitive skin, softer edges and gentler seals protect the nasal bridge and cheekbones.
Gasket design affects both comfort and optical alignment. Too loose a seal lets light leak and forces you to micro-adjust; too tight a seal amplifies pressure points. Run the pinch-and-press test: with the headset on, press along the gasket and feel for even compression—no concentrated pressure at the nose, cheeks, or temples.
Neck supports come in discreet forms that actually help. A slim occipital pad built into or attached to the rear band pushes a small fraction of the headset’s mass toward the back of the skull, reducing forward head tilt without interfering with sensors. Low-profile EVA or flexible foam covers with breathable fabric work best—choose adjustable mounts so the pad sits where your skull naturally curves. For temporary relief, don’t underestimate a removable crown cushion: it redistributes pressure across the skull and reduces lateral slip. Keep accessories washable or easy to wipe down; extended wear magnifies sweat and skin-contact issues, so cleanable materials protect both comfort and longevity.
Lifts, stands, and mounting solutions for easy access
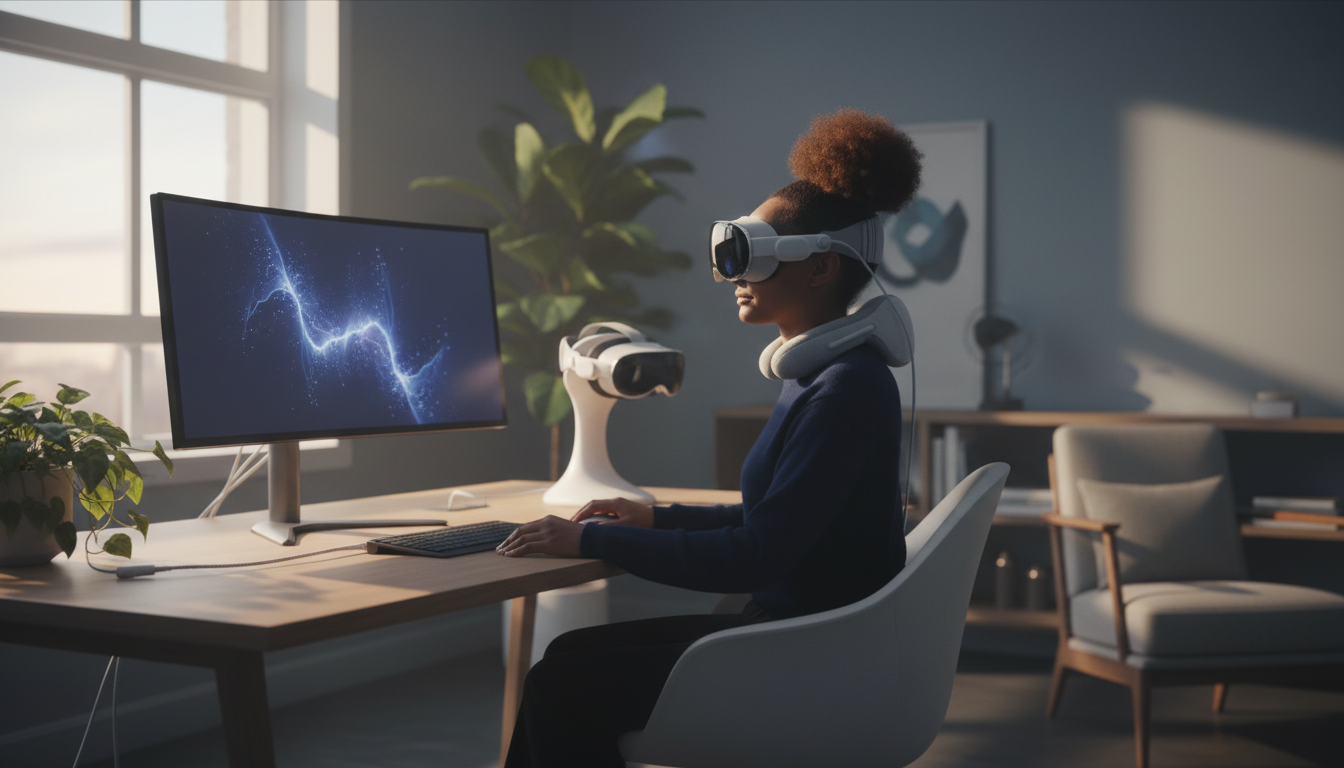
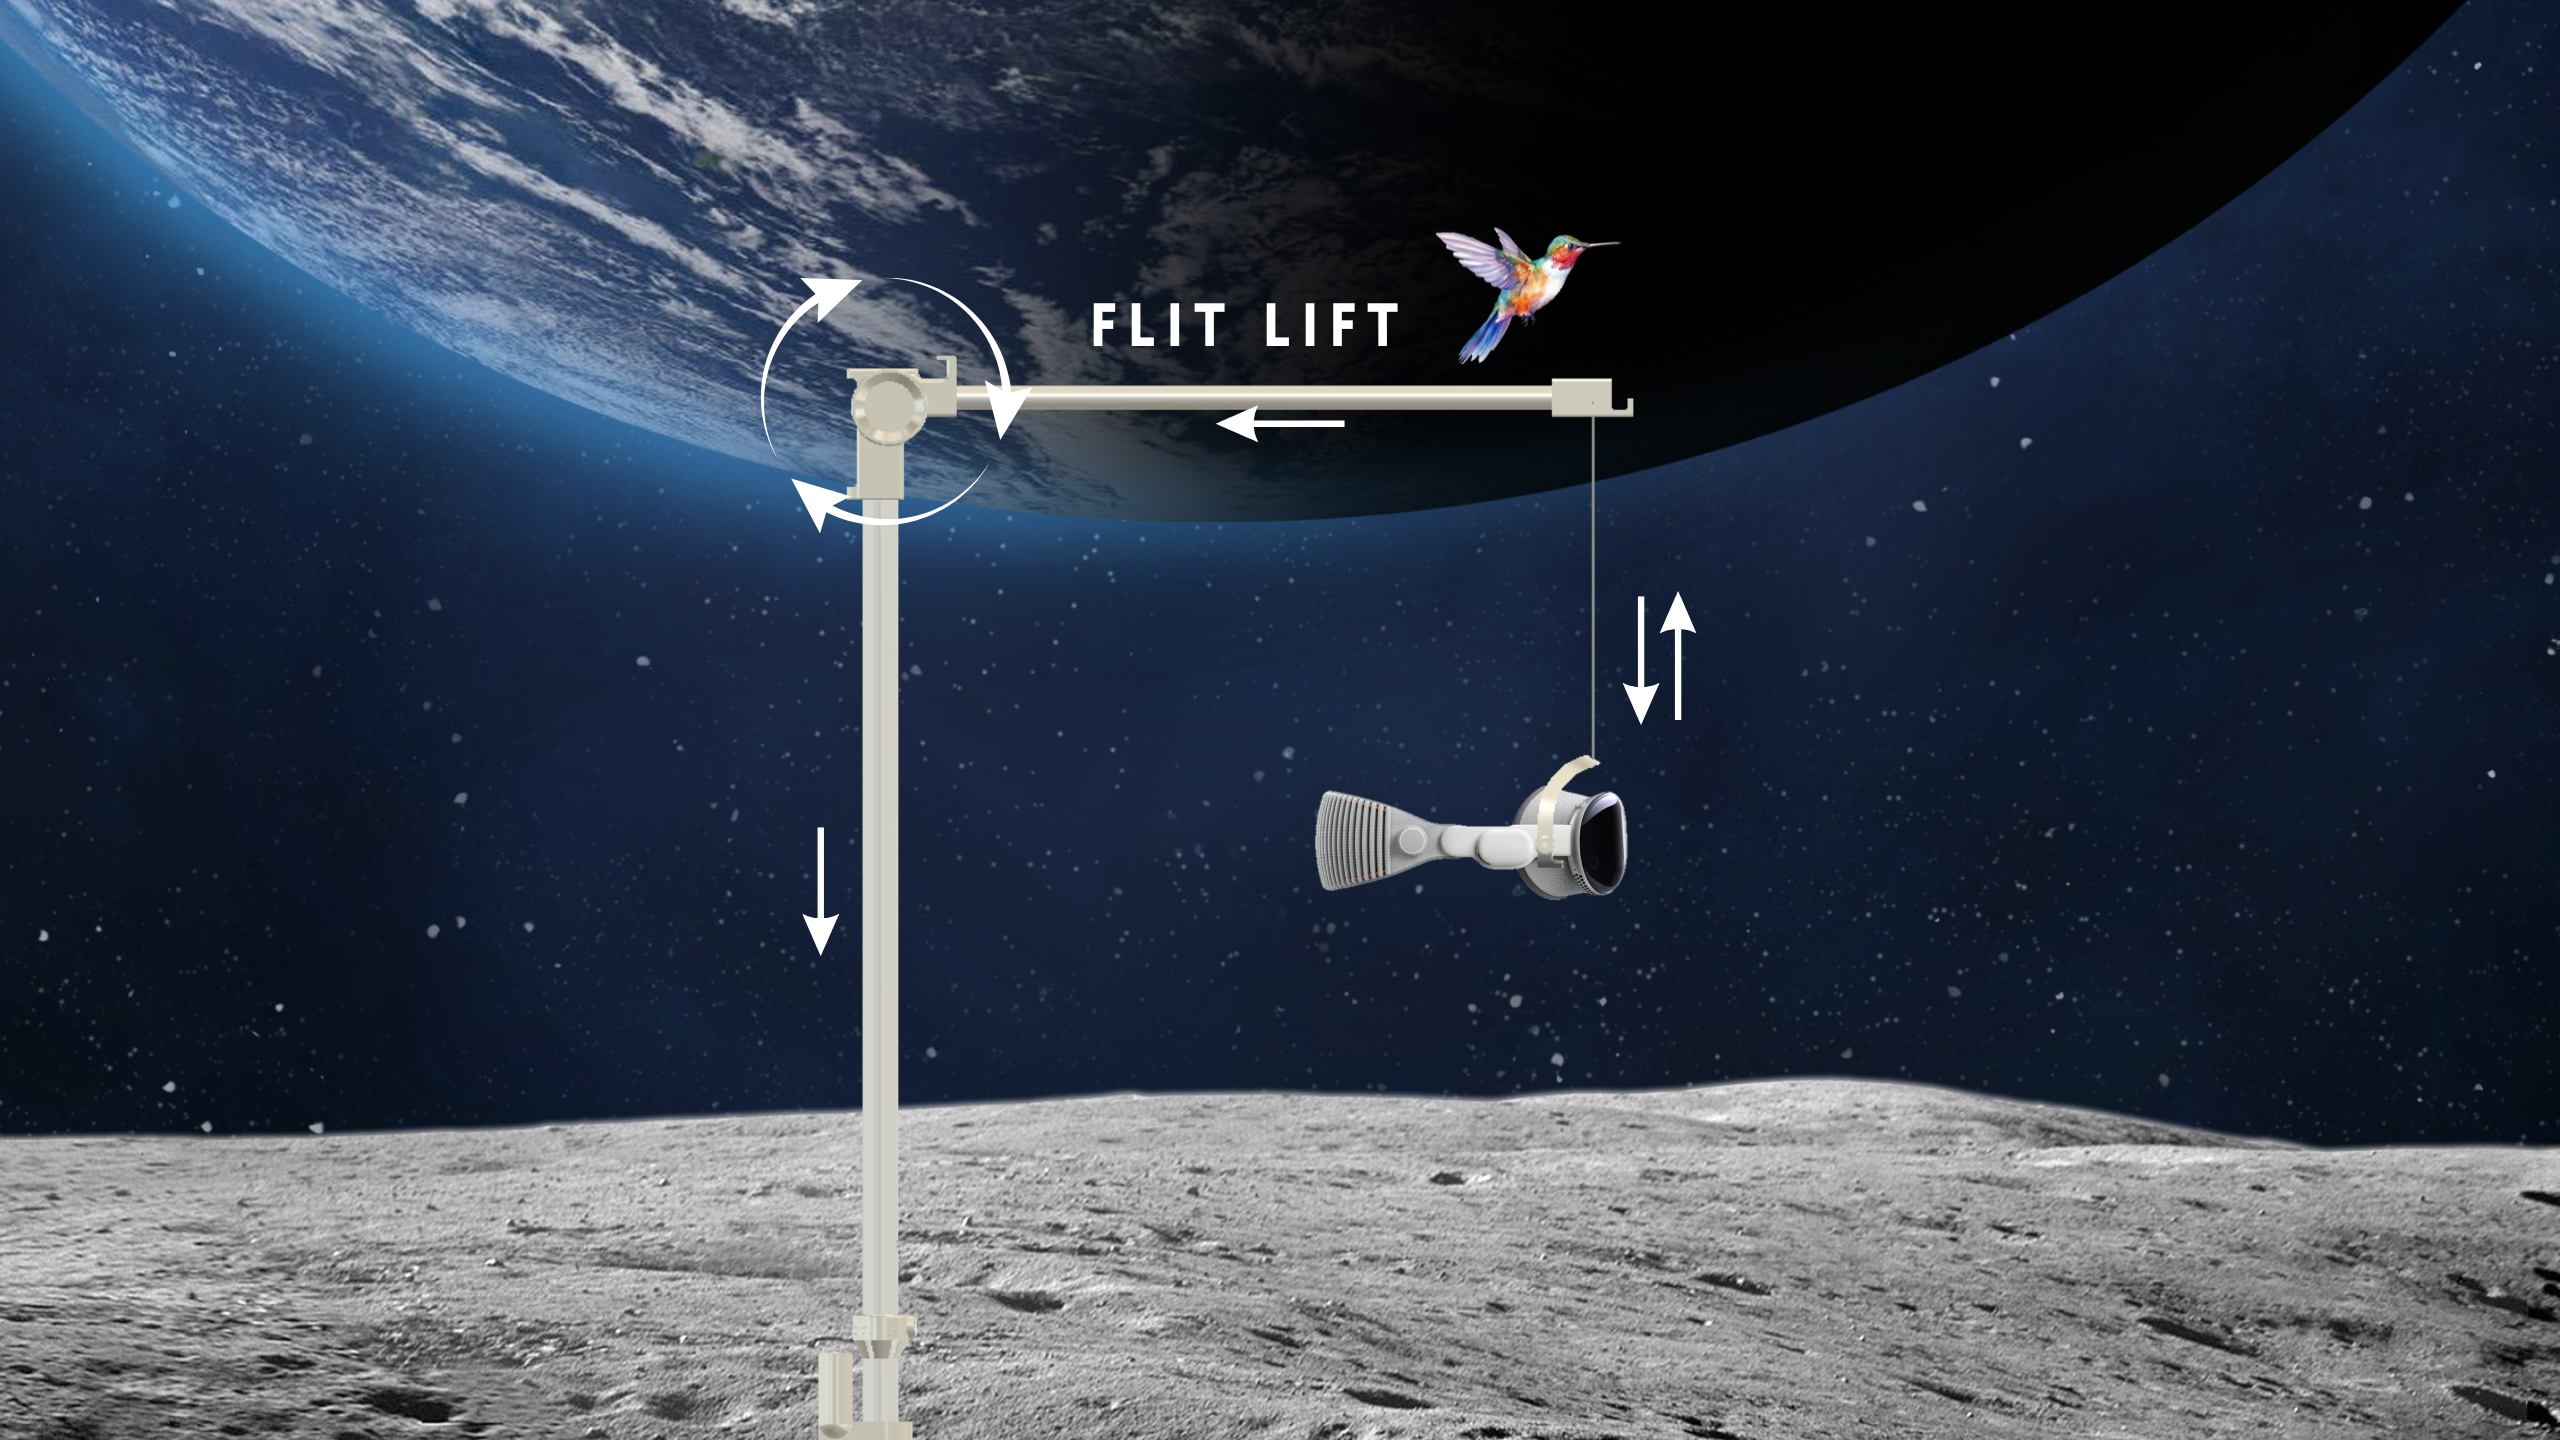
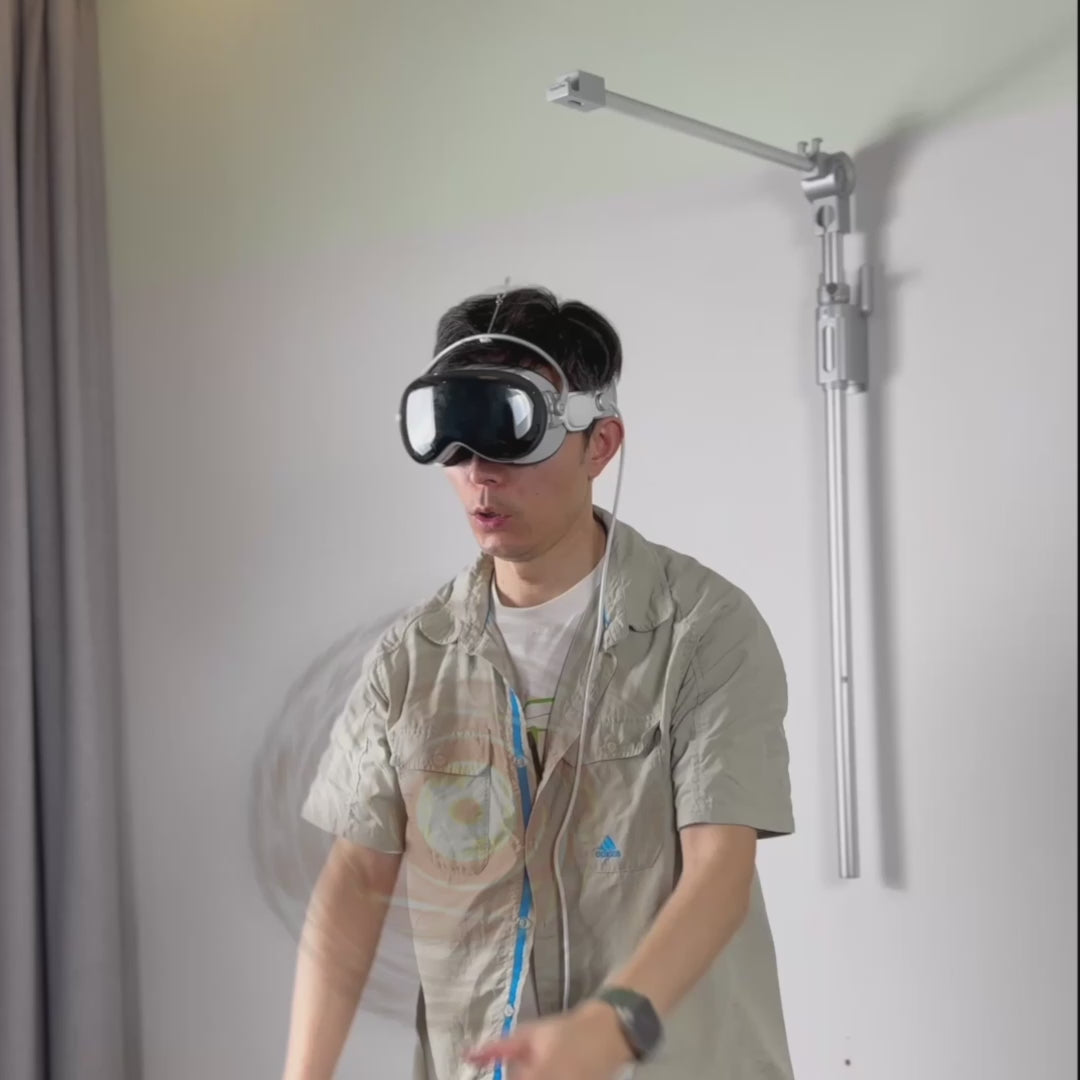
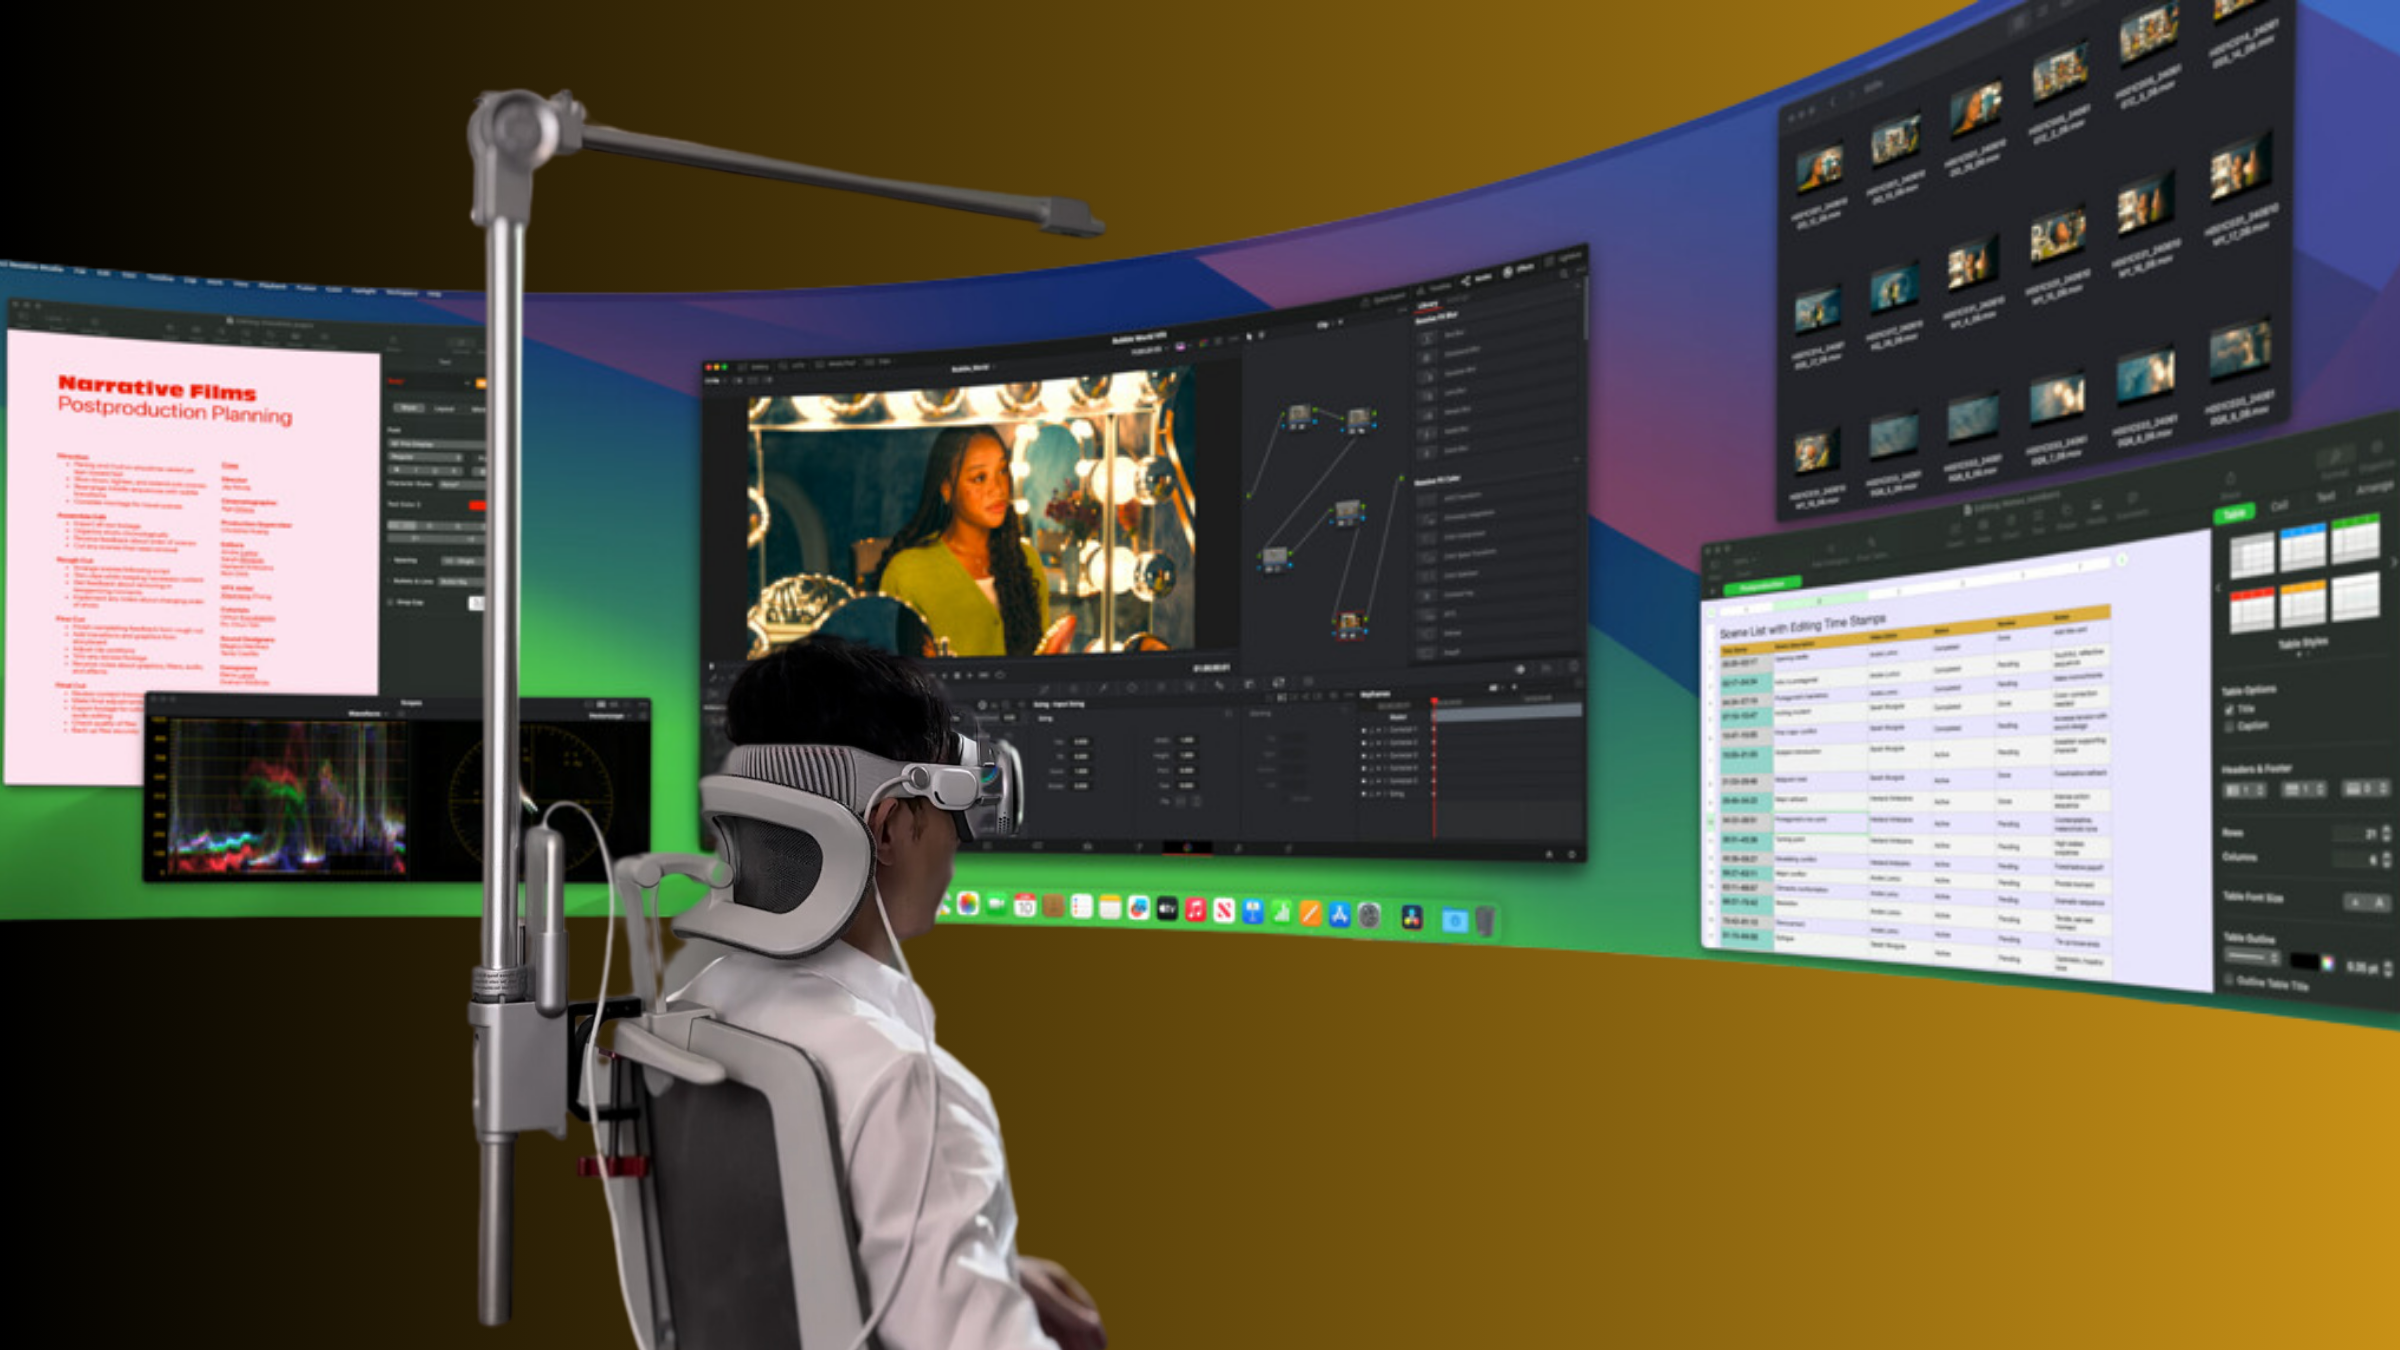
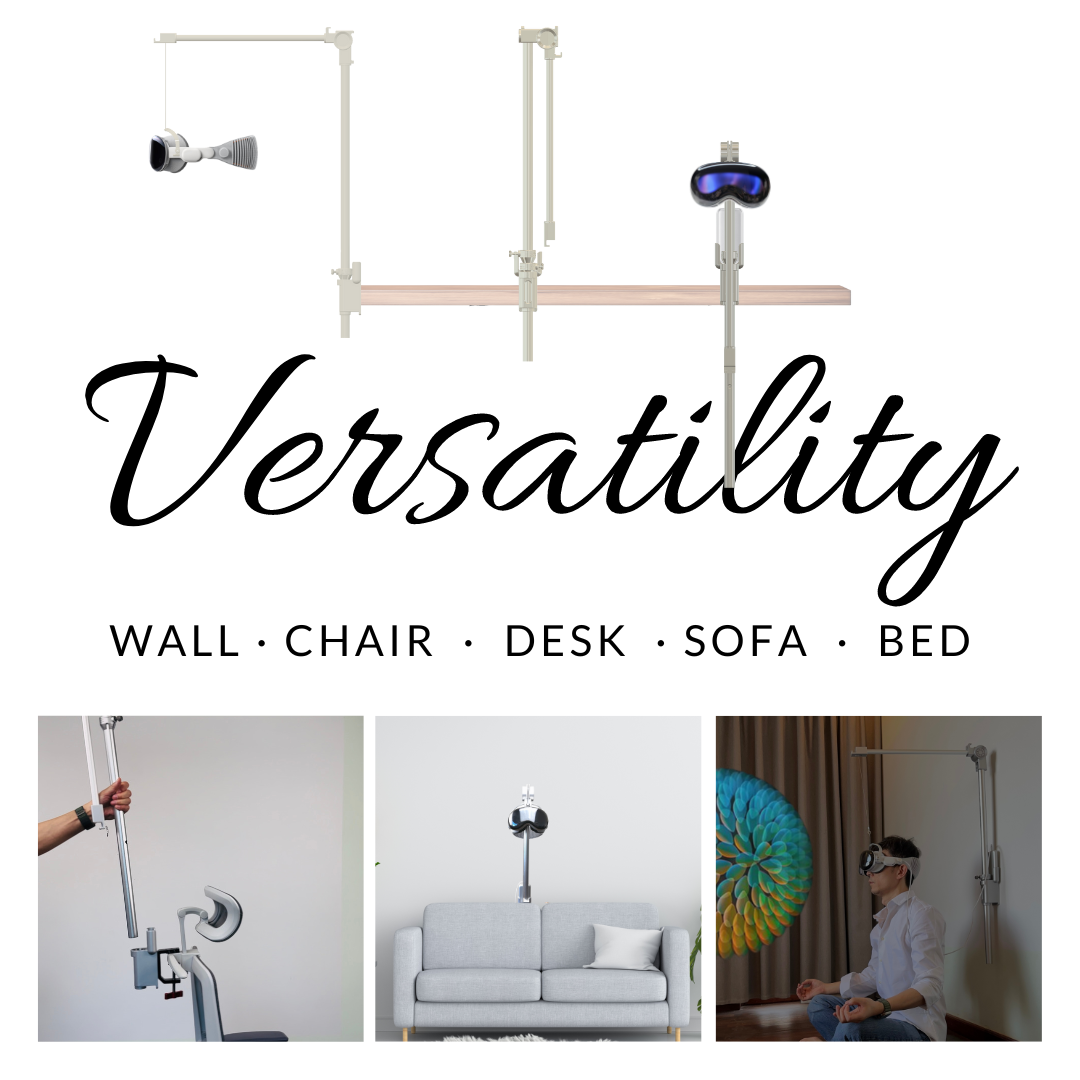
Mounting your headset within easy reach changes how you interact with it and how your body moves between tasks. Desk arms and lifters let you bring the Vision Pro to eye level without changing posture; wall brackets reclaim desk space and let you slide the headset out of the way. When choosing a mount, prioritize a solid weight rating, quiet, predictable motion, and a one-handed reset so you don’t create new wrist or shoulder strain each time you lift or set down the device.
Quick-release mounts and magnetic detents simplify donning and doffing. A magnetic detent that clicks into the same angle each time removes the need to eyeball alignment and reduces repetitive micro-adjustments. Look for detents that provide positive feedback without demanding force to release—this avoids jerking the headset out of position. If you share devices, choose a dock with an easy latch or snap that can be operated one-handed so interruptions—calls, someone at the door—don’t force you to twist and reach awkwardly.
Quick-start integration steps for a home desk:
- Place the stand or arm to your dominant side at roughly arm’s length so you can reach without twisting your torso.
- Test vertical range: the headset should lift to eye level and lower safely out of the way without hitting other equipment.
- Lock or mark your preferred detent angle so it’s repeatable; adjust after a short trial session rather than guessing.
- Route cables through integrated channels or under-desk trays to keep them from tugging when you move the arm.
These steps keep the device accessible, reduce unnecessary arm and neck movements, and make swapping between headset and keyboard smooth.
Stowage, protection, and desk-ready integration
A tidy, reliable home-office routine begins with where you keep the headset. Vertical stands with cushioned bases and protective hoods are a strong starting point: they store the Vision Pro upright—minimizing pressure on facial cushions—while a hood blocks dust and accidental bumps. Position the stand on your dominant side at comfortable reach so you guide the headset into view without leaning or craning your neck. A soft, stable base prevents sliding, protects desk finishes, and is less likely to let a headset topple during a quick movement.
Docking stations with integrated cable routing and power are even more convenient. They centralize charging and keep power cables off the desktop surface, reducing the chance that a stray cord tugs the headset while you move. Choose docks that offer tidy clips or channels: run the power through the base, clip any controller cables out of the way, and leave a short, gentle slack loop so you can tilt the headset without pulling. Some docks combine a protective hood, vertical stand, and a channel for earbud storage—these are ideal if space is at a premium.
Adopt a storage routine that favors reachability and safety: always return the headset to its stand after use, park controllers in designated slots, and wipe facial interfaces with a recommended cleaner weekly or after heavy use. Keep the stand outside of your immediate walk path to prevent accidental knocks, but within a short, neutral arc of the keyboard to avoid awkward reaches. This small ritual reduces the mental friction of switching devices and preserves a neutral spine so you stay comfortable across the day.
Cross-device comfort upgrades for Vision Pro, Quest, and PSVR
If you move between headsets—Vision Pro at work, Quest for breaks, PSVR for gaming—consistency reduces repeated posture corrections. Start with a shared baseline: a soft crown pad, a stable rear band or counterweight, and easily reachable adjusters. Aim for light forehead contact rather than heavy clamping; excess forward pressure shifts the center of mass and increases neck load. Where possible, use modular pads or adhesive-based pads with similar thickness so the headset’s height and balance remain consistent across devices.
Counterweights and rear padding are useful cross-device fixes. A small, removable weight at the occiput moves mass rearward and is less intrusive than bulkier strap systems. On devices with different strap geometries, replicate the same head angle with removable spacer pads: place them where the original headset contacts your crown or forehead so your chin-to-eye height and horizontal balance stay roughly the same between headsets. This reduces the need to habitually tilt your head to re-center optics.
Also plan cable routing consistently. Tidy, identical cable paths across devices mean you won’t introduce torque on your jaw or neck when a cord snags. Glasses wearers should prioritize optical inserts and verify lens-to-eye distance stays consistent: small changes in backset change focus and often trigger forward lean. Finally, adopt the same quick fit-check for every headset: loosen crown, tighten rear until balanced, check for slip during head turns. The habit alone will keep postural strain low even when you switch tech.
Posture and ergonomics for extended use
Even the best-balanced headset can’t substitute for good posture. Use an adjustable chair with firm lumbar support and set seat height so your feet rest flat, shins are vertical, and elbows sit near 90 degrees while typing. Maintain a slight natural curve in the lower back—lumbar support helps—and a seat depth that leaves a two- to three-finger gap behind the knees. A small forward tilt of 0–5 degrees on the seat pan can ease pressure without promoting slouching.
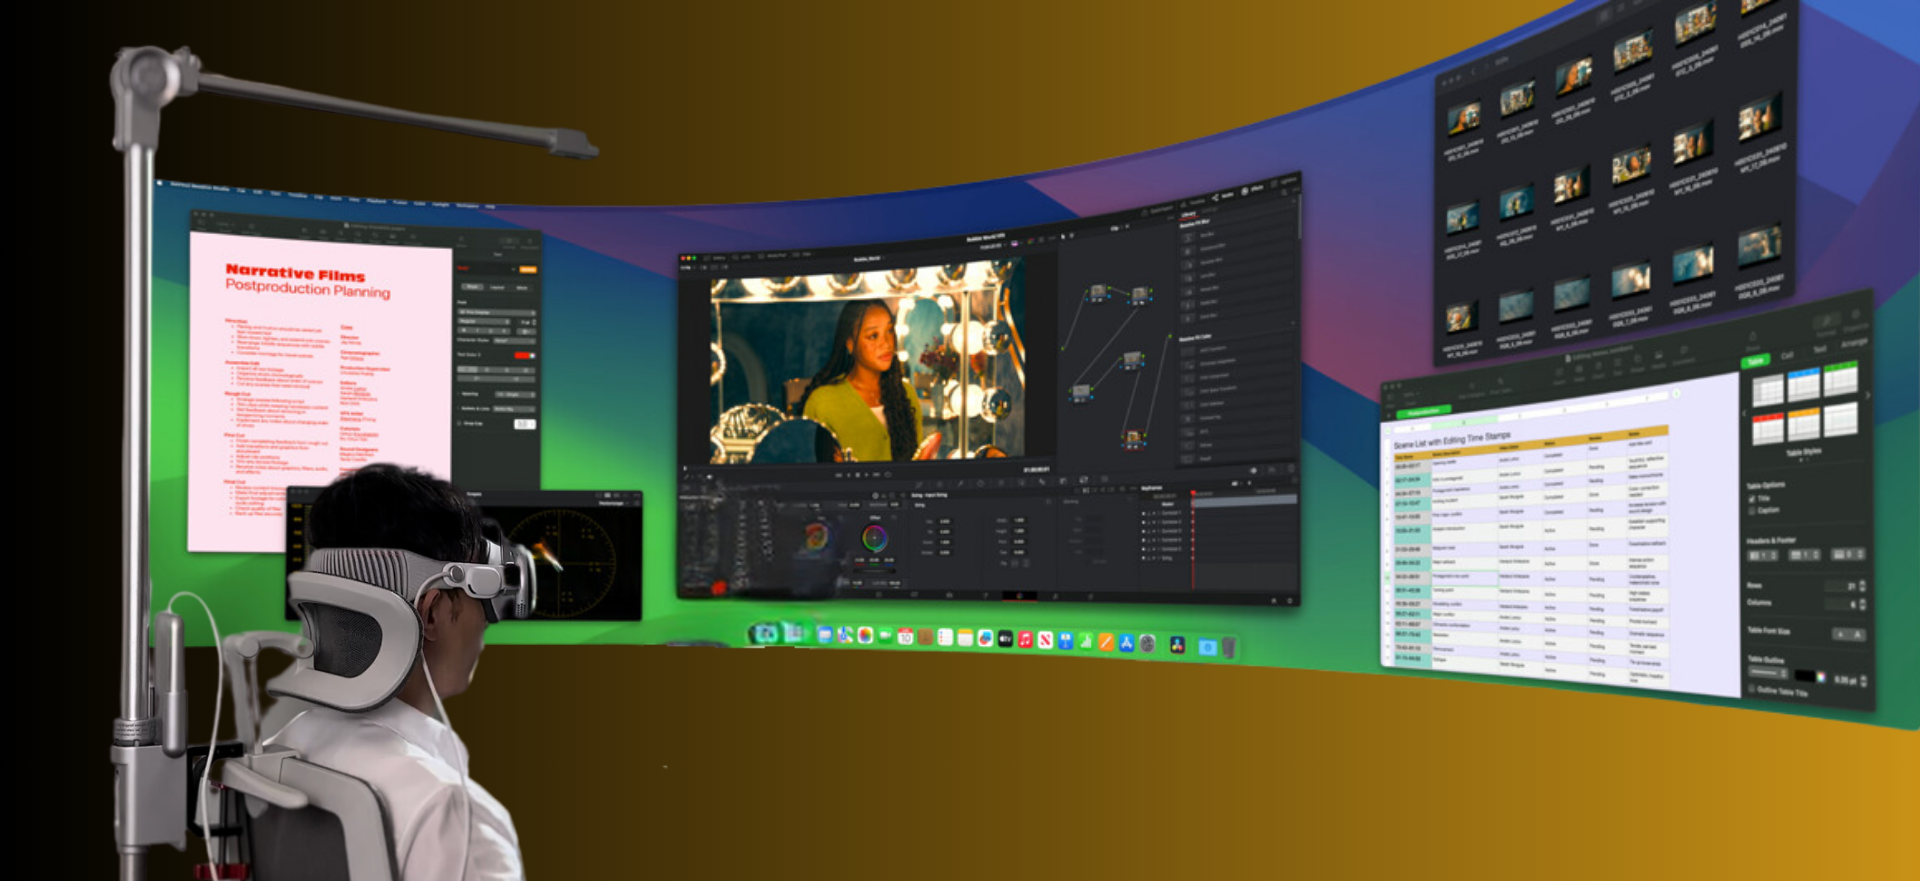
Align external displays and your work geometry so shifts between the Vision Pro and a monitor don’t demand large neck excursions. The top of the monitor should sit at or just below eye level and be about arm’s length away (roughly 50–75 cm). Position keyboard and mouse on a shallow arc, within easy reach, so you glance forward rather than reach or twist. When you wear a near-eye display, try to keep your head in neutral: small head rotations are fine, but avoid sustained forward tilt or rotation.
Schedule micro-breaks and stretches to reset posture. Work in 25–30 minute blocks and take 1–2 minute breaks to stand, walk, and perform a compact stretch set: gentle neck tilts (ear to shoulder), slow rotations, shoulder rolls, chest openers, and wrist stretches. These moves restore circulation, loosen shoulders, and reset the neuromuscular patterns that accumulate strain. Keep a short checklist near your desk so you run a posture check at the start of each block—ears over shoulders, chin neutral, spine tall, hips back—and adjust if something feels off. Watch for early fatigue signs—eye strain, headaches, persistent tightness—and recalibrate instead of pushing through.
Vetting Kickstarter and third-party comfort accessories and safety
New accessories often arrive first on crowdfunding platforms. Many are creative and useful; some aren’t ready for daily use. Before you back or buy, apply a pragmatic vetting process. Start with creator credibility: do they have a history in ergonomic products? Do they publish testing data, materials specifications, and contactable support? Projects that provide independent testing, clear material safety notes, and a transparent production timeline are inherently lower risk.
Look for recognized certifications or lab test summaries—CE, UL, or similar markings—and verify that any claims about antimicrobial finishes or medical-grade foams are supported by documentation. Read long-term user reviews and update threads. Backers who received prototypes will report fit issues and durability problems that short run posts usually miss. If the vendor avoids direct communication or relies on anonymous testimonials, treat the product as higher risk.
Compatibility checks are essential. Confirm dimensions, attachment mechanisms, and mass so the accessory won’t block sensors, ventilation, or optical paths on Vision Pro. For glasses wearers, ensure the accessory preserves lens inserts or allows adequate clearance. Finally, check return and warranty policies: a reliable vendor will offer at least a limited warranty and reasonable return window for comfort items, since personal fit is subjective. If possible, prioritize sellers who stand behind their products with clear support channels and documented replacement parts.
Cable management and power solutions to minimize tension
Cable tug is an overlooked ergonomics issue: when cords pull unexpectedly, your head, neck, and shoulders compensate. Keep cords off your desktop and out of movement paths with a deliberate cable strategy. Prefer wireless or long-range charging when possible; these remove the biggest sources of tug and simplify posture. When tethering is unavoidable, position chargers and power modules at the desk edge and route cables through under-desk trays or adhesive clips placed every 30–50 cm.
Plan routes that leave gentle slack loops—these absorb movement without pulling. Use soft cable sleeves to tidy multiple leads and reduce friction against each other. Secure cables near the headset’s mount and at one or two anchor points before they reach the power source; this concentrates motion at controlled pivot points rather than letting a cord yank the unit. Keep cable paths away from areas you habitually slide your chair in or out to prevent catches that cause sudden neck adjustments.
When charging while you work, set up a dock that keeps the headset resting at a predictable angle so you’re not compensating for a sagging cord. Label power connections and keep a small toolkit (Velcro ties, cable clips) at your desk so you can tweak routing after a trial session. The small investment in neat routing pays off in fewer micro-recoveries and a calmer, more ergonomic experience across long sessions.
How to Do It: Step-by-step setup and quick-start checklist
Set aside 15–20 minutes for a one-time setup that you’ll repeat with small checks before each day. Gather an adjustable chair, a monitor on a stand or arm, a tape measure or ruler, and a few small cushions or pads you might use for testing. If you wear glasses, bring them into the setup process; optical inserts should be tested here as well.
- Prepare the workspace: Set chair height so feet are flat and knees about 90 degrees. Mount your monitor with the top edge at or slightly below eye level and about arm’s length away (50–75 cm).
- Fit the headset: Don the Vision Pro, loosen the crown strap, and tighten the rear strap until the headset sits balanced on your occiput. Tighten side straps until snug, check facial seal, and perform the tilt test—nod and turn your head to see if it slips or rocks.
- Fine-tune balance: If it tips forward, add a thin rear pad or counterweight; if it tips back, ease crown pressure and add a crown cushion. Re-check the seal and comfort across a 10-minute mock session.
- Mount and route: Place the stand or arm at arm’s length on your dominant side. Attach cable channels, run power to the dock, and leave gentle slack loops. Test quick-release and detents for one-handed operation.
- Posture ritual: Before each session—ears over shoulders, chin neutral, lumbar supported, feet flat—perform a two-minute visual and neck check. Use the 25–30 minute work blocks with 1–2 minute micro-breaks to stand and stretch.
Maintain a brief maintenance schedule: wipe and air out facial pads weekly, inspect straps and anchors monthly, and re-run the fit checklist after any hardware change or long session. Track subjective comfort in a simple log—session length, any hotspots, and which adjustments improved or worsened them—and iterate. This data-guided approach keeps small problems from turning into persistent pain.
Real examples & quick mini-cases
Example A — Small home office, big impact: A remote designer mounted a 24" monitor on an arm and moved the headset stand to the dominant side at arm’s length. They swapped the factory crown pad for a low-profile memory foam cushion and added a slim occipital pad. Within two weeks, reported neck and upper-back tension dropped noticeably and headaches faded. The quick-release mount reduced re-adjustment time and kept the headset aligned on the first try.
Example B — Mixed-use gaming and work setup: A gamer who alternated between Quest and PSVR adopted modular spacers to preserve headset height and balance. They used a simple counterweight at the back of each strap and standardized cable routes with an under-desk tray. The result: fewer forward head tilts during long multiplayer sessions and a smoother transition back to keyboard work without residual neck stiffness.
Mini-case checklist you can copy:
- Measure: top of monitor at eye level, headset lenses aligned in a neutral head position.
- Balance: perform the tilt test and add or remove crown/rear padding until neutral.
- Store: place dock at arm’s length, dominant side, with cables routed under desk.
- Habit: use 25–30 minute blocks and 1–2 minute micro-breaks for neck releases.
Next step: run the 15–20 minute setup now—use the checklist above, jot down one or two immediate pain points, and test a single change. Small, repeatable adjustments compound: balanced weight, clean cable routing, and a brief posture ritual are what make Vision Pro and other headsets wearable for long, productive sessions.



Compartir:
PSVR Comfort Upgrades: Head Strap, Face Gasket, and Weight Balance That Actually Works
Accessibility First: How Weightless Comfort with Flit Lift Opens VR to More Users