PSVR Comfort Upgrades That Actually Work: Head Strap, Face Gasket, and Weight Balance—A Field-Tested Path to Longer Sessions
If your PSVR leaves you with a sore forehead, a greasy gasket, or a tired neck after an hour, you’re not alone. Comfort is the most common limiter for long VR sessions, and small, targeted upgrades can make the difference between a painful break and a marathon playthrough. This guide lays out a practical, field-tested upgrade path: assess where the headset hurts, choose the right head strap, refine the face gasket and padding, tune the center of gravity, and adopt donning and posture habits that keep the headset comfortable and tracking reliably. ⏱️ 12-min read
Every recommendation below is framed as a hands-on step you can test and reverse. Expect concrete fit cues, material trade-offs, and short diagnostic routines you can run in your living room. If you own a PSVR and want real improvements—fewer hotspots, less fog, and less neck strain—read on.
Assessing PSVR Comfort Pain Points
Start by mapping the problem. Wear the headset for two short sessions (20–30 minutes each) and pay attention to three categories: contact hotspots, thermal buildup, and stability. Use a simple notepad or your phone to record where you feel pressure—the forehead crown, temples, cheeks, or the nasal bridge—and note whether the headset slides, tilts, or needs frequent readjustment. Redness, numbness, or a persistent line on the skin after a session reveal the exact pressure points to target with upgrades.
Heat and moisture are equally diagnostic. If sweat accumulates around the eyes or cheeks, or if breath fogs the lenses after a few minutes of play, the gasket may be compressing into an airtight seal that traps humidity. Watch how the gasket behaves over time: does it compress and stay tight, or does it loosen and let in light? That pattern tells you whether you need thicker or more breathable padding. Finally, quantify stability: note any slipping during quick turns, how tight the straps feel, and whether you must tilt your head forward to keep the horizon level—signs that weight distribution is off.
Make a matrix: point of discomfort vs symptom (redness, heat, slip, tilt). This map becomes your upgrade checklist. For example, forehead redness with forward tilt points to front-heavy bias and an aggressive forehead contact area; temple soreness with slipping suggests poor lateral support or surface friction problems. Having these clues before you buy anything narrows options and reduces returns.
Choosing a Better Head Strap for Stability and Comfort
A head strap is the keystone of comfort: it governs contact distribution and how the headset reacts to motion. There are three core design families to consider—single-strap, dual-strap (halo-style), and full rear-harness—and each has trade-offs. Single straps are minimal and light, but tend to concentrate pressure. Dual and rear-harness systems spread load across the crown, sides, and back, which reduces hotspots and improves stability during quick head movements.
When comparing straps, focus on contact distribution first. The ideal system provides multi-point contact—crown support plus flank or rear contact—so that weight transmits across the skull instead of pinching one point. Look for designs that include a crown pad and a rear cradle; these create a triangle of support that resists wobble without excessive tension.
Materials matter as much as geometry. Memory foam or open-cell foam with breathable, moisture-wicking covers keeps sweat at bay and maintains shape through long sessions. Hypoallergenic, removable covers are preferable if you wear the headset for hours or share it. Pay attention to adjustability: ratchets, micro-adjusters, and secure locking mechanisms allow small incremental changes and stop the frustrating creep common with sliding buckles.
Compatibility and practical features are decisive. Confirm the strap explicitly lists your PSVR model and whether it needs screw mounts or an adapter. If you wear glasses, prioritize straps that increase cheek clearance and have lower-profile side pads. Quick-release features and easy cleaning are bonus points. Expect trade-offs: more padding may add a little weight, but it usually reduces hotspots and readjustments—often a net win.
Upgrading the Face Gasket and Padding
The face gasket is where comfort meets optics: it must cushion the face while sealing against light and limiting fog. Material choice should balance cushion and ventilation. Mid-density foam or a soft medical-grade silicone edge works well: it spreads pressure without pinching and resists flat-spotting over time. Consider dual-density pads—firmer outer support with a softer inner layer—to maintain shape without sacrificing comfort.
Thickness and contour matter. Aim for roughly 8–12 mm in the cheek and jaw zones, tapering toward the nose to avoid blocking the field of view or pressing into the nasal bridge. A contoured gasket that follows facial curves reduces point pressure and keeps the seal even during head movement. If you wear glasses, choose thinner inner profiles or gaskets that create a deeper eye cavity so frames don’t press against lenses or skin.
Ventilation vs. seal quality is a balancing act. A tight seal reduces stray light and improves perceived contrast but can trap humidity. Look for gaskets with micro-channels or perforated hydrophilic surfaces that wick moisture away while preserving a stable seal. Covers made from moisture-wicking fabrics (e.g., polyester blends or treated cotton) reduce slippage and fogging better than plain vinyl.
Finally, hygiene and durability: removable, machine-washable covers are a must if you sweat during sessions. Treat the gasket like a shoe insole—replace it if compression deformation or skin irritation appears. Small adjustments—adding a 1–2 mm foam shim in pressure-prone zones or trimming an inner lip—can dramatically reduce fog and pressure without changing the visual setup.
Weight Balance: How to Tune PSVR's Center of Gravity
PSVR comfort is as much about balance as padding. When the headset’s center of gravity (CG) sits too far forward, the neck becomes a sustained support muscle, and the forehead takes most of the load. A well-centered CG lets the crown and rear support share the load and eliminates that “chin-up” habit many users adopt to keep their view level.
Start with a baseline CG check: sit up straight in a neutral posture, look at the horizon, and note whether the image tilts down or you naturally push your head back or forward. That tells you which direction to shift mass. Small tweaks are safer than heavy adjustments. Add lightweight counterweights to the rear—think 20–50 g increments—until you feel the horizon settle without creating a new pressure point on the rear pad. Alternatively, increasing rear padding depth by 5–10 mm can shift contact area backward without adding mass.
Redistribution of existing padding often solves more than heavy ballast. Move cushions to broaden the contact zone so more of the skull carries the load. A slightly larger gasket opening that places more load on the crown and temples, rather than the nose and cheeks, can reduce neck torque. If you use a rear-mounted battery clip or cable anchor, route it to avoid pulling the headset forward; even lightweight cables can create a lever effect that spoils balance.
Test every change incrementally. After each 5–10 g or 3–5 mm padding adjustment, perform a short dynamic test: turn your head quickly, look up and down, and check tracking. Neck comfort is the key metric—if your neck muscles feel less engaged and the horizon stays stable, you’re heading in the right direction. Avoid overcompensating with heavy weights; too much mass at the rear can introduce its own pressure zone and exacerbate headaches or slipping.
Donning, Adjustment, and Posture Best Practices
Comfort gains multiply when upgrades meet disciplined donning and posture. Develop a repeatable ritual that reduces torque on the neck and ensures consistent balance each session. Start by loosening all adjustments—top strap, side stabilizers, and back cradle—so you can position the headset with minimal neck strain. Cradle the unit and place the gasket lightly against your face, letting the crown pad sit first; this establishes a stable anchor point.
Anchor the top strap before tightening sides. That top contact holds the headset in place while you make small lateral and rear adjustments. Aim for steady contact, not a vise-like clamp: you want the pads to rest flush without indenting the skin. Use micro-adjustments to balance pressure across the crown, temples, and back; ratcheting systems are helpful here because they lock small changes in place.
Set headset height so the lens housings sit near—but not pressed into—your eyes. Move the headset slightly closer or farther for a crisp image and ensure the edges remain uniform. If the optics feel strained or the edges blur asymmetrically, the headset is either crooked or the gasket is misaligned. During play, practice dynamic fit checks: after fast turns, pause and lightly adjust rather than over-tightening mid-session.
Posture is part of the hardware. Maintain a neutral spine: shoulders back, neck aligned, and the chin neither up nor tucked. Consider a short mobility warm-up—neck rolls and shoulder releases—before long sessions to release tension. If you often look down at a controller or HUD, bring it up or raise your chair slightly; repetitive forward head tilt is a common cause of neck fatigue in VR. Finally, build breaks into long sessions—stand, stretch, and inspect pressure points. Prevention beats repair when it comes to skin health and comfort.
Testing, Safety, and Longevity of Comfort Upgrades
Upgrades should be tested methodically to protect your skin, the headset, and tracking integrity. Follow a progressive testing plan: start with 5-minute sessions in a cool environment, then graduate to 10, 15, and 20 minutes while recording how pressure, heat, and fit evolve. After each run, inspect skin for redness or numbness and check the gasket for deformation. This incremental approach catches issues early and helps you find the minimal change that delivers comfort.
Safety checks are straightforward but essential. Monitor heat buildup on the cheeks and forehead, and verify strap tension is even—pinched skin or uneven straps can cause abrasions or headaches. Look for cracks or permanent compression in gaskets; if padding doesn’t spring back, it’s time for replacement. Confirm that any attachment hardware is securely fastened and that mods do not obscure or shift tracking sensors. Even well-meaning third-party mounts can obscure camera lines or change reflective properties.
Skin health should guide material choices. Prefer hypoallergenic covers and moisture-wicking fabrics; if you introduce silicone or new materials, do a patch test on a small skin area for a day before extended use. Clean pads after sweaty sessions with a gentle disinfectant recommended by the manufacturer or a diluted isopropyl wipe for durable covers, and machine-wash removable covers when permitted. Replace padding yearly or sooner if compression, odors, or cracking appear.
Longevity also means planning for wear. Keep a small maintenance kit—a microfiber cloth, spare covers, and a soft brush—and note where components wear first so you can rotate spares. If you buy third-party parts, retain packaging and test within the return window: comfort is subjective, and even high-quality parts don’t suit every face.
Case Studies: Real-World Setups and Outcomes
Field tests across varied PSVR users show that small, targeted changes yield large comfort wins. Case A: a marathon-session gamer replaced the factory strap with a dual-halo harness and added a breathable crown pad. Forehead pressure dropped markedly, mid-session readjustments vanished, and perceived immersion increased because the headset stayed put during quick head turns. The key win was redistributing contact—what felt like an expensive upgrade in immediate terms translated into hours of uninterrupted play.
Case B: a glasses wearer had persistent fogging and pressure on the nose bridge. By swapping to a thinner, contoured gasket and adding thin edge padding to seal light leaks, fogging decreased and the frames stopped pressing on the skin. The solution wasn’t a bulkier pad but a different profile—deeper eye cavities and nasal tapering—combined with moisture-wicking covers.
Case C: a tester focused on balance for sprint-heavy games. They added a small 30–50 g rear ballast clipped to the strap and increased rear pad depth by a few millimeters. Neck fatigue dropped significantly during repeated fast turns, and the headset felt more locked to the head without increasing forehead pressure. The lesson: incremental mass at the right point is more effective than brute padding at the front.
Across all cases, breathable materials and proper adjustment routines were common success factors. Also, compatibility checks prevented tracking problems—users who verified fit and installation instructions in advance avoided sensor blind spots and mechanical interference.
Where to Find Credible Accessories and a Quick Start Checklist
When shopping for PSVR comfort upgrades, credibility matters. Start with established vendors who publish materials, installation guides, and compatibility notes. Read multiple independent reviews and look for return policies that allow a trial fit. Community forums and model-specific threads are invaluable—see what users with your exact PSVR revision report. Prioritize brands that provide clear warranty or replacement terms; comfort mods are a tactile fit, and responsive support reduces risk.
A five-step quick-start checklist to get you from box to test run:
- Assess pain points: Map hotspots, slip, and thermal issues during a 20–30 minute baseline session.
- Upgrade strap: Choose a multi-point contact strap (halo/rear harness) with breathable padding and secure locking. Install per instructions and leave a light preload.
- Install gasket/padding: Fit a contoured gasket (8–12 mm cheek thickness, tapered nose), use moisture-wicking covers, and trim only if necessary for cheek clearance.
- Tune balance: Add small rear mass or 5–10 mm rear padding increments. Test after each change and stop when neck torque reduces.
- Run a 20-minute test: Follow progressive testing—check skin, heat, tracking, and comfort. Adjust micro-settings and document the final configuration.
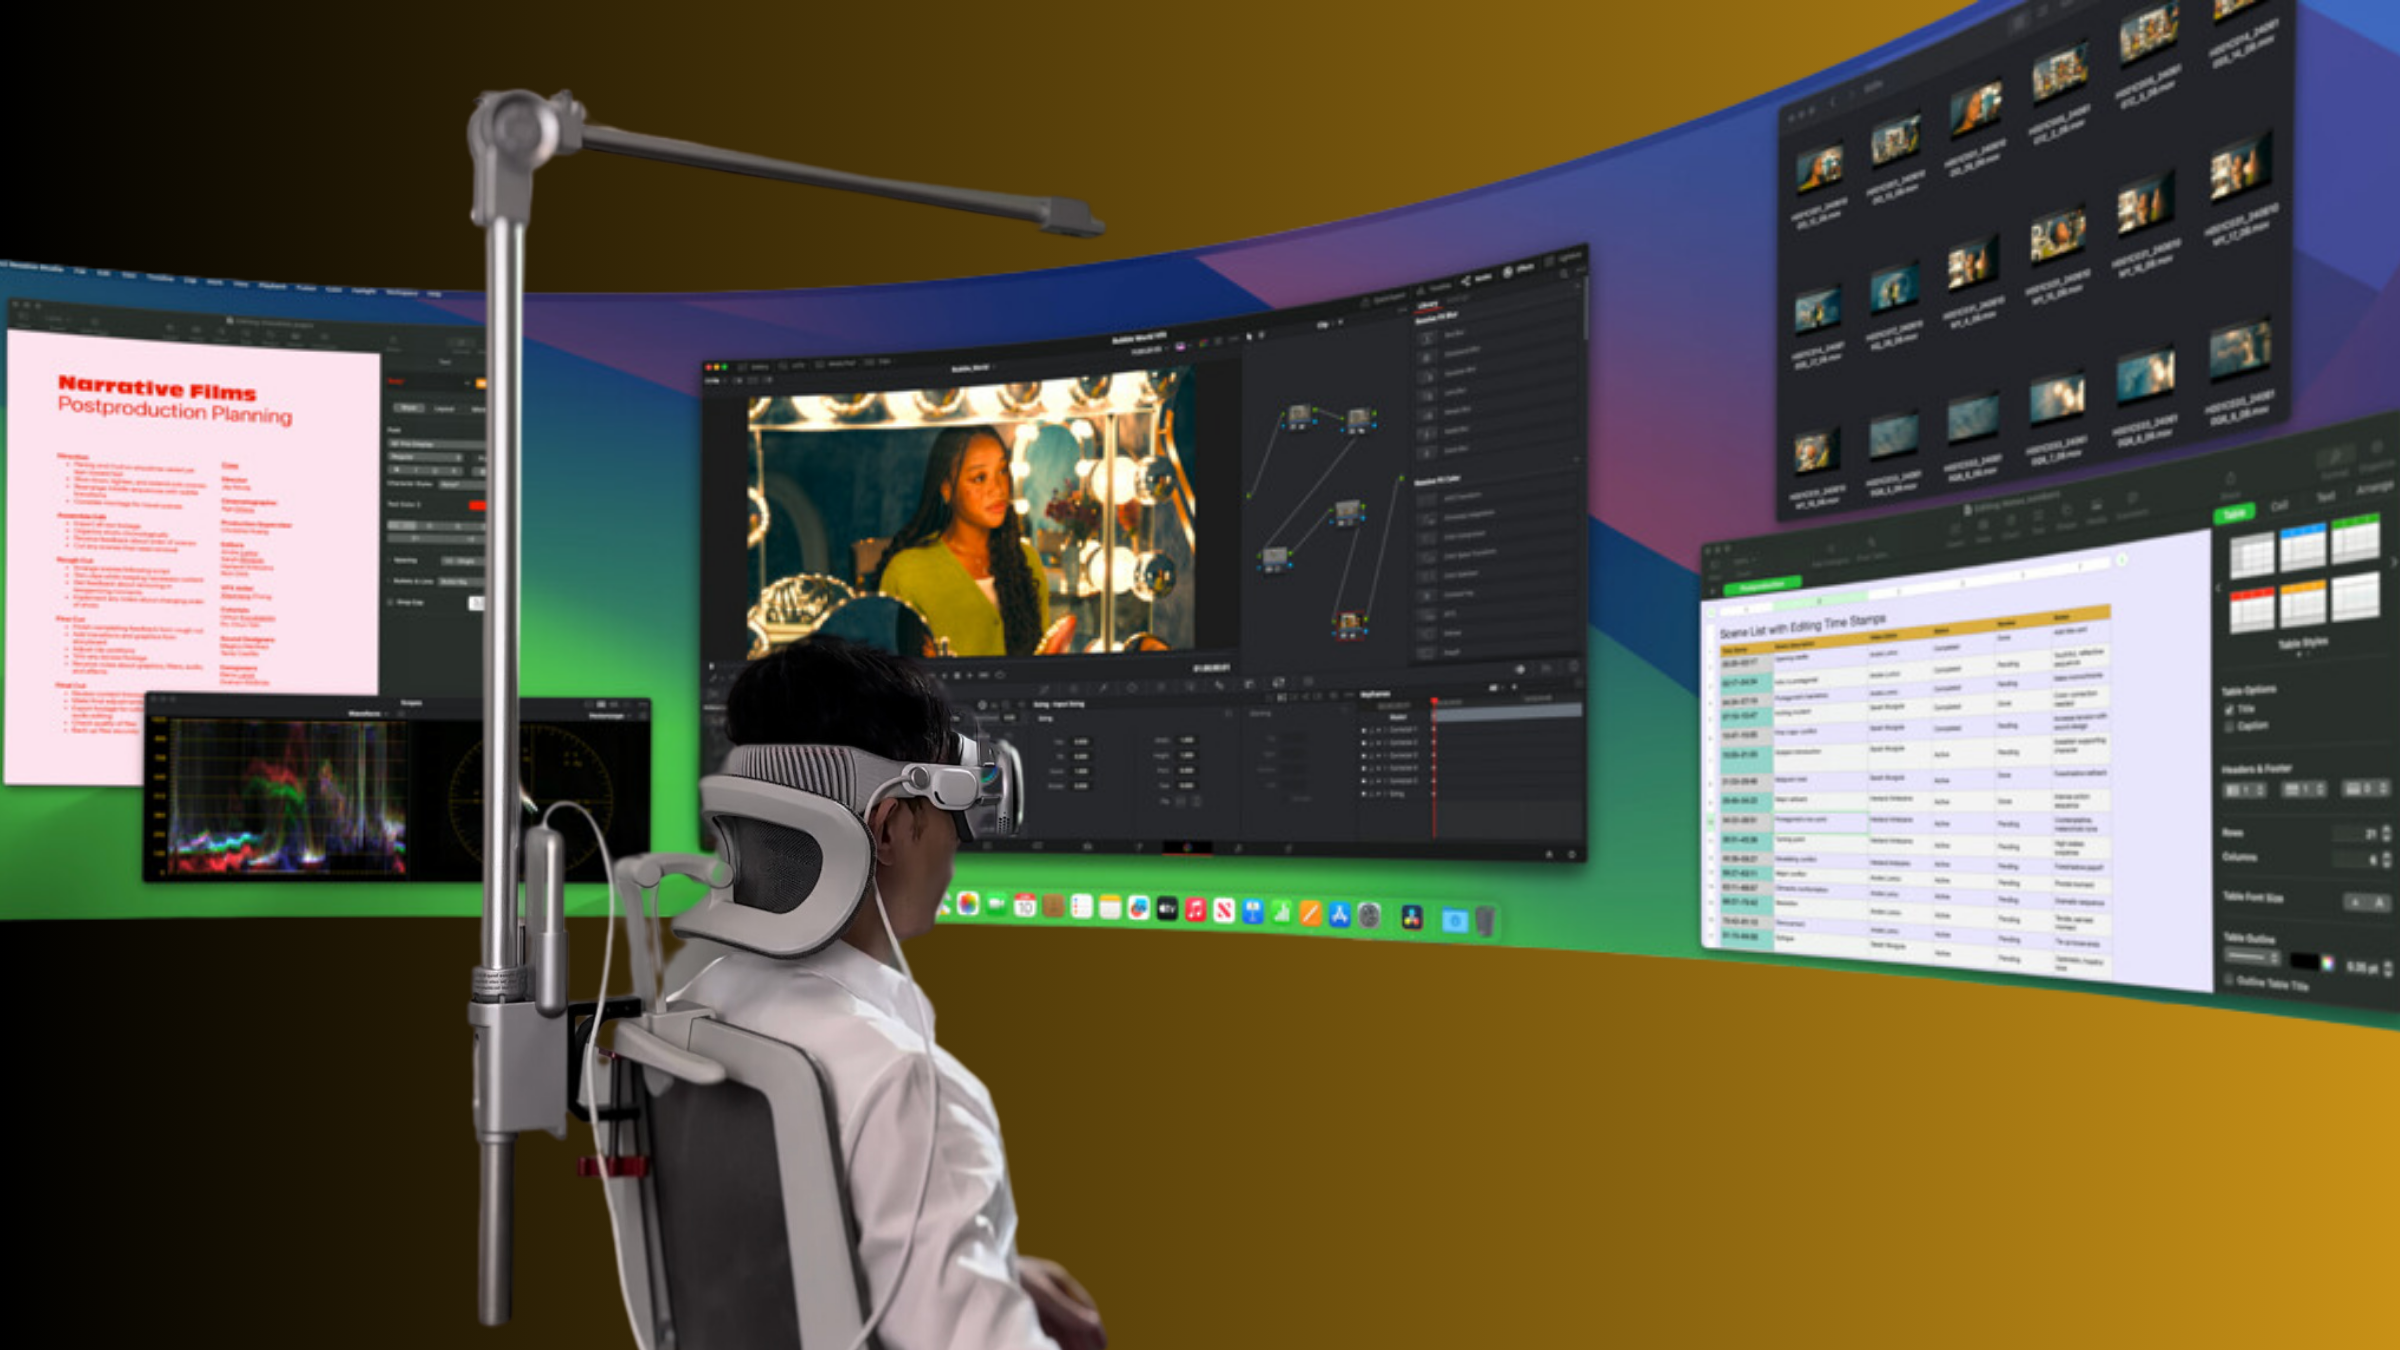
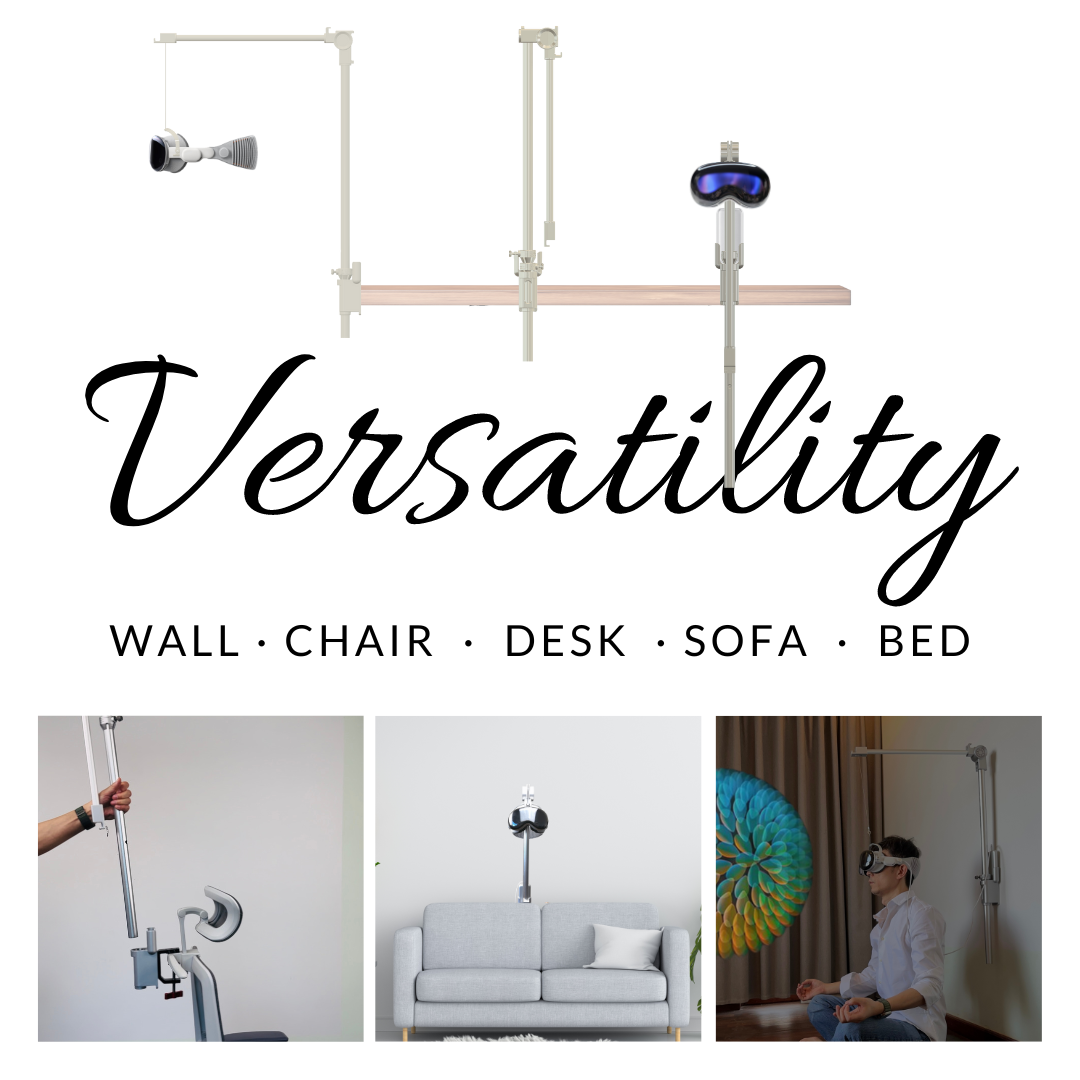
Vet Kickstarter and niche projects cautiously—check safety testing, sample images, and community feedback. If a product lacks clear material specs or installation documentation, treat it as experimental. Finally, set a small maintenance schedule: wipe pads weekly after heavy use and swap washable covers monthly to keep irritation and odors at bay.
Next step: pick one upgrade to test this week—start with the strap or gasket based on your comfort map, run the progressive test, and iterate. Small, reversible changes are the path to long-term VR comfort.



Compartir:
Kickstarter Spotlight: Comfort-First VR Projects That Prioritize Balance and Easy Use
Ergonomic Vision Pro Setups for the Home Office: Healthy Posture for Extended Use