Glasses-Friendly VR: How GraviPro Adapters + Flit Lift Deliver Weightless Comfort and Clearer Vision
If you wear prescription glasses and love VR, you know the trade-offs: clearer sight often comes with nose-pinching, lens fog, or constant readjustments. GraviPro adapters paired with Flit Lift change that equation by redistributing weight, increasing eye clearance, and preserving optical alignment across headsets like Vision Pro and many compatible rigs. ⏱️ 9-min read
This guide walks gamers and VR developers through what GraviPro does, how it pairs with Flit Lift for longer sessions, practical setup and maintenance, measurable comfort improvements, and how to integrate these systems into hardware and software workflows. Expect concrete examples, an installation checklist, and quick experiments to document the comfort gains yourself.
GraviPro Adapters: What They Do for Glasses-Friendly VR
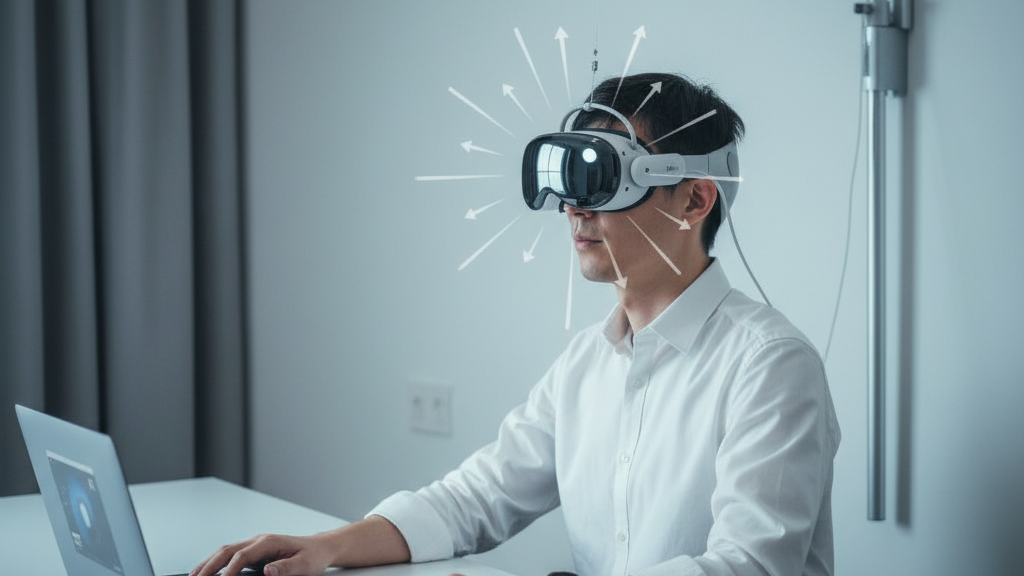
GraviPro adapters reroute the headphone’s load path away from the fragile nose-bridge and temple zones to a stronger support track along the crown and sides of the head. Instead of the visor tugging forward and biting into your glasses frames, weight rides higher where bone structure and broader padding can take it. The result is immediate: lower bridge pressure, less frame flex, and fewer moments when frames scrape headset seals.
Mechanically, GraviPro clamps to an existing rail or harness so the headset’s sensors and lenses keep their normal orientation relative to your eyes. That means you don’t sacrifice tracking fidelity when you add the adapter. Because the mounting point is closer to the center of gravity, dynamic movements—fast head turns, lunges in a shooter, or rapid crouch-and-stand—produce less micro-misalignment. Glasses sit further from inner padding and the lens housing, creating generous eye relief that accommodates thicker frames and bulky nose bridges without forcing you to change frames.
Installation is intentionally low-friction. Most users attach a GraviPro adapter with no more than a screwdriver or the included hand-tightening hardware; some modern kits are entirely tool-free. Once clamped, a simple alignment routine—centre the adapter on the headset’s centerline and confirm lens plane symmetry—gets you quickly back into the game. In short: GraviPro relieves pressure where glasses feel it most while preserving the headset’s optical and sensor geometry.
Flit Lift Synergy: Weightless Comfort for Extended Sessions
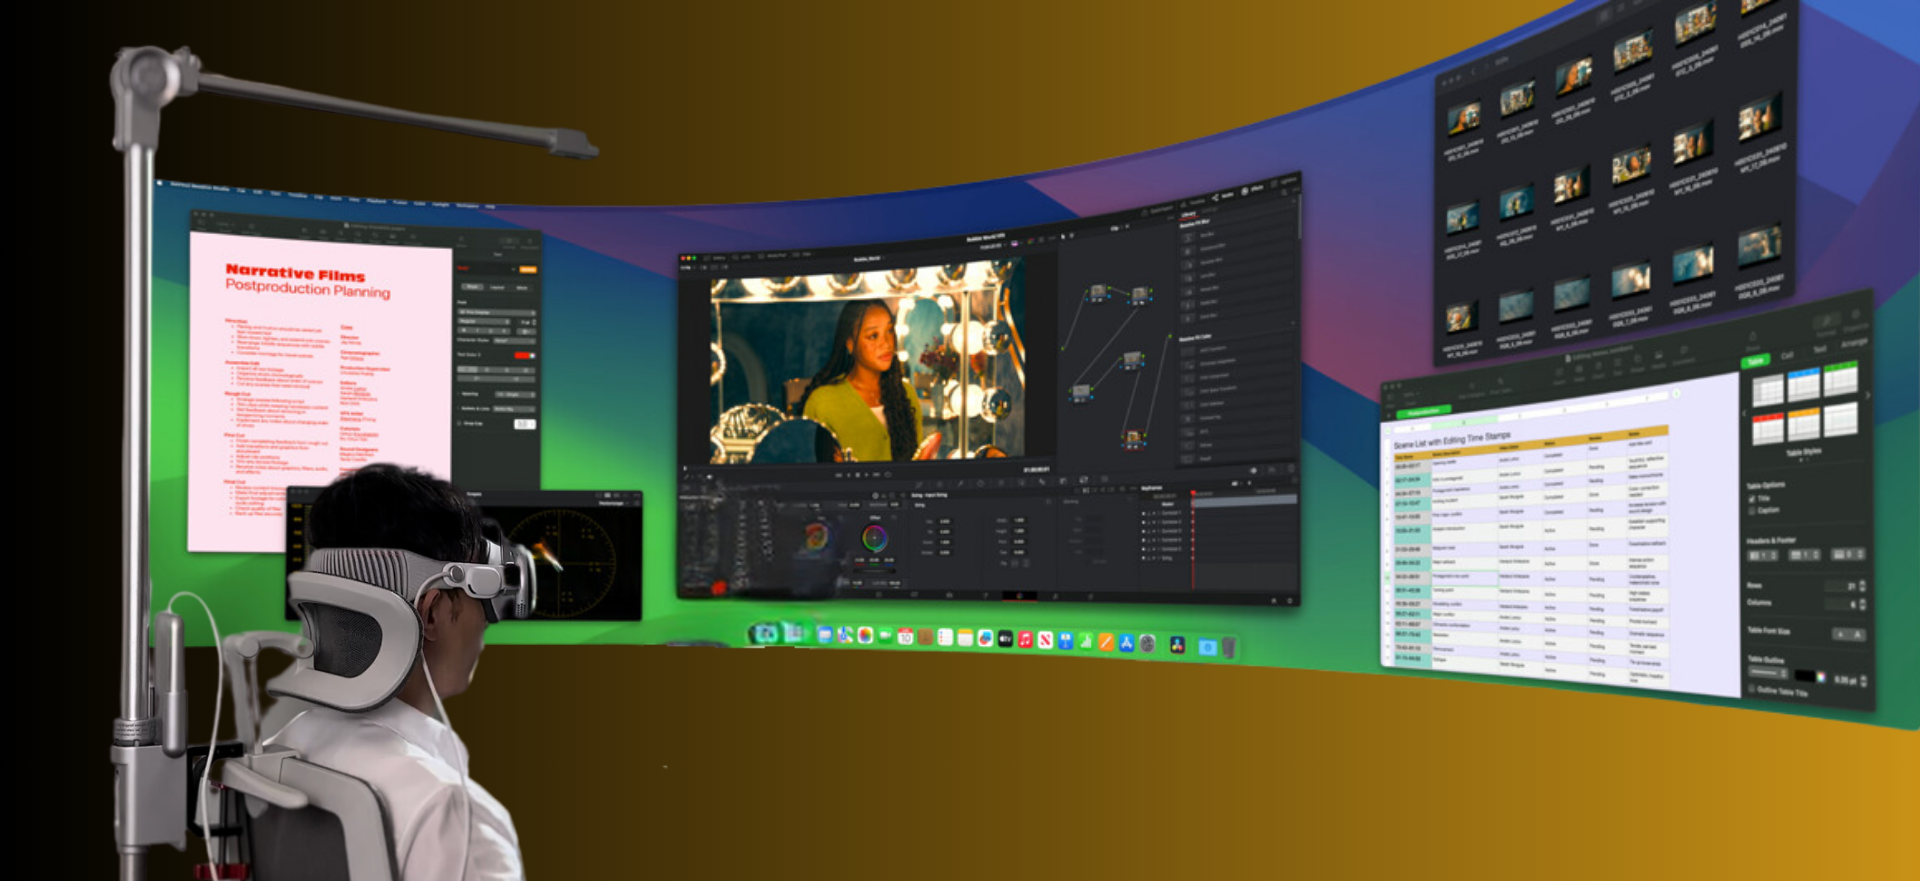
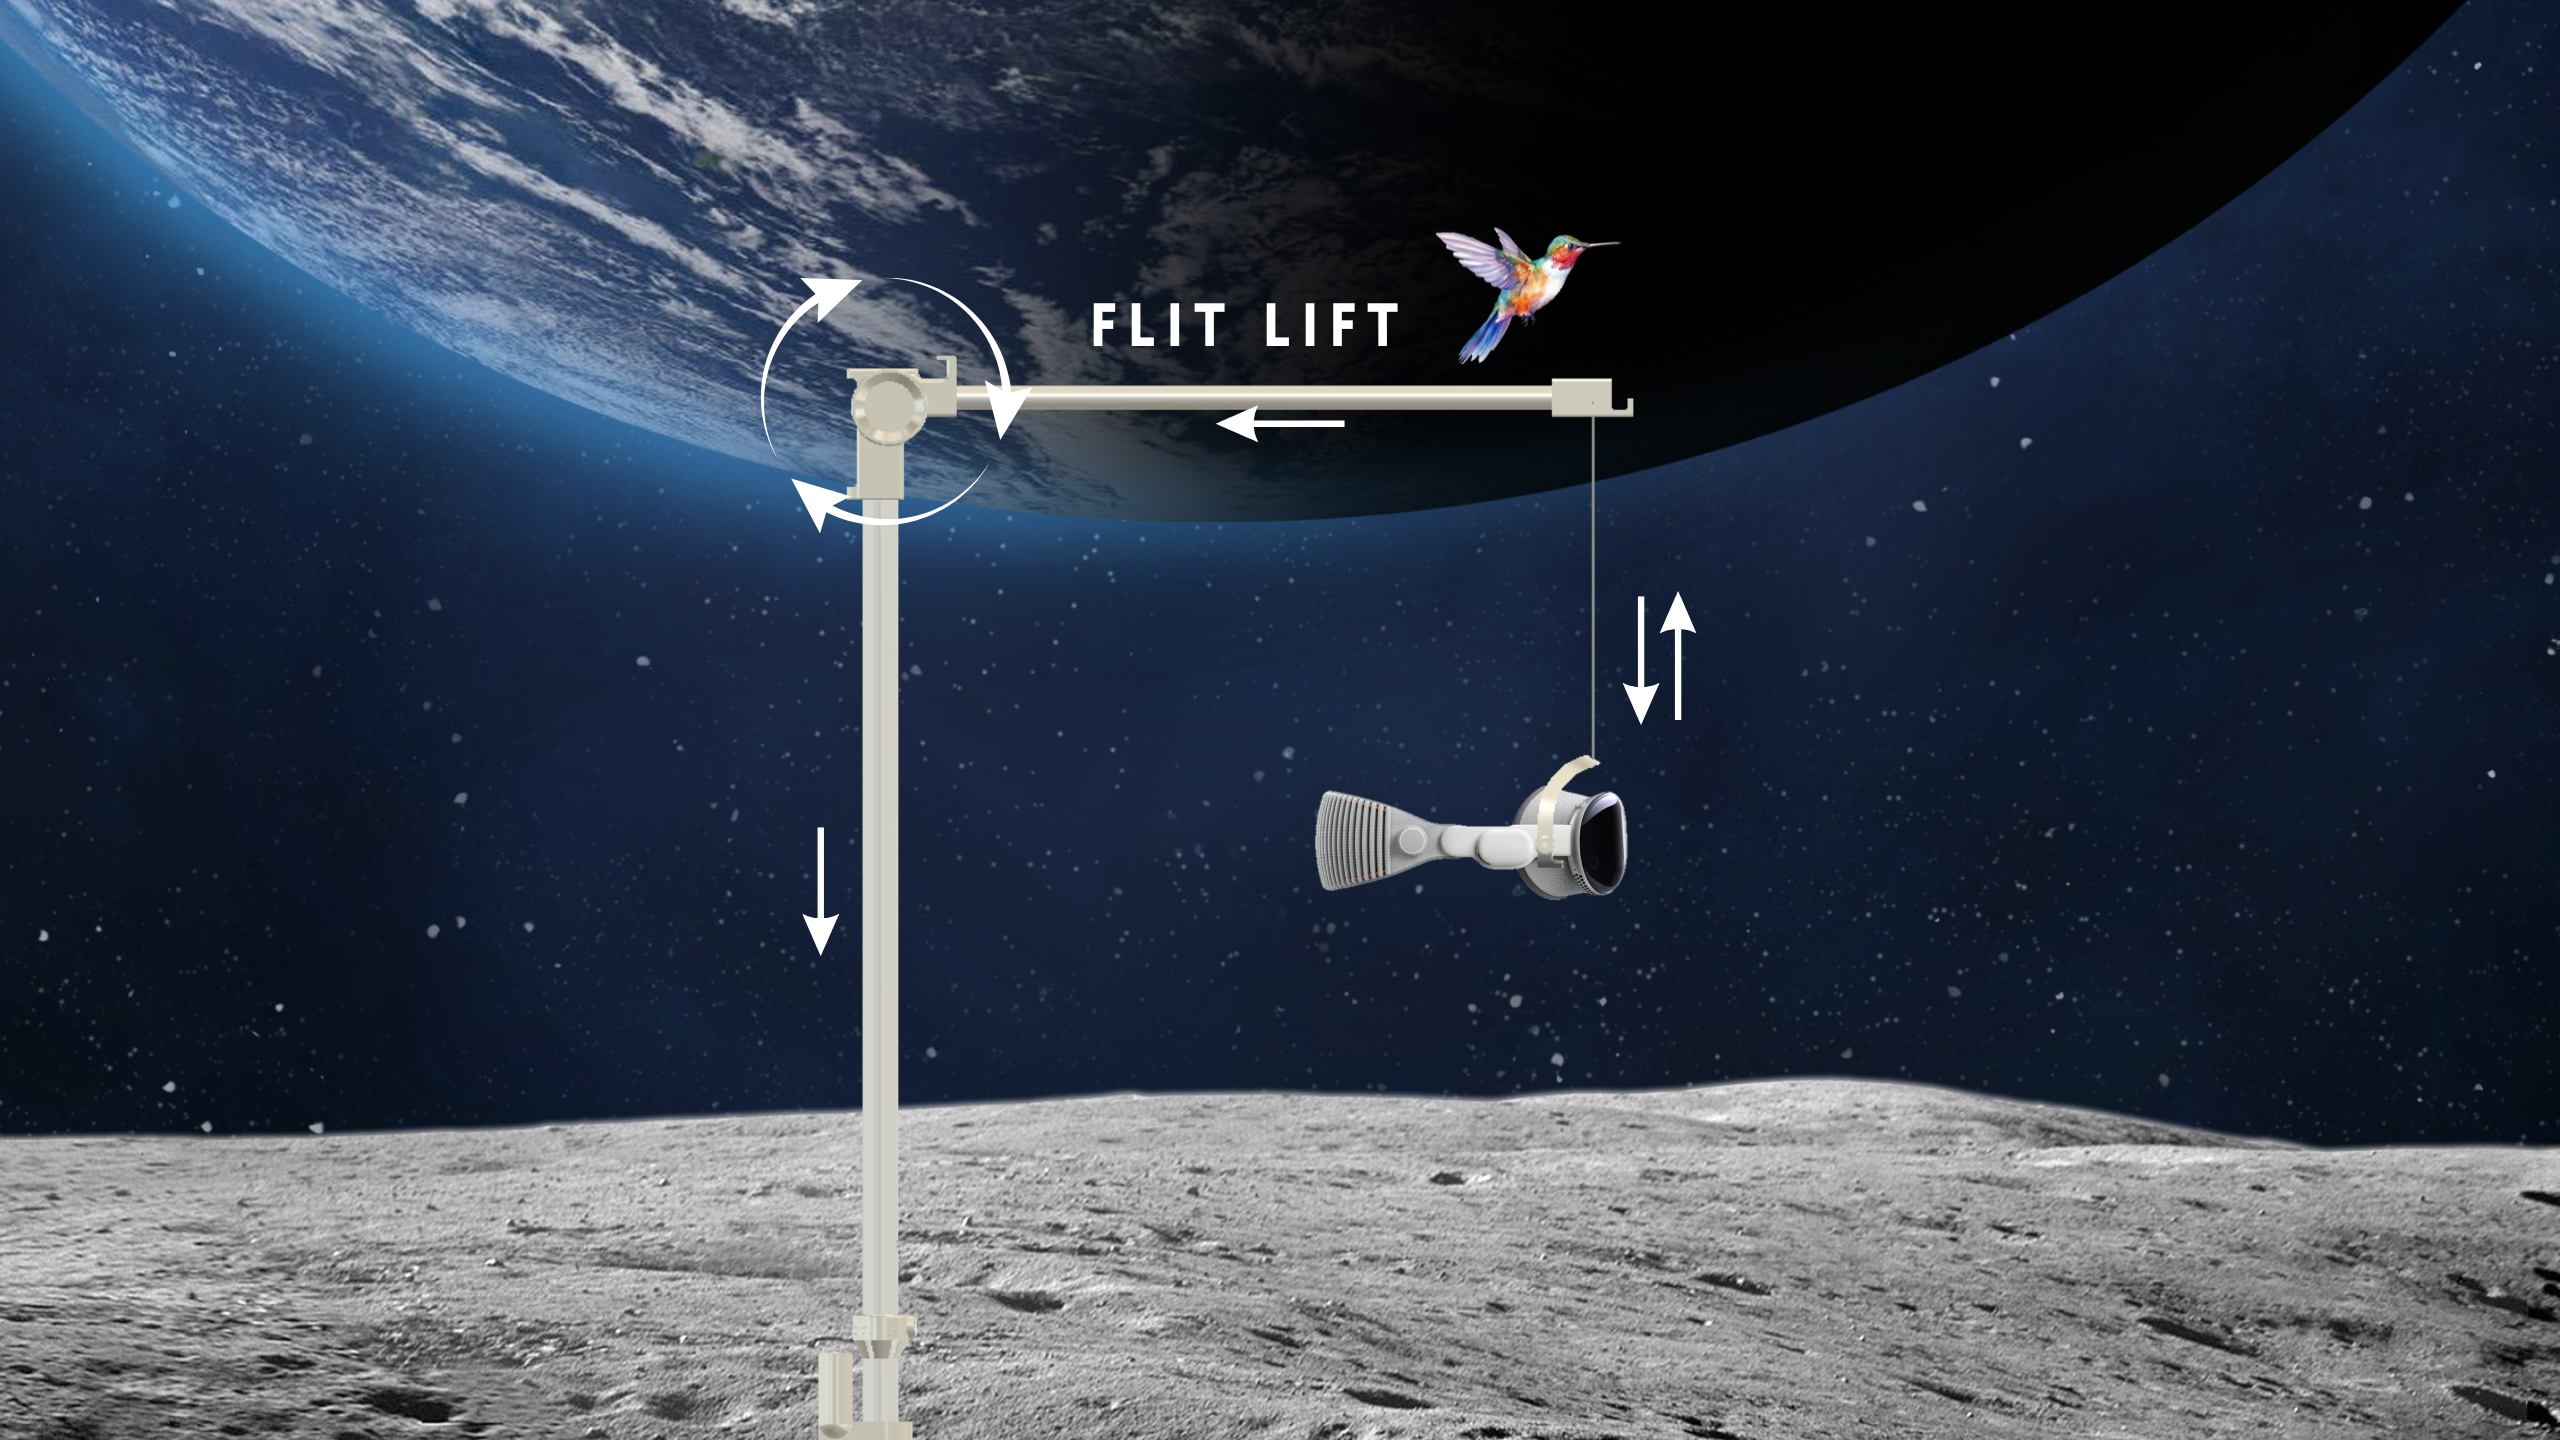
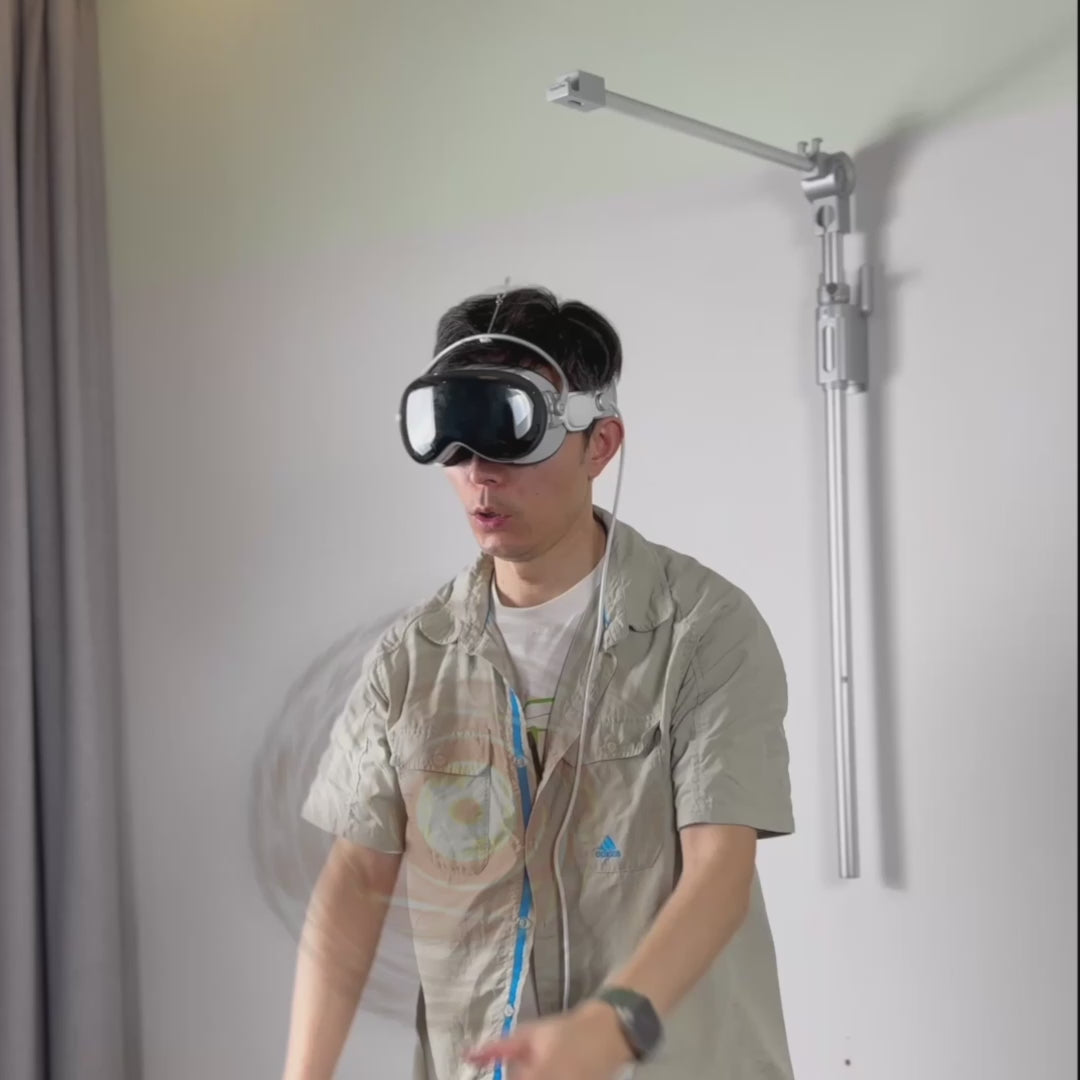
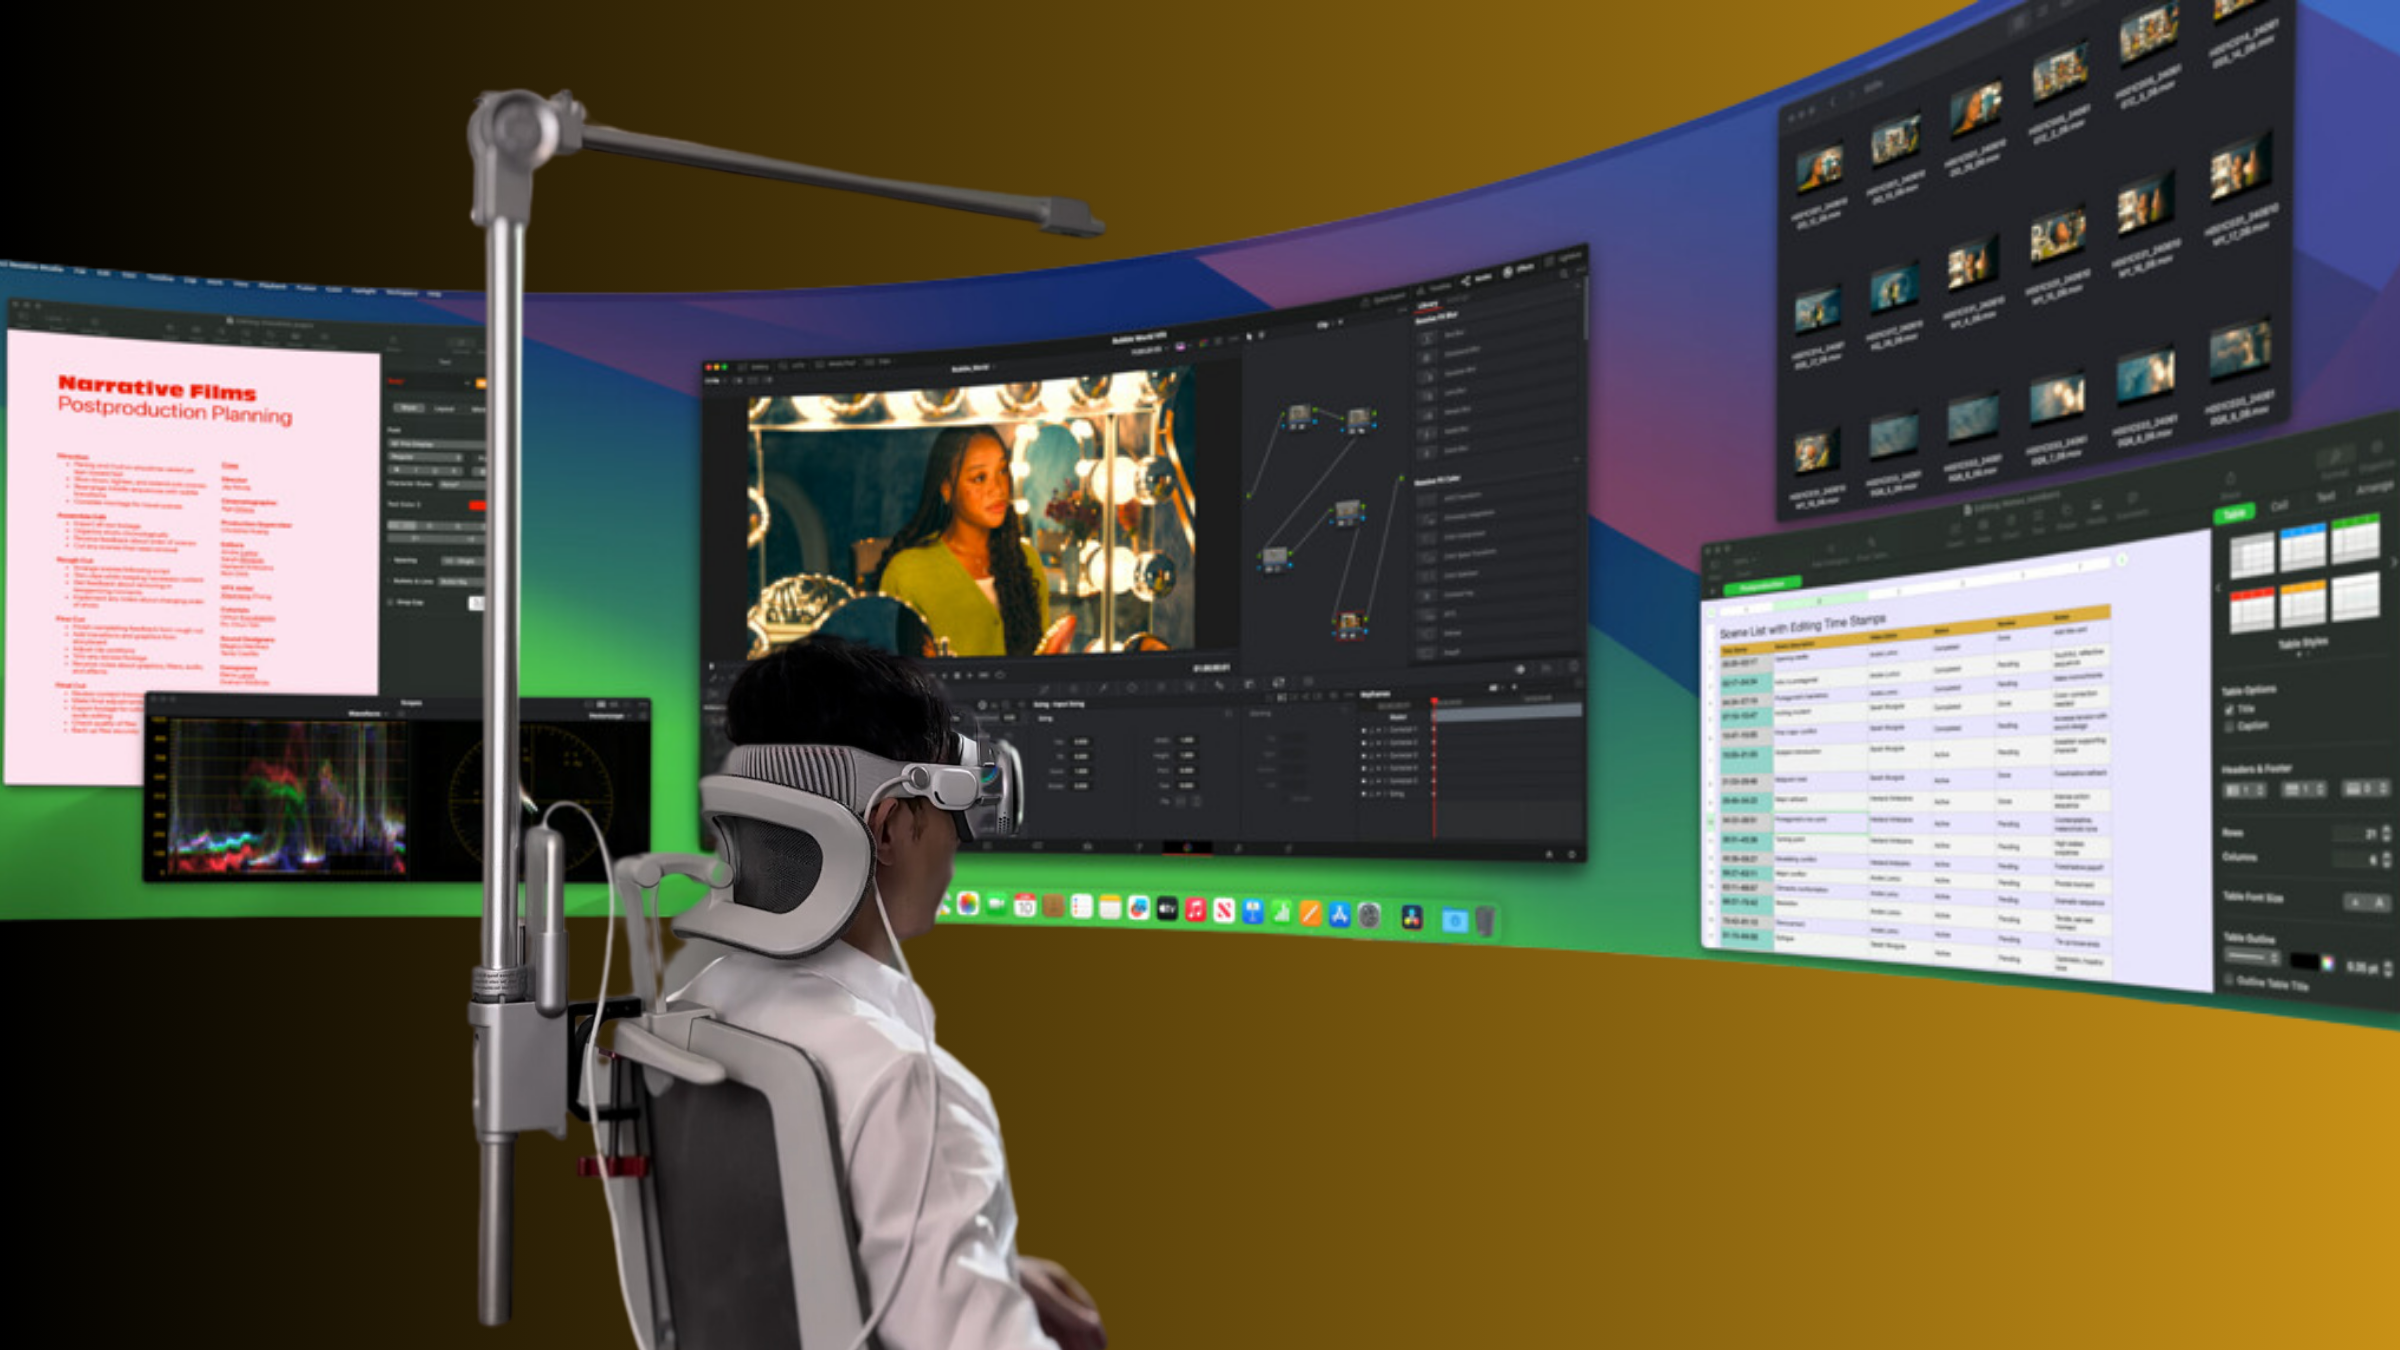
Flit Lift complements GraviPro by addressing the follow-up problem: even with weight moved upward, headsets can still feel heavy during marathon plays. Flit Lift uses low-profile counterweights and a lightweight mount to move load from the brow to the crown and temples, so the entire rig balances across a larger surface area. Pairing Flit Lift with GraviPro creates a system that feels near-weightless for many users—especially noticeable after 30–60 minutes of continuous play.
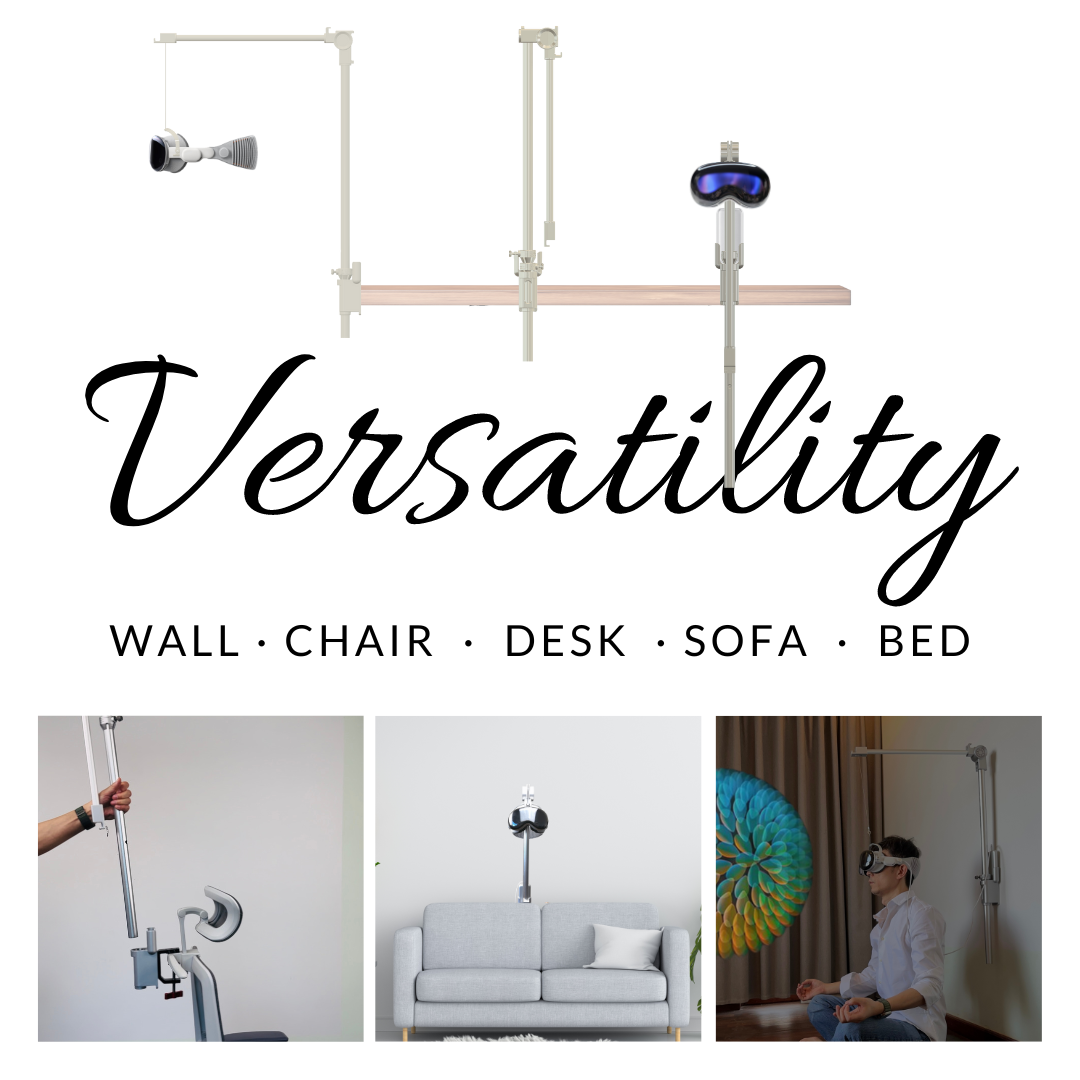
What makes the synergy work is distribution and adjustability. GraviPro provides the structural path for load transfer; Flit Lift fine-tunes tension and balance. Adjustable tension mechanisms let you dial in how much of the headset’s moment is borne by the crown versus the forehead. Quick-release fittings make it straightforward to swap components when multiple players with different glasses come through a session. Gamers report fewer strap readjustments, less brow soreness, and a headset that stays centered through sprints, turns, and abrupt movements.
Flit Lift also plays well with varied strap systems—halo bands, three-strap harnesses, or minimalist straps—because it’s designed to marry to the sides and back of the head without compromising how GraviPro keeps lenses aligned. For developers, that stability means fewer edge cases where tracking or IPD calibration is biased by inconsistent headset seating. For players, it means staying immersed longer, with steadier visuals and less muscular fatigue.
Glasses-Friendly Design: Clearer Vision Without Compromise
Glasses-friendly VR isn’t only about comfort; it’s about preserving optical fidelity. GraviPro adapters are built to respect the geometry of prescription frames, offering adjustable eye relief and modular spacers that let you dial the distance from your eyes to the headset lenses. This is key: maintaining a consistent lens-to-eye distance keeps the image centered and reduces edge distortion that makes peripheral content blur or “swim.”
Two specific design outcomes matter. First, generous lens clearance prevents frame rub and friction on headset seals—particularly important for oversized or retro frames with thick temples. Second, precise lens spacing means you don’t need exaggerated head tilts to center the visuals. With GraviPro, a small adjustment of mount depth or spacer thickness will typically bring your pupils into alignment with the headset’s optical center, reducing the need to lean forward or squint.
Practical features target reliability: anti-fog channels at the interface reduce moisture buildup, smoother interface surfaces prevent frames from catching when you remove your glasses, and padding options help seal without pressing on temples. For multi-player labs or demo spaces, swappable spacers let a single headset serve users with thin wireframes, large acetate frames, or sunglasses without repeated friction or wear. The design philosophy is simple—don’t force users to choose between their glasses and a high-quality VR image.
Compatibility, Setup, and Maintenance
GraviPro’s compatibility centers on two things: rail style and headset geometry. Vision Pro is a primary supported target, and GraviPro adapters are also designed for headsets with standard side- or top-rail systems—Valve Index, HTC Vive Pro 2, HP Reverb G2, and many standalone units like Meta Quest 2/3 commonly fall into this category. If your headset uses a proprietary rail, check the official GraviPro compatibility map or request an upgrade kit before purchasing.
Quick setup checklist:
- Confirm your headset model and rail type against the GraviPro compatibility map.
- Choose adapter clamps matched to your strap style (halo, dual-strap, single strap).
- Install adapters with headset powered down; seat clamps and hand-tighten or use a basic screwdriver as directed.
- Align adapter centerline to the headset center and verify lens plane symmetry visually or with a simple alignment card.
- Fit glasses, then fine-tune eye relief and spacer thickness until the headset sits comfortably without frame contact.
Maintenance tips to keep adapters performing: inspect clamps and screws monthly for snugness, clean interface pads with a lint-free cloth and mild isopropyl solution to remove oils, and swap spacers if you notice frame rubbing or fogging. Take care with padding adhesives—replace rather than re-glue pads that lose resilience. For lab environments, maintain a small kit of spare spacers, pads, and a torque-limited driver to enforce consistent clamp pressure across multiple installations.
Performance and Comfort Metrics
Turning subjective comfort into measurable improvements helps you tune setups faster. GraviPro setups typically produce three measurable benefits: reduced bridge pressure, more even pressure distribution across head contact points, and steadier lens-to-eye distance through movement. Use a lightweight sensor array (pressure mats or thin-film sensors) at the face interface to track pressure distribution, and a simple optical probe or laser gauge to measure lens-to-eye offset. Practical targets: no pressure hotspot exceeding a mild threshold, and a lens-to-eye variance within 0.3–0.5 mm across typical head movements.
For user-focused metrics, adopt a standardized comfort survey. A five-point scale (1 = very uncomfortable, 5 = very comfortable) works well. Baseline your users: capture comfort score, session length, and notes about pinch points before adding GraviPro. After tuning, aim for an average comfort score of 4.0+ and session durations increasing from short 20–30 minute tests up to 45–60 minutes without adjustments. Encourage testers to log specific failure modes—slips, fogging, or image drift—so you can iterate spacer thickness, strap tension, or padding curvature.
Benchmarks for iterative design are practical. Run three rounds of tuning with diverse head shapes (round, oval, narrow temples), and track comfort improvement per iteration. Developers and QA teams should add latency and tracking checks to ensure that mechanical changes don’t introduce optical or sensor bias. When GraviPro is tuned correctly, players will report fewer mid-session adjustments and a steadier field of view even during vigorous play.
Developers and OEMs: Integrating GraviPro
For developers and OEMs, GraviPro is more than an accessory—it's a platform that can extend hardware ergonomics into software workflows. The GraviPro developer program provides an API and sandbox that expose basic adapter presence, calibration state, and recommended fit parameters. These hooks let apps detect when an adapter is present and prompt users through a quick calibration flow that checks IPD, eye clearance, and whether the mount is centered.
Mechanical integration guidance is practical: publish clear mounting patterns, center-of-gravity envelopes, and allowable load paths in product docs so adapter manufacturers can design clamps that won’t interfere with facial seals, cable routing, or heat dissipation. Firmware can detect GraviPro presence and offer an optional “ergonomics calibration” step that logs recommended tension and spacer selection. This reduces setup time for end users and ensures consistent experiences across devices.
Case studies show success: an enterprise training lab that added GraviPro/Flit Lift combos saw reduced session interruptions and improved throughput, while a competitive gaming team using GraviPro-stabilized headsets reported fewer headset adjustments during streamed matches. Recommended scenarios for OEMs include reserving small anchorage points for quick-release mounts, reinforcing crown areas to handle the redirected load, and including software flags that allow a headset to advise on optimal spacer choices based on measured IPD and facial profilers.
Getting Started: Quick Start Guide for New Users
Ready to try GraviPro and Flit Lift? Here’s a compact shopping and setup plan to get you into comfortable, glasses-friendly VR quickly.
- Identify your headset and glasses: note model (Vision Pro, Valve Index, Quest 3), rail type, and frame characteristics (temple width, bridge height, frame depth).
- Order the matching GraviPro adapter set and Flit Lift components appropriate for your harness style. Include a kit of spacers and additional padding if you have multiple frame types.
- Install adapters with the headset powered down. Seat clamps, align centerline, and hand-tighten per the kit’s torque guidance.
- Fit your glasses, put on the headset, and adjust eye relief and spacer placement. Look straight ahead and confirm pupil alignment with the headset’s optical center.
- Adjust Flit Lift tension to shift load from your forehead to the crown—start loose and increase until you feel balance without slippage.
- Perform movement checks: slow head turns, then more dynamic motions. Watch for pinch points and adjust padding or tension if needed.
Tips for different frames: for thick acetate frames use thicker spacers and more crown support; for wireframes you can usually reduce spacer thickness and favor a snug peripheral seal to avoid stray light. If you wear progressive lenses, prioritize precise vertical alignment—small vertical offsets are more noticeable with progressives. Typical setup time for a single user is 10–20 minutes for basic fit and an additional 10–15 minutes for fine-tuning and dynamic testing.
Next step: if you’re outfitting a lab or multi-user environment, build a small inventory of three spacer sizes, two pad profiles, and a torque-limited driver. For developers, request GraviPro’s sandbox API key to prototype in-app ergonomics flows that detect adapter presence and guide users through quick calibration.
Takeaway: If glasses have kept you out of long VR sessions, GraviPro adapters paired with Flit Lift offer a practical path to clearer optics and weightless comfort. Start with the compatibility map, gather a small set of spacers and pads, and run a few measured comfort cycles—chances are you’ll be able to play longer, see better, and stay immersed without compromising tracking or image fidelity.


Compartir:
Installation and Calibration Essentials for Meta Quest with GraviPro Gravity Assist
Ergonomics Explained: Quantifying the Comfort Benefits of Dynamic Lifting in VR