Installing and Calibrating GraviPro Gravity Assist on Meta Quest: A Practical Hardware-First Guide
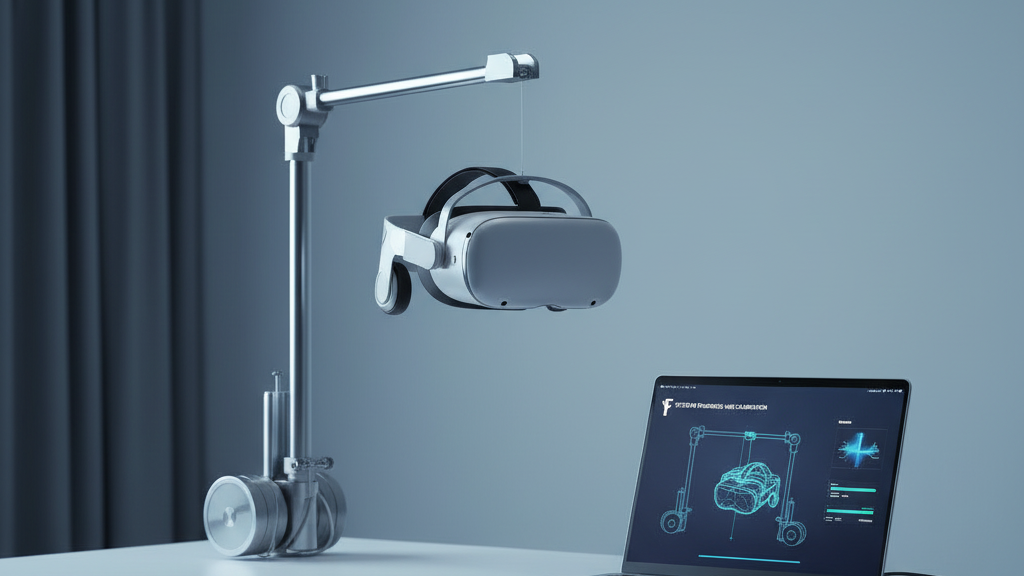
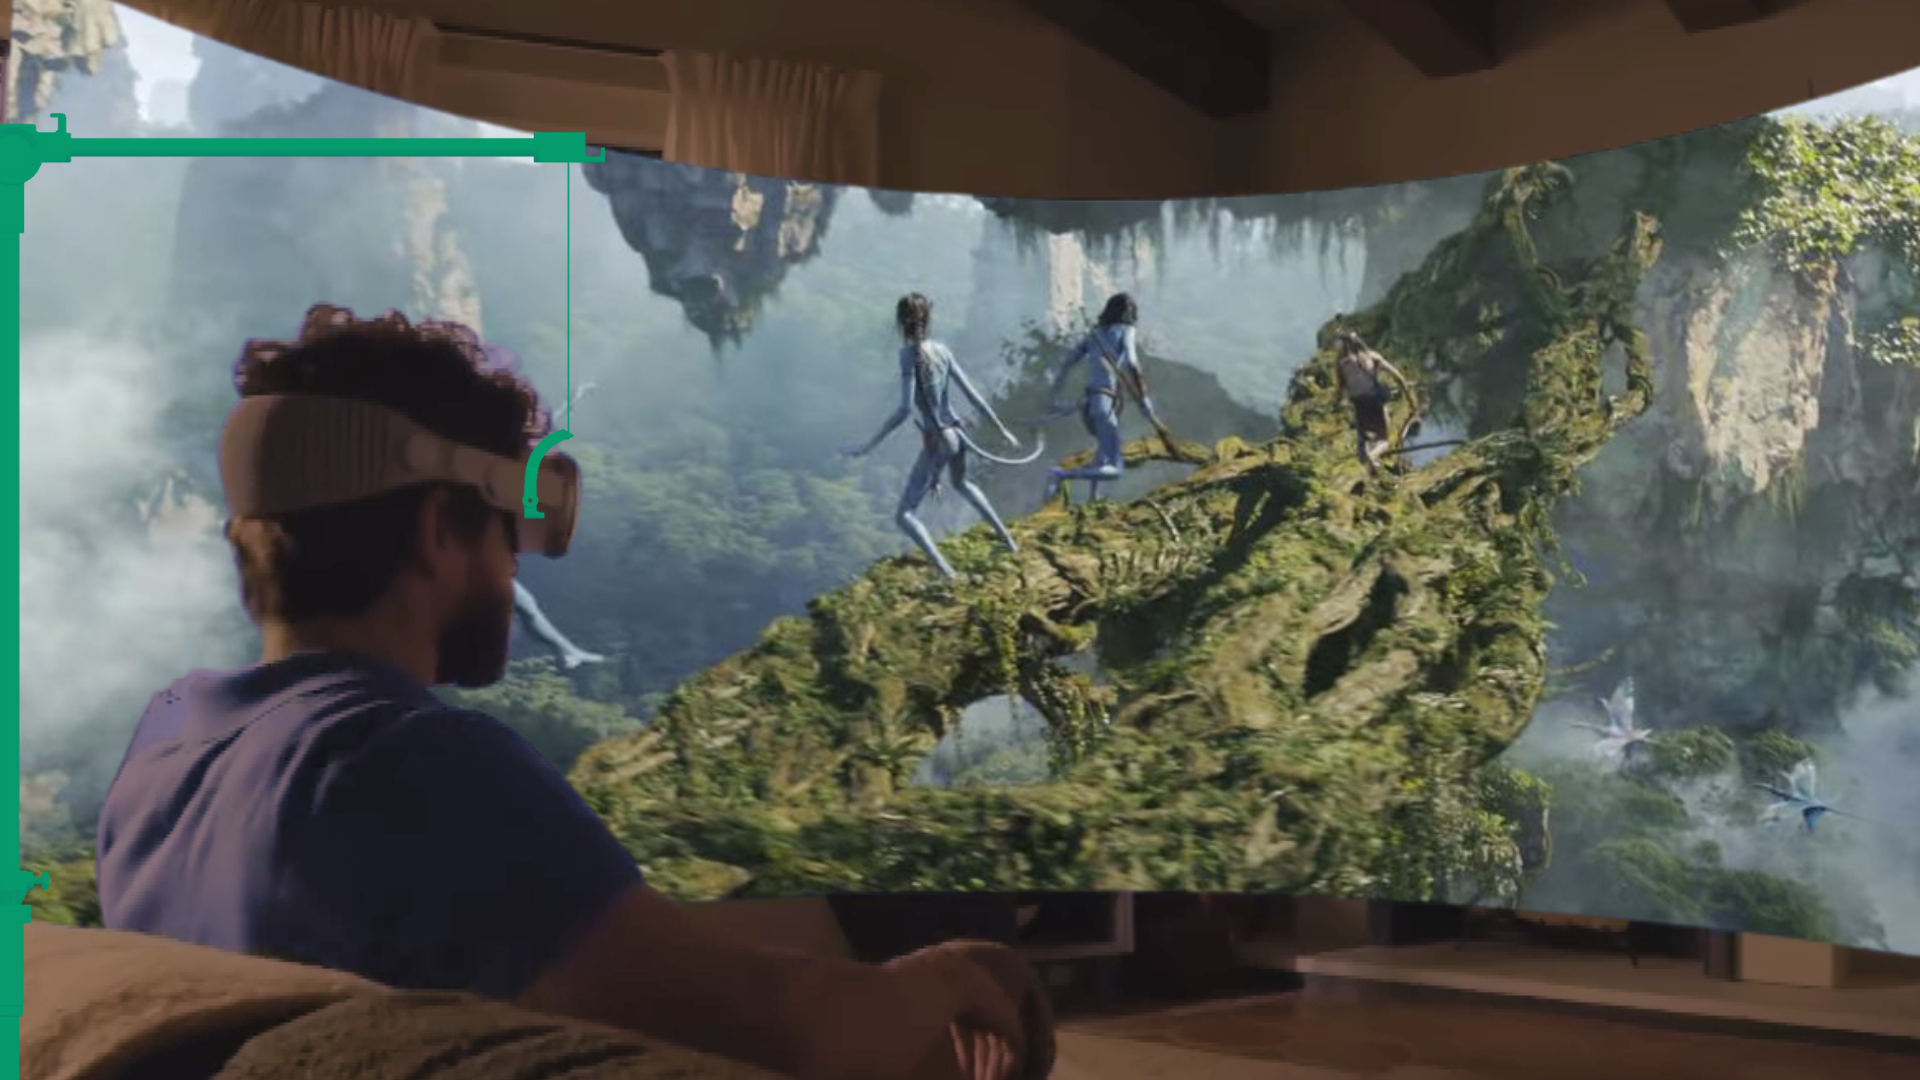
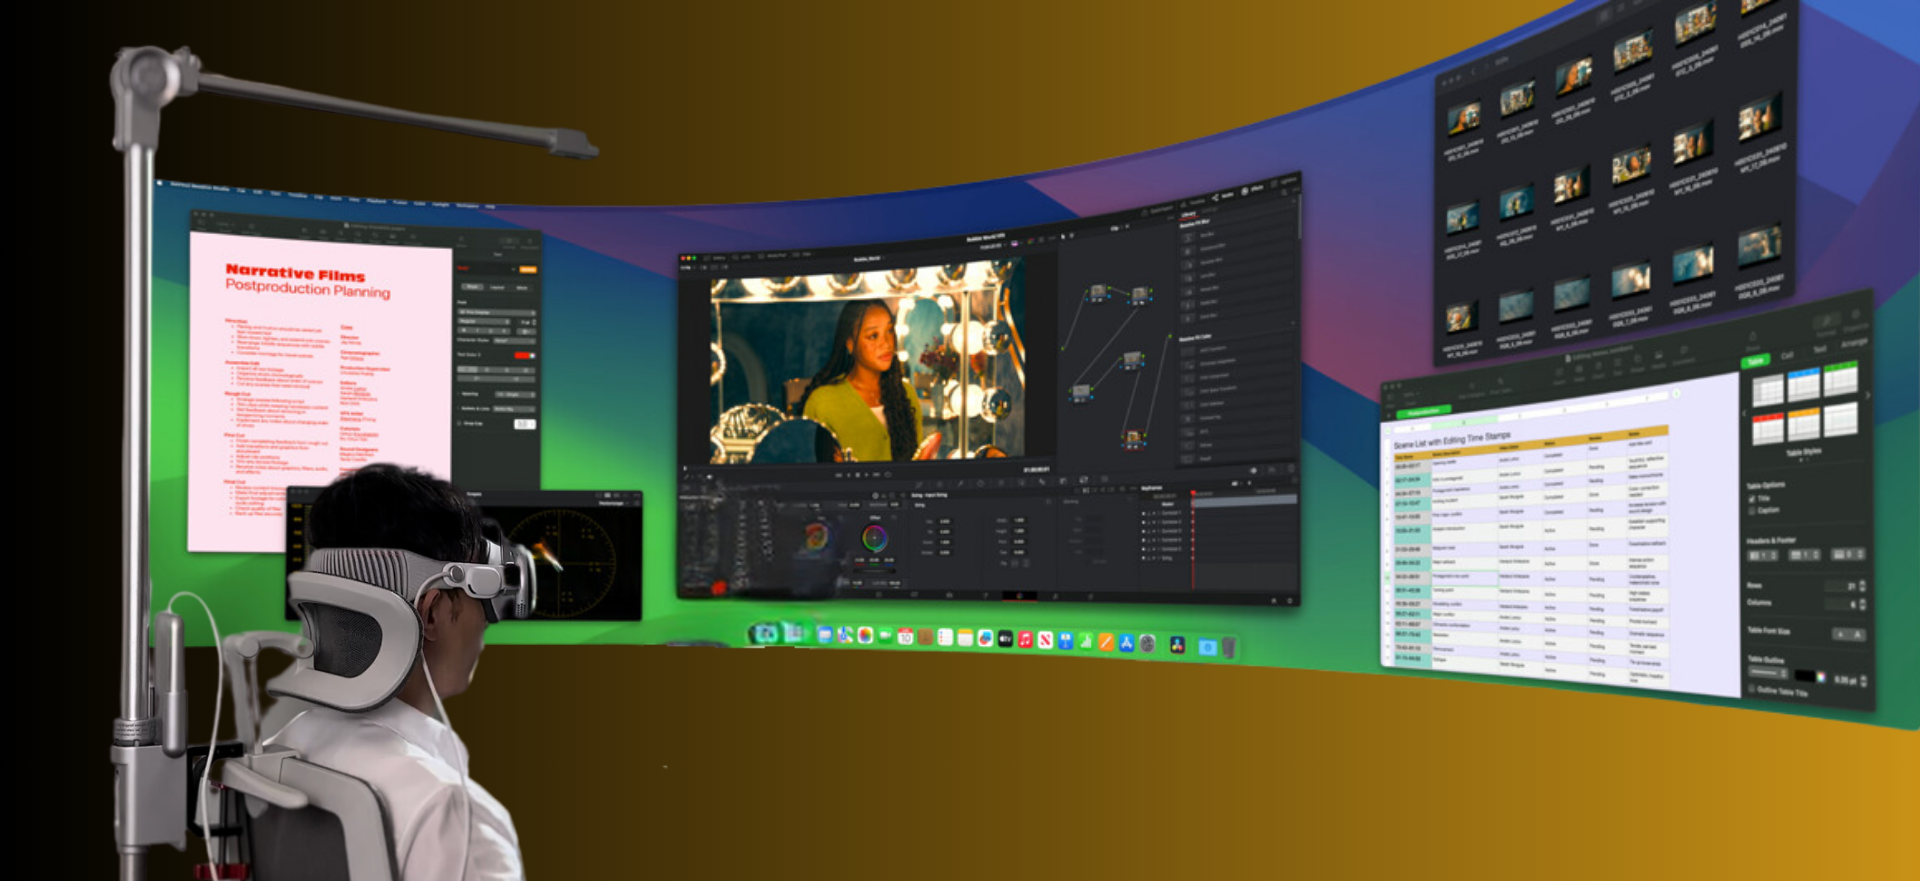
If you’re aiming to transform long VR sessions into truly weightless experiences on Meta Quest, a careful, hardware-first approach makes the difference. This guide walks headset owners, integrators, and developers through every step: checking compatibility, mounting the module, running repeatable calibrations, tuning performance, and keeping the system reliable over time. ⏱️ 10-min read
Written from the perspective of someone who installs and tests head‑mounted systems daily, the instructions prioritize clear actions, examples you can reproduce, and troubleshooting tactics that save time. Read through once to understand the workflow, then follow the checklist at the end during your first install.
System readiness and compatibility
Before you touch screws or cables, verify compatibility between your Meta Quest headset, its firmware, and the GraviPro kit. Identify the exact Quest model (Quest 2, Quest Pro, Quest 3, etc.) and check that the headset is running the latest stable OS build — sensor alignment and tracking stability improve with current firmware. Likewise, use the GraviPro companion app or desktop updater to confirm the GraviPro firmware is up to date; update the module while it’s powered and stationary to avoid interrupted flashes.
Mounting hardware can vary by headset revision. Confirm that the bracket included in your kit matches your Quest revision or that you have the correct adapter. If you own an older revision, order the matching bracket before starting — trying to force-fit parts increases the chance of scratching sensors or misaligning rails.
Plan your environment: clear the play area of obstacles, keep cameras' fields of view unobstructed, and ensure reliable power for both devices. Enable Bluetooth and Wi‑Fi on the Quest to speed pairing and firmware downloads. Finally, respect environmental limits — extreme heat, cold, or humidity can affect motors and adhesives; if conditions aren’t within manufacturer recommendations, wait or move to a controlled space.
Unboxing and physical setup
Lay the kit on a clean surface and perform a methodical inventory. Compare each item to the included packing list: gravity module, lift arms, counterweights, straps, mounting rail, clips, fasteners, and any optional brackets. Place fasteners and small parts in a dish so nothing rolls off the table. If anything is missing or visibly damaged—cracked plastic, bent rails, or stripped screws—contact support before proceeding. Early repairs avoid time-consuming rework and potential tracking errors.
Next, pre-fit the headset with the counterweights and approximate strap routing. This dry run helps you anticipate balance and where cables will run without touching sensors. Trial a few mounting positions: center the GraviPro’s mass along the crown line and avoid offset placements that increase temple or forehead pressure. In rooms with strong overhead or side lighting, choose an orientation that minimizes glare on the headset cameras.
When you’re satisfied with the layout, gather tools — a torque‑rated screwdriver if provided, or the recommended hand tools — and a lint‑free cloth for the headset lenses and exterior. Planning now reduces fiddly adjustments during calibration and improves first‑pass accuracy.
Installation steps for Meta Quest with GraviPro
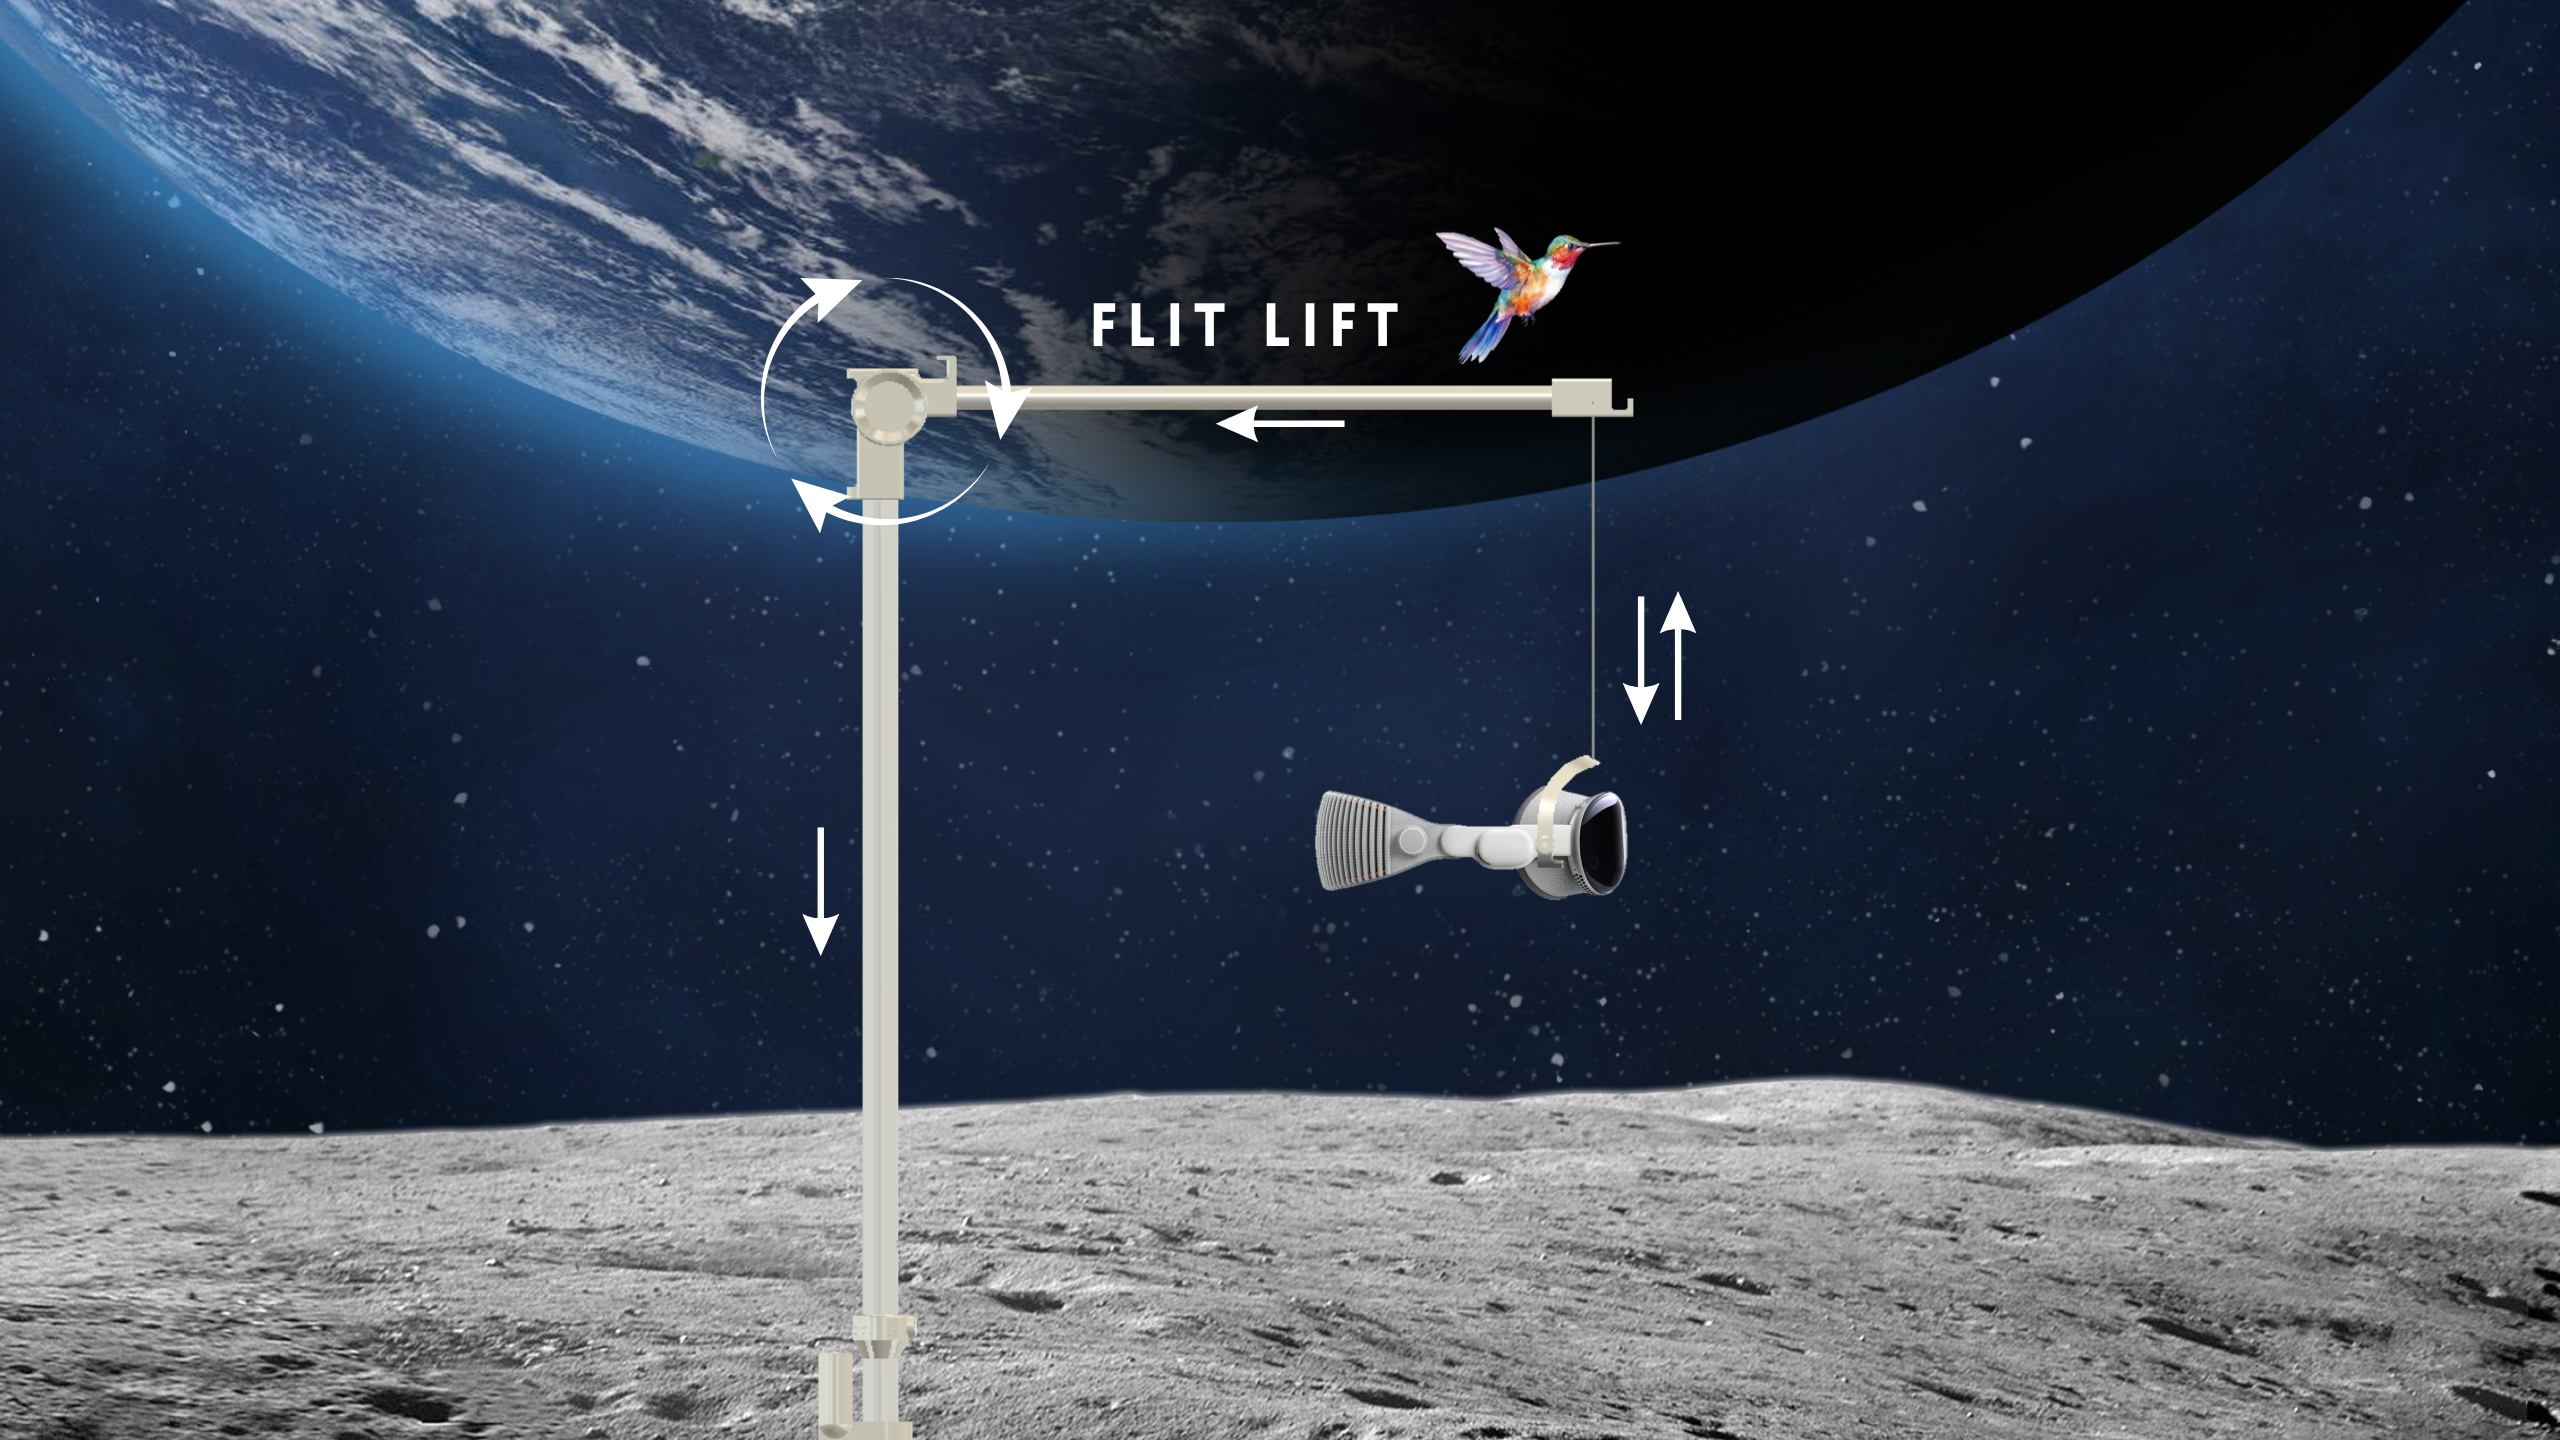
Power off the Quest completely before attaching hardware; leaving it on risks accidental inputs and sensor misreads. Align the GraviPro rails with the Quest flit-lift-weightless-vr-comfort/the-ultimate-ergonomic-fit-guide-for-diverse-head-shapes-and-preferences" rel="nofollow noopener noreferrer">mounting points and slide the module into place until it seats flush. Engage the locking mechanism until you hear or feel the click—don’t force the fit. If you meet resistance, back off and recheck alignment; forcing parts can deform mounting faces and create persistent alignment errors.
Route power and data cables along the crown or sides of the headset to keep them clear of the front cameras and your field of view. Use the supplied clips or cable ties to secure lines against the frame; avoid tight loops that could pull or rub during motion. Keep any connectors accessible for maintenance but tucked to prevent snagging.
Fasten any mechanical screws to the manufacturer’s recommended tightness. If the guide specifies torque, use a torque screwdriver; otherwise, turn to a solid stop without overtightening. Pad contact points where the module meets the headset with supplied foam or fabric to preserve sensor clearance and prevent micro‑vibrations. Once secure, power on the Quest and launch the GraviPro companion app to begin the guided pairing — keep the headset steady during this initial launch to avoid misreads.
Calibration workflow for optimal weightlessness
Calibration is where a good mount becomes a great experience. Start in a neutral posture: feet shoulder‑width apart, knees soft, spine tall, shoulders relaxed. This baseline reduces the chance of introducing postural bias into the center‑of‑gravity (CG) mapping. Open the GraviPro app and follow the guided gravity calibration routine: select your head profile (or create one), hold still during the balance analysis, and confirm when the app shows your CG centered.
Fine tuning happens physically and in software. If the headset tilts forward or you feel pressure on the temples, adjust counterweights a few millimeters and re‑scan. Small, incremental shifts produce the best results; large moves can disrupt tracking. Use the straps to control lateral stability but avoid overtightening—straps should hold position, not carry the headset weight.
Perform a 60‑second motion test: look side to side, nod, and execute smooth rotational turns while watching for drift. If the system drifts, retrace earlier steps: verify cable routing, re‑pad contact points, and check that cameras are unoccluded. Save each stable calibration as a named profile—“mid‑weight gaming,” “low‑profile apartment,” or “fitness high‑sweep” — so you can quickly restore settings for different activities or users.
Software integration and app setup
Install the GraviPro companion app from the Quest Store or the official site. The first launch verifies firmware compatibility, prompts pairing, and requests the permissions needed for cross‑app behavior. Pairing is usually straightforward: power on GraviPro, enable Bluetooth on the Quest, and select “Pair new device” in the app. A green Connected indicator confirms a successful link; if pairing fails, check proximity, power, and that no other device is interfering.
Create profiles inside the app for distinct activities and users. Name each profile descriptively, adjust the gravity scale and zero reference, and tweak smoothing options. For example, a “Cinematic” profile might use a lighter gravity assist and higher smoothing, while “Beat Saber” can be more responsive with lower smoothing and slightly firmer lift. Use the import/export feature to move profiles between headsets or teammates, and keep a versioned library to track changes over time.
Developers should enable API/SDK access in Settings to allow apps to read gravity data or push profile changes. Generate an API key for test builds and control permissions carefully. Finally, enable auto‑preserve modes like battery optimization or session extension if you plan long sessions; these modes automatically adjust assist strength to conserve power while maintaining comfort.
Performance tuning for comfort and immersion
Performance tuning balances feeling weightless with preserving natural head motion. Start with the recommended “Flit Lift” or weightless mode for your session type, then iterate. Begin in a neutral balance and make small shifts to the rear or sides to spread pressure evenly across the crown and temples. Test movements slowly at first—subtle neck strain often appears after minutes, not seconds—so plan a 15–30 minute trial when tuning.
Choose motion presets based on gameplay. Rigid weightlessness is excellent for stationary or exploratory titles where a stable visual frame reduces nausea; responsive drift is better for fast action titles where momentum cues increase immersion. You can switch presets mid‑session if the app supports it, but avoid abrupt changes: ramp assist levels over several seconds to let users adapt.
Haptic cues should be gentle initially. Start with low intensity and step up only until the sensation supports movement without creating new focus points. Latency matters: run the latency calibration provided by GraviPro and, if you’re a developer, profile end‑to‑end timing in your app. Low latency and predictive filtering help maintain the illusion of weightless support without laggy responses that break immersion.
Safety, maintenance, and troubleshooting
Safety starts with posture. Follow the manufacturer’s neck and head guidance: neutral spine, relaxed shoulders, and regular breaks every 30–60 minutes. Inspect mounting hardware regularly—look for stripped threads, loose screws, or cracked brackets—and replace worn parts promptly. Keep a small maintenance kit with spare fasteners, foam pads, and cable clips to address minor issues on the spot.
Clean sensor‑facing surfaces with lint‑free cloths and manufacturer‑approved cleaners. Never spray directly on cameras; apply cleaner to the cloth first. Battery management helps longevity: avoid frequent deep discharges and unplug chargers once batteries are full when practical. Store devices at partial charge (around 50%) if you won’t use them for extended periods.
If you experience drift or misalignment, work through these quick checks: confirm headset and GraviPro firmware versions match supported builds, verify camera visibility is unobstructed, rerun the CG calibration, and inspect cable routing for snags that tug during motion. If problems persist, recreate the setup on a second headset or mount to determine whether the issue is environmental, headset‑specific, or module‑related before opening a support ticket.
Best practices for developers and early adopters
For developers, build calibration hooks and gravity data access into your experiences. Offer graduated gravity cues with opt‑in intensity controls, and expose a simple reset that returns users to a safe baseline. During QA, test across multiple head shapes, strap tensions, and GraviPro profiles—document each test case with metadata so you can reproduce issues later. Profile end‑to‑end latency in representative game loops and prefer asynchronous paths where possible to keep updates smooth.
Early adopters and integrators should create a controlled test harness with low, medium, and high gravity profiles and repeatable timing sequences. Record outcomes, comfort notes, and environment conditions (lighting, room size) with each session. Share those findings with GraviPro via structured feedback: include logs, firmware versions, and clear reproduction steps.
Finally, collaborate on UX guidelines: recommend safe default assists, define quiet modes for sensitive users, and provide in‑session guidance to help users reset their balance. Community feedback speeds maturity; early adopters who document and share profiles help others find reliable starting points and reduce support load.
Real examples and quick mini-cases
Example A — Meta Quest 3, standard fabric strap: We mounted the GraviPro module at the rear clip, selected the mid‑weight profile in the app, and ran a full calibration. Outcome: users reported reduced neck fatigue after a 15‑minute Beat Saber session and steadier head‑tracking during rapid turns. Key tweak: loosened strap tension slightly to prevent ear pressure; total setup time ≈ 6 minutes.
Example B — Compact apartment with low ceiling: We used the low‑profile bracket, shifted the counterweight forward about 1 inch to relieve crown pressure, and performed a 3‑point room‑scale gravity calibration. Outcome: tracking drift dropped and sessions of 20–25 minutes stayed smooth even during fast motion. Lesson: small physical shifts beat large software compensations for persistent discomfort.
Transferable tactics from both cases: start with a built‑in balance profile, run a 15–30 minute play test before committing to long sessions, and document each configuration. Keep short logs of profile names, weight adjustments, and strap settings so you can restore the exact feeling later or share it with teammates.
- Quick checklist to start your first install:
- Confirm Quest and GraviPro firmware are current.
- Verify correct bracket for your Quest model.
- Pre‑fit counterweights and plan cable routing.
- Mount with headset powered off, secure clips, then power on.
- Run guided CG calibration and save a profile.
- Perform a 15–30 minute motion test and adjust as needed.
Next step: power up, run the guided calibration, and save your first profile—then play for 15 minutes and note any pressure points. If you want, export that profile and include it in your feedback to GraviPro; real user data helps refine the experience for everyone.


Compartir:
Designing GraviPro Powered VR Accessories for Extended Play Sessions
Glasses-Friendly VR: GraviPro Adapters for Comfortable, Clear Play