Extended Vision Pro sessions can be magical—and, without the right adjustments, quietly punishing. Neck strain usually creeps in not because the headset is wildly heavy but because a small imbalance, a tight gasket, or a fixed posture forces your neck muscles to compensate for minutes that add up into hours. ⏱️ 13-min read
This guide gives a practical, device-specific plan: how to think about weight and center of gravity, how to tune the face interface and straps, which accessories actually help, and how to pair hardware changes with posture, breaks, and a short routine you can repeat before every long session. Read it, apply the tests and tweaks, and you’ll preserve comfort without compromising tracking or image quality.
Weight and balance fundamentals for Vision Pro
When we talk about comfort, start with physics. The headset’s center of gravity (CG) is where the device’s effective weight “acts.” Most headsets, including the Vision Pro, have more bulk toward the front—from the visor, optics, and the face gasket—while the rear strap carries less mass. That forward bias increases torque on your neck when you tilt down even modestly: a 15–35° nod amplifies the lever arm and multiplies perceived weight.
Think of balance as the difference between your head doing the holding and your neck doing the resisting. Move the CG closer to the skull, and the neck works far less. Small changes—adding a few grams at the nape or raising the forehead pad a few millimeters—can change the torque noticeably over a long session. The practical question is not “how heavy is the headset?” but “where is the weight relative to your natural neck hinge?”
Quick balance tests to reveal strain hotspots
- Wear-and-nod test: Put the headset on with your usual strap tension. Close your eyes and slowly tilt your chin toward your chest to 15° and hold for 5–10 seconds. If you feel a heavy pull at the front of the neck or the headset rocks forward, the device is front-heavy.
- Hands-off balance check: With the headset on, release your hands and hold natural posture. Observe whether your head feels like it’s being pulled forward, or whether subtle muscular effort keeps it neutral. Persistent forward tension means the CG is ahead of the skull’s center.
- One-finger counterbalance: Gently press the rear strap near the occiput while tilting the head slightly. If a light nudge relieves much of the effort, a small rearward bias (counterweight or repositioned pad) will help significantly.
These diagnostics are simple but revealing. Once you know the direction and magnitude of imbalance, the next steps—padding, strap geometry, and counterweights—become clear and targeted rather than guesswork.
Face interface and padding optimization
The face interface is where comfort is won or lost. It’s tempting to focus only on optics and image clarity, but the gasket and pads determine how forces transfer to your skull. Efficient padding achieves three things: even load distribution, correct alignment of the optics with your eyes, and low friction so you don’t have to re-adjust constantly (which itself causes neck fatigue).
Consider this a three-part tune: load distribution, alignment, and friction control.
Practical padding checks and swaps
- Inspect for uneven thickness. Wear the headset and press gently along forehead and cheek areas. If one side depresses sooner, swap pads or add a thin liner until compression feels symmetrical.
- Choose padding materials that compress gently and rebound smoothly. Memory foam and medium-density EVA are effective—they mold to contours, reduce sharp pressure points, and maintain a stable seal without over-tightening.
- Prioritize breathable cover materials. Microfiber or perforated synthetic suede reduces heat and hotspots that make you subconsciously tighten muscles.
Aligning the seal without over-tightening
- Set the forehead pad so the visor rests lightly against the brow. A higher forehead pad shifts some weight rearward; a lower pad moves weight forward—adjust to center the feel.
- Fine-tune eye relief: move the display slightly forward/back until the image sits naturally without forcing you to push your chin down. If you find yourself constantly angling the head to see clearly, recalibrate eye relief and IPD first.
- Check friction and micro-movement: after alignment, tilt your head through normal gaze ranges. If the headset shifts, add a thin anti-slip liner or slightly increase strap support rather than cranking the gasket tighter.
After every change, wear the headset for a 10–15 minute test. Look for redness, numb points, or a desire to adjust. Those are the places that will cause fatigue in long sessions; remove or redistribute padding until the contact feels stable and even.
Ergonomic head straps and surface cushions
Strap geometry determines whether the headset rests on bony structures (a good thing) or on soft tissues that will fatigue. The ideal strap system anchors across the occiput and wraps the temporal area to spread the forward pull evenly. Think wide, curved bands rather than thin straps that cut into a single line.
How to tune strap tension and positioning
- Start loose, then tighten incrementally. A common mistake is overtightening to stop wiggle; that simply moves load to the neck. Tighten until the headset is stable through small head movements, then back off one notch.
- Use the crown and temple adjustments to shift load. Lengthen the crown strap to move weight rearward; tighten temple straps to remove sag without pinching the ears.
- Anchor to bone, not soft tissue. The occipital ridge at the back of the skull is a bony support—aim cushioned contact here rather than letting the strap ride low on the neck.
Surface cushions that actually help
Memory-foam or gel-filled pads lined with breathable fabric smooth pressure across the back of the head, temples, and forehead. A curved cushion that follows the skull contour prevents edges from digging in and creates a larger contact area so no single spot bears the load. If you experience numbness or “hot spots,” swap to a slightly thicker cushion in that zone or add a thin gel liner. The difference between a 3 mm and an 8 mm liner can be the difference between a comfortable two-hour session and a painful one.
Finally, favor straps with quick-release or magnetic buckles. During long sessions, you’ll want to remove and re-don quickly without jerking your neck. A balanced, padded strap that’s adjustable in small increments makes the headset feel less like a load and more like an extension of your head.
Weight relief accessories and lift devices
If balance and padding don’t fully solve neck strain, targeted accessories can. The aim is not to make the headset weightless—that’s neither practical nor necessary—but to move the effective mass closer to the skull and reduce anterior torque. The two common approaches are counterweights and lift-assist mechanisms.
Counterweights: subtle but effective
Attach a slim counterweight low on the rear strap to offset forward visor mass. You don’t need a heavy block—often a few tens of grams at the nape can shift the center of gravity sufficiently. The trick is low profile: choose a flat, removable weight that hugs the strap so it won’t interfere with clothing or pressing against a chair.
- Placement: center the weight over the occipital ridge for best leverage.
- Profile: opt for thin metal or composite plates with soft covers to avoid pressure points.
- Adjustability: choose modular systems where you can add or remove small increments of mass to find the sweet spot.
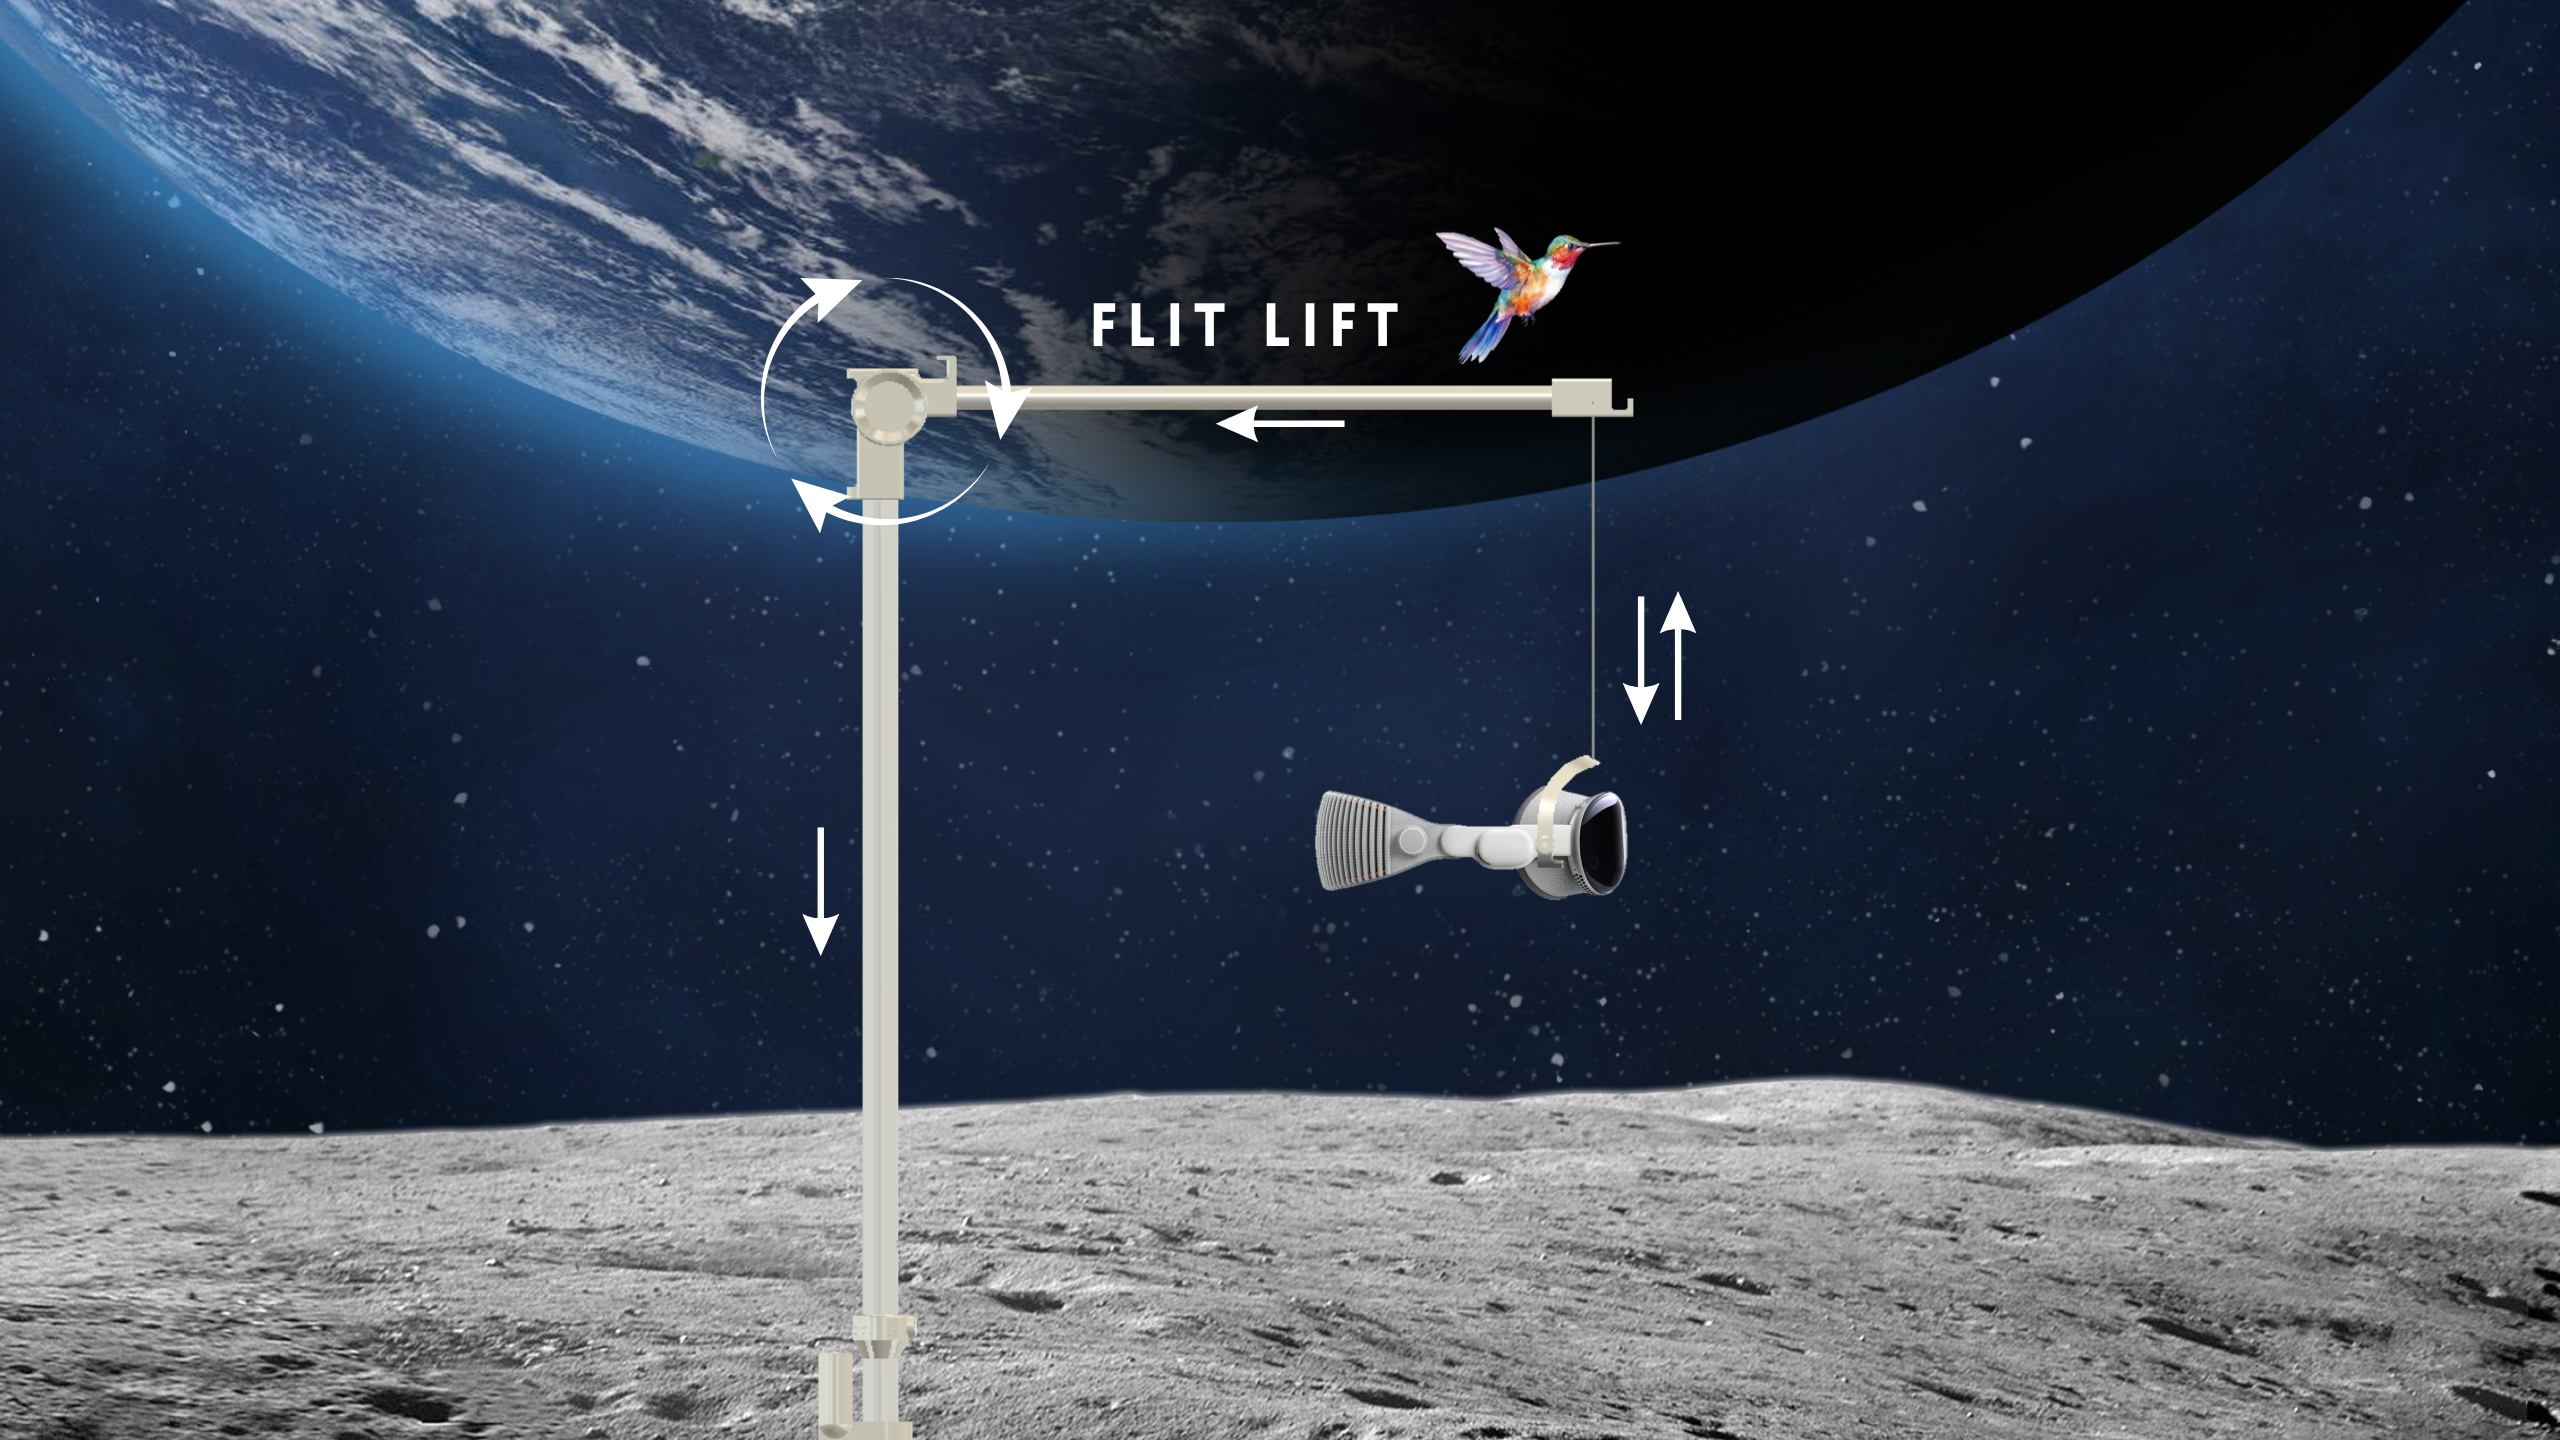
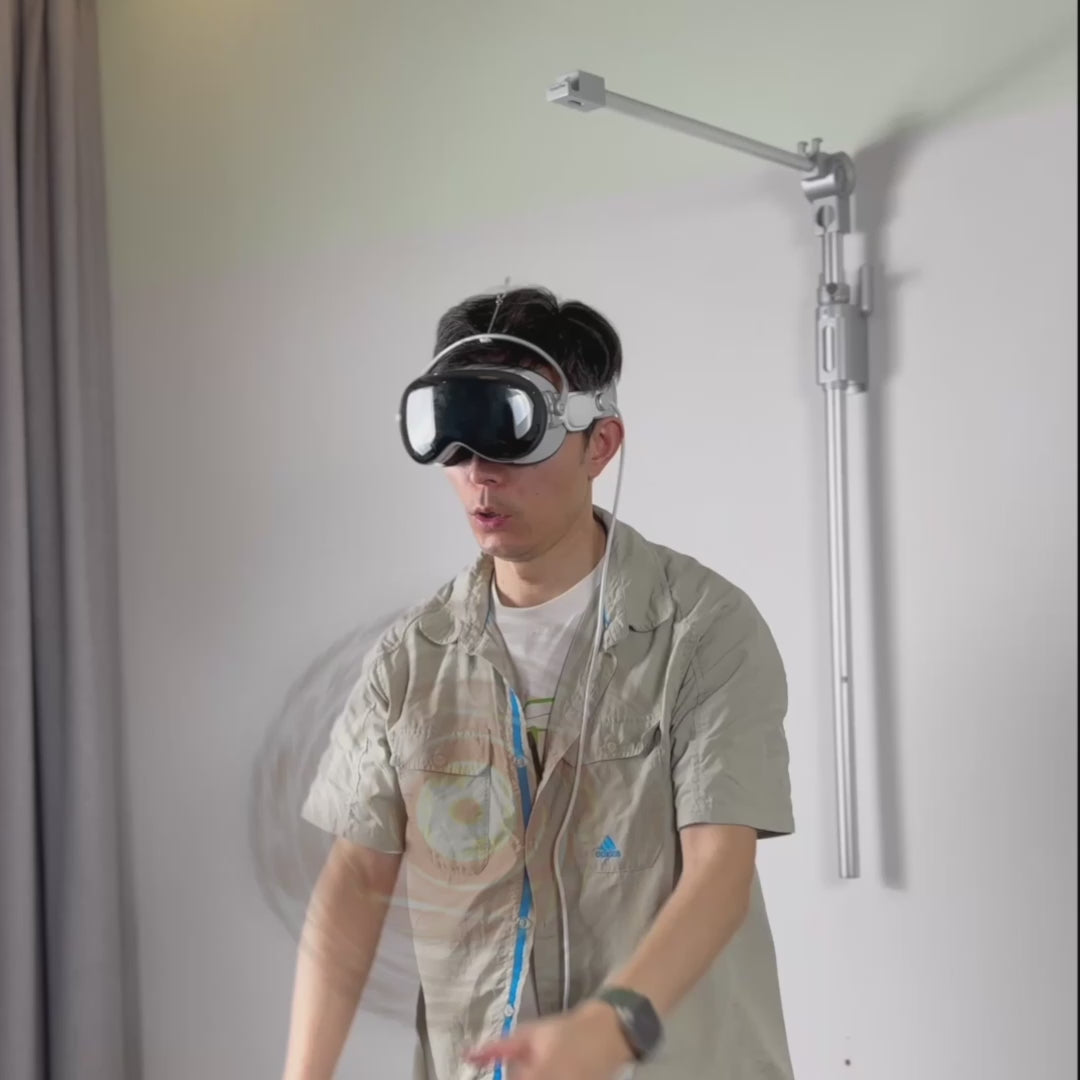
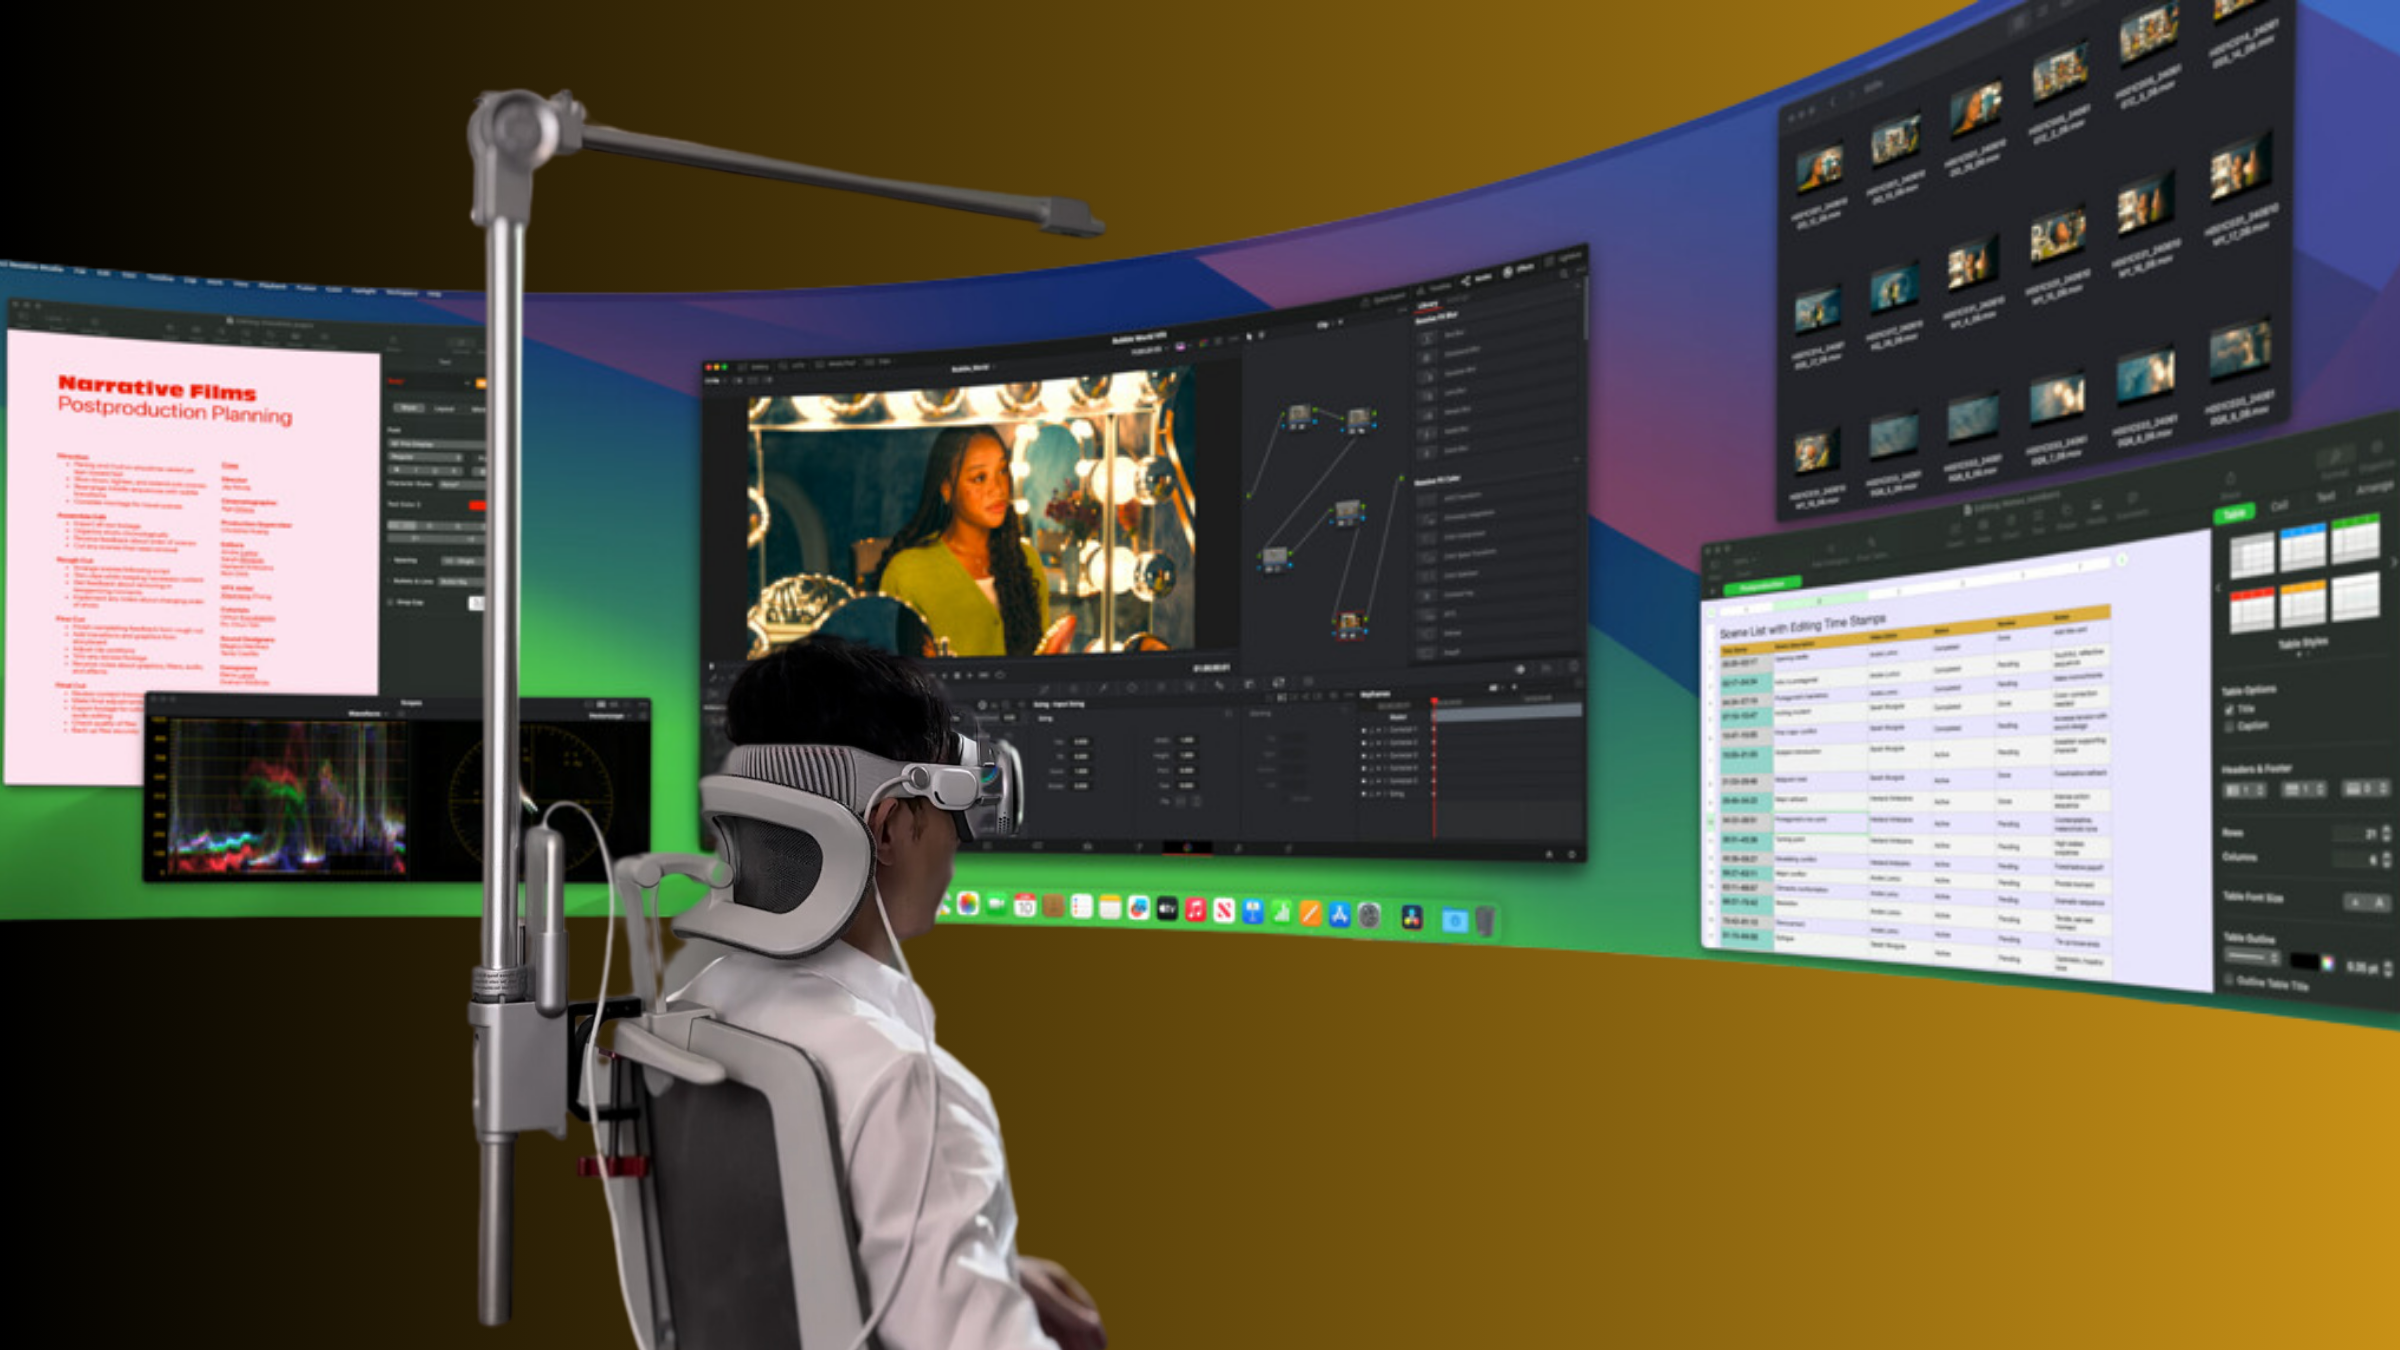
Lift assists and hinge mounts
Spring-assist or elastic lifts provide gentle upward force to counter the forward moment. These systems are most effective when they don’t interfere with sensors or tracking—so mounts should sit on the strap, not on the visor, and be low profile. Hinged or offset mounting points help you shift that balancing mass rearward without changing the headset’s optical alignment.
When selecting accessories, check compatibility: some add-on mounts sit near the sensor array and can degrade tracking if they cast shadows or reflect. Prefer matte finishes, neutral tones, and manufacturer-recommended attachment points. If you try a third-party counterweight, test tracking and gestures in a short session before committing to a long one.
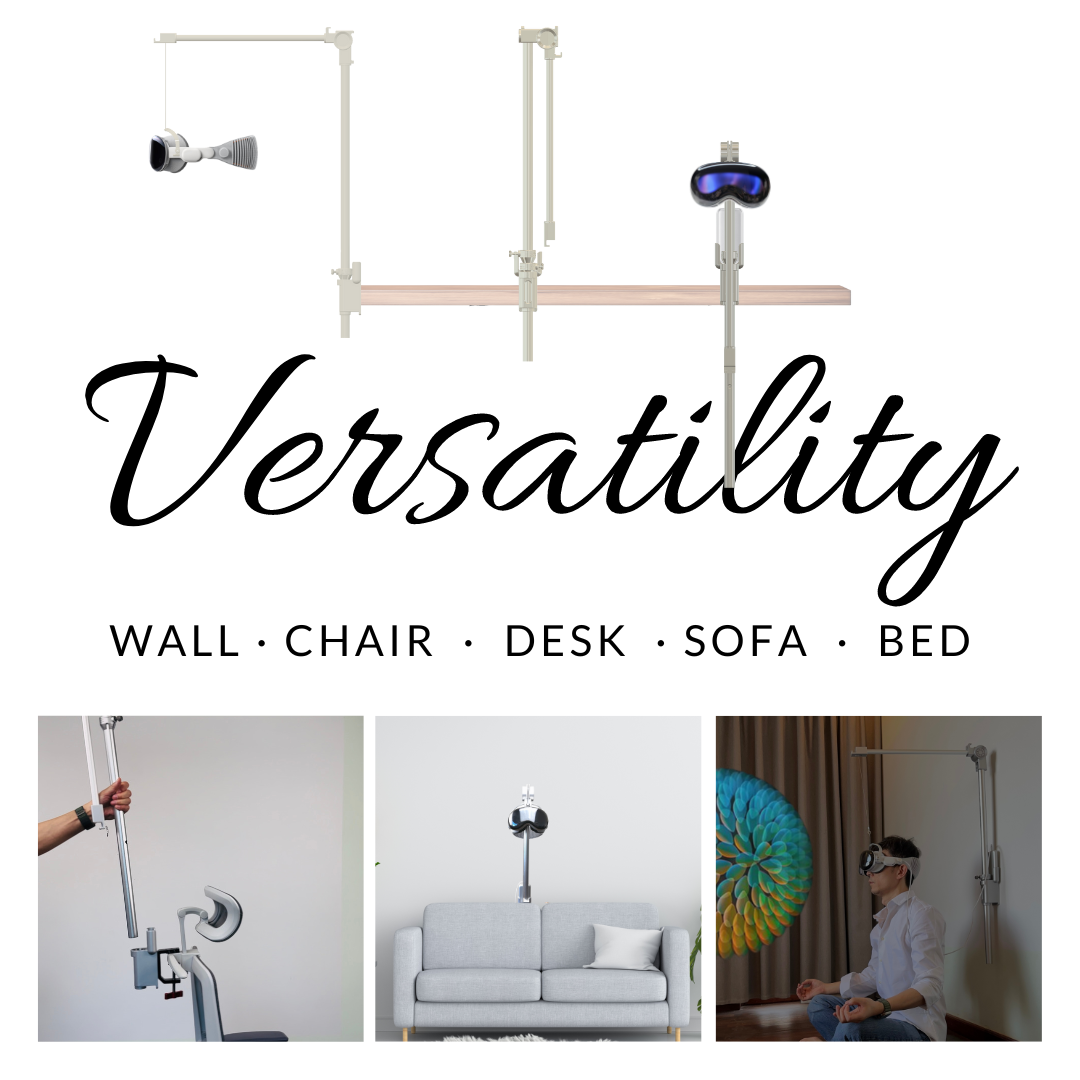
Desk setups, stands, and easy-access mounting
Comfort starts before you put the headset on. An ergonomically arranged desk and a good stand remove awkward reaches and unnecessary bends, preserving a neutral spine and reducing cumulative neck load. Think of your VR station as a workstation: eye level, ready-to-grab mounts, and repeatable presets.
Choosing and setting a stand
Adjustable-height stands are the cornerstone. Set the headset’s resting eye level to match your natural seated gaze so donning the device doesn’t require a stoop or a reach. Look for stands with smooth, repeatable height adjustments and memory settings if multiple people use the space. Measure your seated eye height from the floor and mark or program three common presets—one for your primary chair, one for a taller stool, and one for a standing setup.
- Tip: pair a stand with a shallow monitor arm or tray so the viewing plane remains flat and your neck doesn’t need to tilt upward during long editing or mixed-reality tasks.
- Micro-mounts: keep small, lightweight mounts within easy reach to swap filters, battery packs, or counterweights without twisting your torso. A pegboard or small magnetic strip near the stand works well.
Mounting workflow for minimal fuss
Arrange a “donning lane”: stand at a comfortable distance from the desk with a chair behind you, the headset at the right height, and accessories in a predictable order. This reduces the need to bend, twist, or reach. If you store batteries or controllers nearby, keep them at chest height rather than on the floor so you can pick them up without a deep bend. Small layout tweaks—moving a charging puck 12 inches higher, adding a wall hook at eye-level—significantly reduce awkward movements over repeated sessions.
Protective cases and space-saving storage
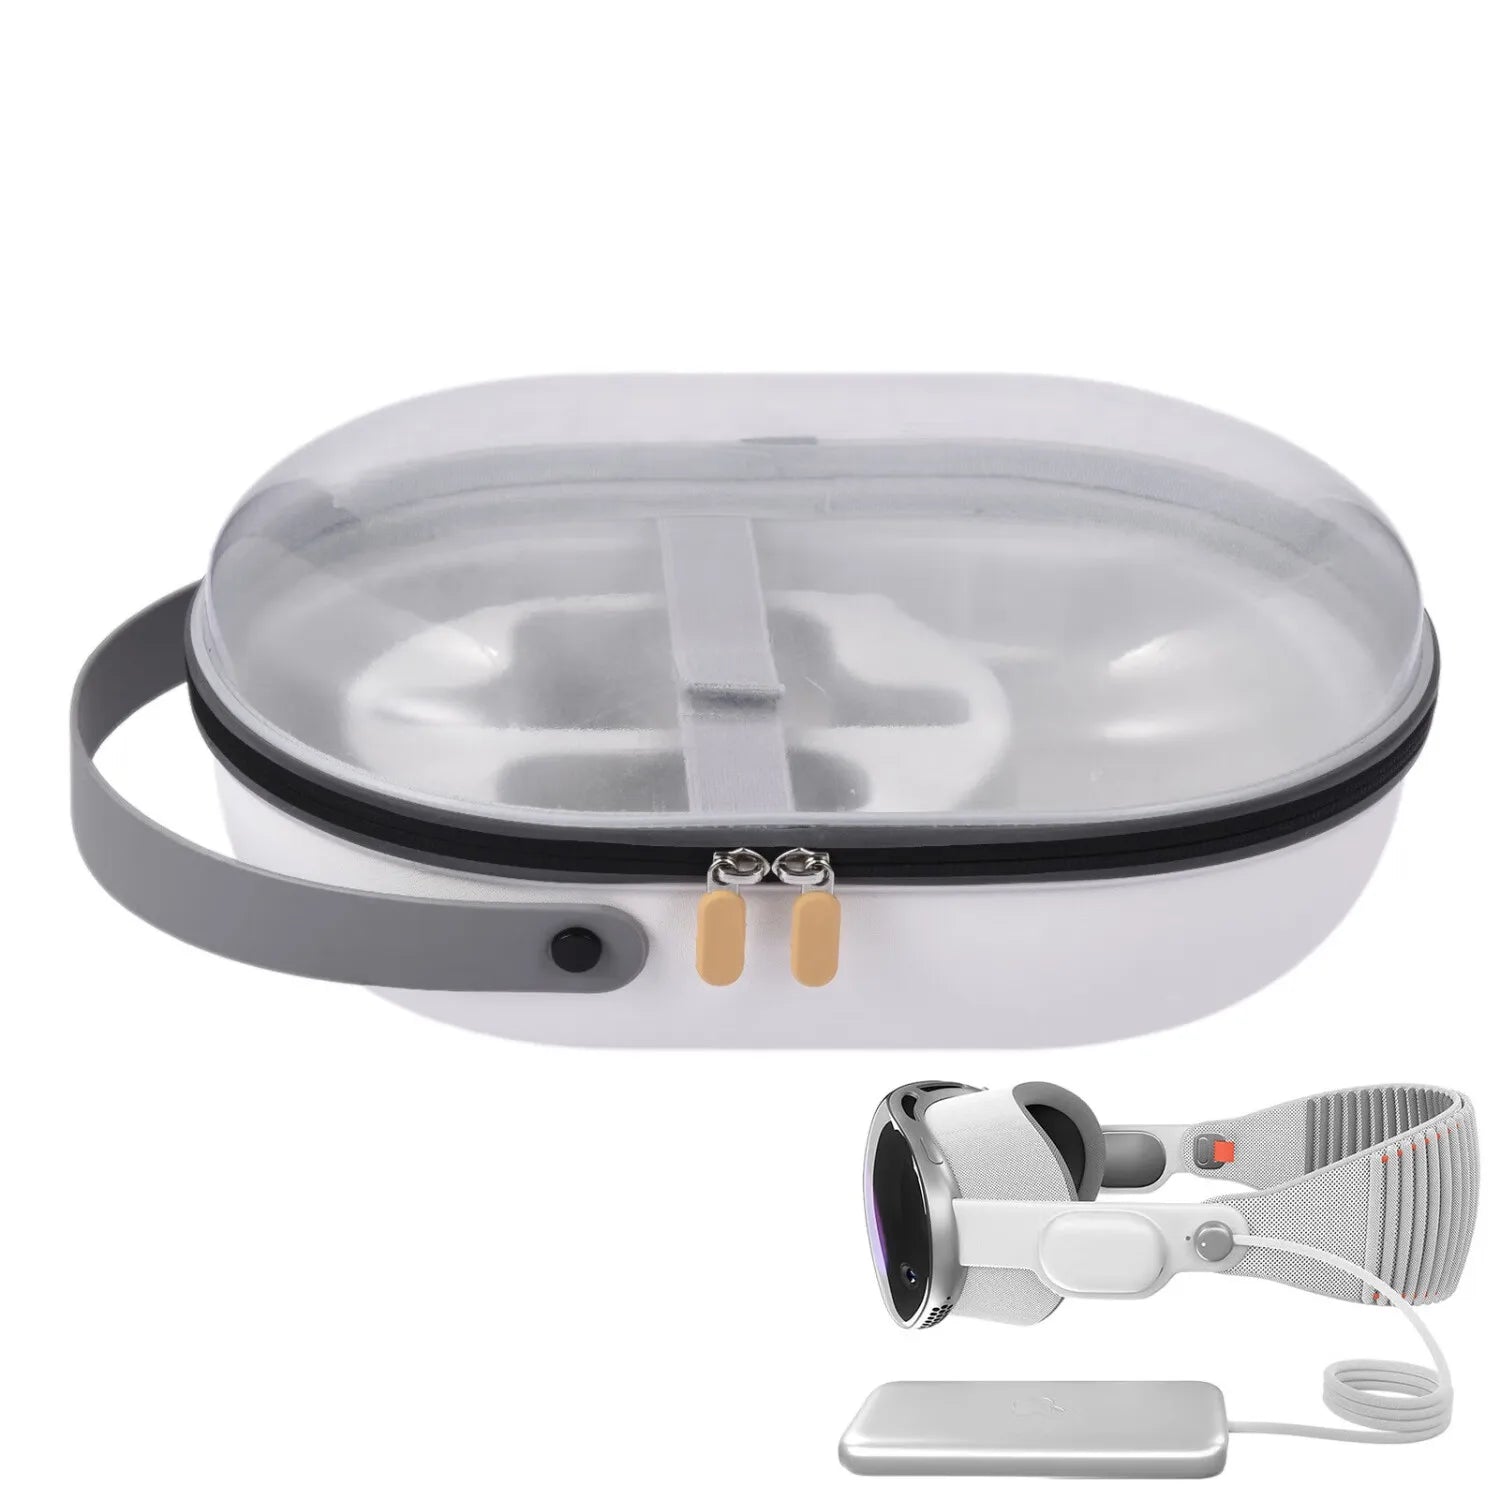
Storage affects comfort indirectly but importantly. A heavy, bulky case that you have to bend to retrieve or that alters the strap shape over time makes donning more awkward and can change fit. Choose storage solutions that respect the headset’s contours and keep everything at a convenient reach height.
Case selection and handling tips
Choose a slim protective case with a hard outer shell and a soft, form-fitting interior. Avoid overstuffed cases that compress the rear strap during storage—small, persistent deformations can shift how the headset sits on the next use. Look for cases that cradle the visor without bending the pads or buckles, and that include a small compartment for modular weights or cushions so you can store your comfort setup together.
- Carrying tips: use cases with low-profile handles so you don’t lift with a shrug that engages neck muscles.
- On-desk case: a hybrid case that doubles as a short cradle or charging stand can save a step and keep the headset at donning height.
Space-saving storage strategies
Vertical storage is underestimated. A wall hook or small charging column at chest-to-eye height keeps the Vision Pro upright and ready without stooping. Route cables up the wall with a slim cable channel to prevent tangles and the need to reach down while handling cords. If you share the headset, label storage presets—hooks at different heights or different stand positions—to reduce fumbling and the small postural corrections that add up to fatigue.
Posture, breaks, and usage patterns for long sessions
No amount of hardware optimization replaces good movement patterns. Static posture drives fatigue fast; the body isn’t built for hours of fixed neck flexion. The solution is rhythm—short, deliberate pauses paired with small changes in gaze and distance that interrupt strain before it becomes pain.
Cadence-based break schedule
- Micro-breaks every 15–20 minutes: 30–60 seconds to reset the shoulders, jaw, and neck.
- Longer break every 60–90 minutes: 5–10 minutes to stand, walk, and do more thorough mobility work.
- Session planning: design work in 20–40 minute blocks that match content needs—editing, immersive meetings, or long-form viewing—so breaks are natural, not intrusive.
During micro-breaks, perform a quick “reset”: drop the shoulders, release the jaw, and tilt the chin toward the chest for 2 seconds, then look left, center, and right. These small interrupts reduce the tendency to lock the neck in a single angle.
Varying gaze distance and angle
Avoid fixed near-field focus. Within your virtual session, consciously alternate between near and far focal points every few minutes: glance slightly downward at a close control panel, then level to a mid-distance screen, then upward toward a horizon or background. These small changes distribute muscular work across neck and upper back. Combine gaze variations with postural cues—lengthen the spine, keep shoulders relaxed, and avoid a sustained chin tuck that forces cervical flexion.
Active micro-pauses and neck-relief cues
Micro-pauses are short, repeatable movement cues you can do seated with the headset on. They’re designed to release tension, stimulate circulation, and re-establish a neutral head position without interrupting flow.
A 30-second neck reset you can do with the headset on
- Spine tall: sit or stand tall, imagine a string lifting your head, and let the shoulders drop away from your ears.
- Chin nod: let the chin drop toward the chest for 2 seconds, then slowly return to neutral.
- Side tilts: tilt your head toward your right shoulder, return to center, then toward the left. Repeat twice each side.
- Neck circles: perform two slow, controlled circles—clockwise then counterclockwise—avoiding any sharp or painful ranges.
- Breath and release: exhale as you drop the shoulders, hold for a count of three, then breathe in and re-center.
Use cues that pair movement with breath: "shoulder drop" on the exhale, "jaw loosen" during the inhalation pause. These small anchors make the micro-pause feel intentional and restorative rather than perfunctory.
Personalization, calibration, and long-session routines
The final step is making this process repeatable. Spend 5–10 minutes before any long session to calibrate and log the fit. This small investment prevents trial-and-error mid-session and makes discomfort easier to trace and eliminate.
What to log and why it matters
- Document strap tension, gasket alignment, and pad thickness. Note where the headset contacts your head and any pressure points after a short trial.
- Record the position of any counterweights and their mass (or the setting used on modular systems).
- Note your IPD and eye relief settings, and confirm the display is level and symmetric using a mirror or phone camera.
Keeping a simple log—paper or in a note app—lets you reproduce a comfortable setup tomorrow. If you change hair, add thick glasses, or switch chairs, the log tells you what to retest rather than guessing.
A concise pre-use routine
- Check the stand height and set the headset at your seated eye level.
- Confirm padding symmetry and that no new creases have formed in straps.
- Attach any counterweight or lift assist you use and test tracking for 1–2 minutes.
- Perform a 30-second neck reset and a quick calibration of IPD/eye relief.
- Start your session with a timer set for 15–20 minute micro-breaks.
Repeat this routine before each long session. The small habit of calibration and logging eliminates many of the silent factors that add up to neck strain.
Quick troubleshooting checklist before any long session
Use this checklist as a final pass to catch the usual culprits in under two minutes:
- Balance: Do a one-finger rear press—does that relieve forward pull? If yes, shift forehead pad or add rearward mass.
- Padding: Any redness after a short wear? Swap or redistribute pads to equalize pressure.
- Straps: Are straps adjusted to anchor on the occiput and temples rather than riding low on the neck?
- Accessories: Are counterweights seated and low-profile? Do lift assists avoid sensor zones?
- Station: Is the headset stored or stood at chest-to-eye height to avoid bending? Are cables routed to prevent tugs?
- Movement plan: Timer set for 15–20 minute micro-breaks and a longer break at 60–90 minutes?
- Calibration: IPD and eye relief set; quick mirror check for symmetry.
Fix any “no” answers before starting. Small fixes now prevent compounding strain later.
Next step: spend ten minutes today running the balance tests, fine-tuning your padding, and creating a single-line pre-use log entry. Once you establish that baseline, add a lightweight counterweight if needed and set a 20-minute break timer. With these habits and a few targeted accessories, you’ll preserve the immersive power of Vision Pro without paying for it with neck pain.



Compartir:
Apple Vision Pro Neck Support: Reducing Headset Strain with Ergonomic Design
Ergonomics First: Designing Weightless VR Experiences That Minimize Fatigue