Upcycle Your Way to Comfort: DIY Vision Pro Stands That Balance Access, Safety, and Long-Session Comfort
If you own an Apple Vision Pro or another premium mixed‑reality headset, you know how quickly a beautiful, fragile device can clutter a desk or become awkward to pick up between sessions. Commercial stands exist, but they’re often pricey and built with a one‑size‑fits‑all mentality. This guide shows how to upcycle inexpensive materials into thoughtfully designed DIY Vision Pro stands that prioritize balance, easy access, and user comfort—without compromising safety or the headset’s finish. ⏱️ 13-min read
Below you’ll find goal‑driven design principles, a practical materials checklist and sourcing tips, multiple build concepts (desk‑mounted, free‑standing, and case‑integrated), padding and facial‑interface advice, and a straightforward testing routine so you can iterate confidently. Expect concrete examples, cost‑sensitive choices, and quick tricks to protect your lenses and sensors while making the headset a natural part of your workflow or gaming setup.
Goal-driven design: balance, access, and safety
Start with objectives, not parts. A successful DIY Vision Pro stand must solve three connected problems: keep the headset safe and stable, make retrieval immediate and non‑fussy, and sit unobtrusively in your space. Define how you’ll measure success before you build: stability (no tipping when nudged), accessibility (one‑hand removal and replacement), and protection (no pressure points on lenses or sensors).
Design choices flow from those goals. Balance is primarily about where the center of gravity falls when the headset is docked. Favor low‑profile bases and rear counterweights tucked behind the cradle so the mass sits over the table or your torso, not out in front. Access is solved by cradle geometry: a shallow, gently curved rest that guides the headset out without requiring a precise lift. Safety comes from materials and layout—soft contact pads, rounded edges, and cable guides that prevent tugging or accidental drops.
Before you commit to final joints or finishes, run a simple repeatable test plan: 1) Place the unloaded stand on your desk and push it lightly from each side; 2) Dock the headset and gently nudge the mount; 3) Grab and remove the headset one‑handed, then re‑dock. Note wobble, scrape points, cable pull, or places that snag hair or glasses. Iterate until removal feels smooth and the cradle settles the headset into a stable, centered rest.
Affordable materials and upcycling sources
One of the joys of a DIY Vision Pro stand is that you don’t need exotic parts—just sensible materials and a little care. Start with straight, stable pieces of wood (offcuts, pallet boards, scrap plywood) for bases and masts; PVC plumbing and metal brackets for joints and clamp mounts; and foam, cork, or felt for any contact areas. Old monitor or microphone arms, camera tripods, and even picture‑frame hardware make excellent repurposed components.
Safety and finish count. Inspect reclaimed wood for rot, nails, or heavy warping; sand and seal painted surfaces to avoid flaking. Check metal brackets and arms for play in joints and for load ratings if available—don’t hang everything on a visibly corroded hinge. Pad edges and corners with foam or fabric scraps to remove sharp points.
Quick materials checklist:
- Base: 12–24" plywood, MDF, or a weighted plastic tray
- Mast/arm: 3/4"–1" dowel, PVC pipe, or a repurposed monitor/microphone arm
- Cradle pad: EVA foam, cork sheets, or thick felt
- Fasteners: wood screws, bolts, L‑brackets, and a few washers
- Non‑slip: rubber feet, old mouse pads, or door‑stop pads
- Optional ballast: sand, pebbles, or small metal weights
Desk-mounted stand concepts for quick access
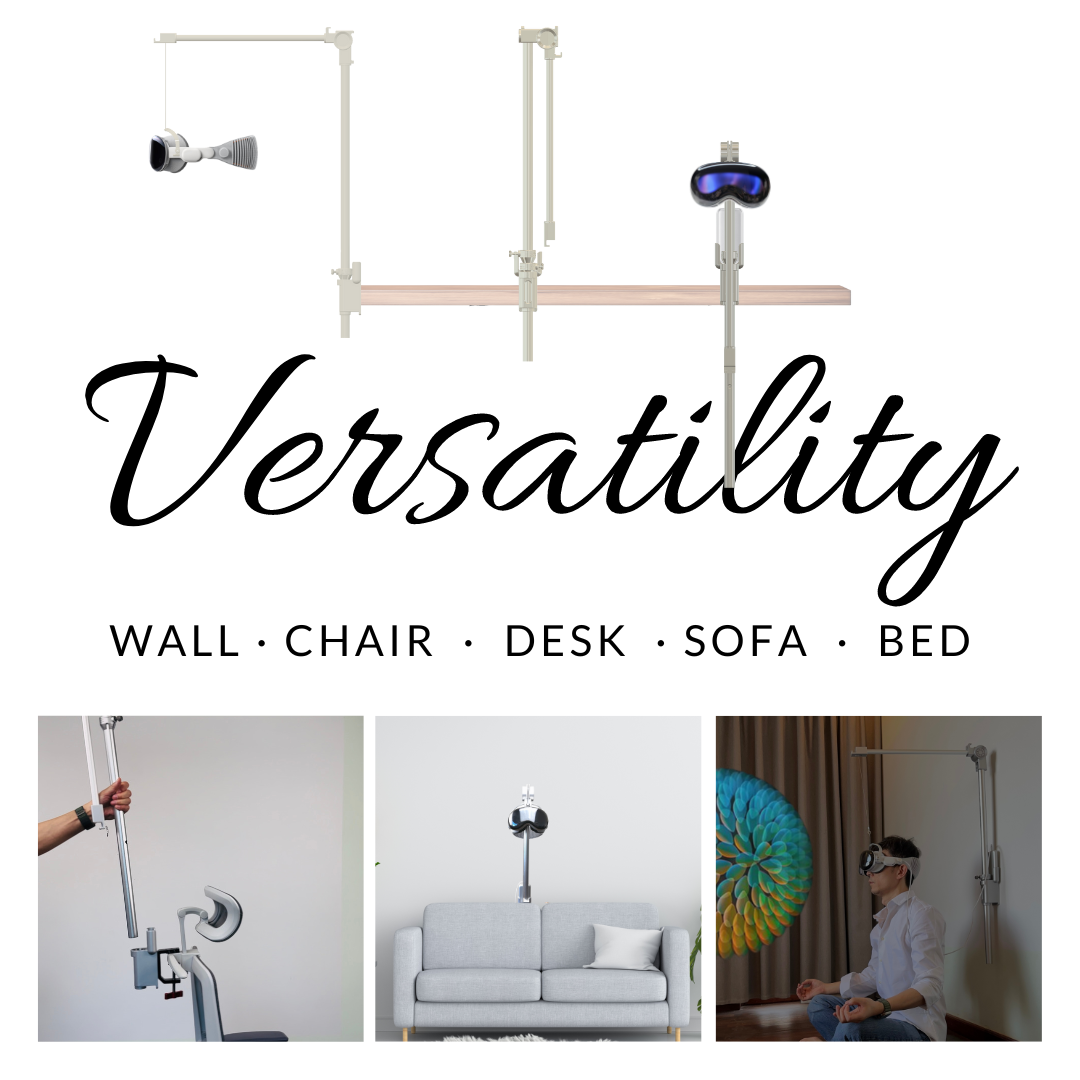
Desk‑mounted stands are ideal when you need the Vision Pro within arm’s reach and want to minimize desk footprint. Three practical approaches—clamp‑on, groove‑in shelf, and repurposed arm—deliver different trade‑offs between permanence, reach, and stability.
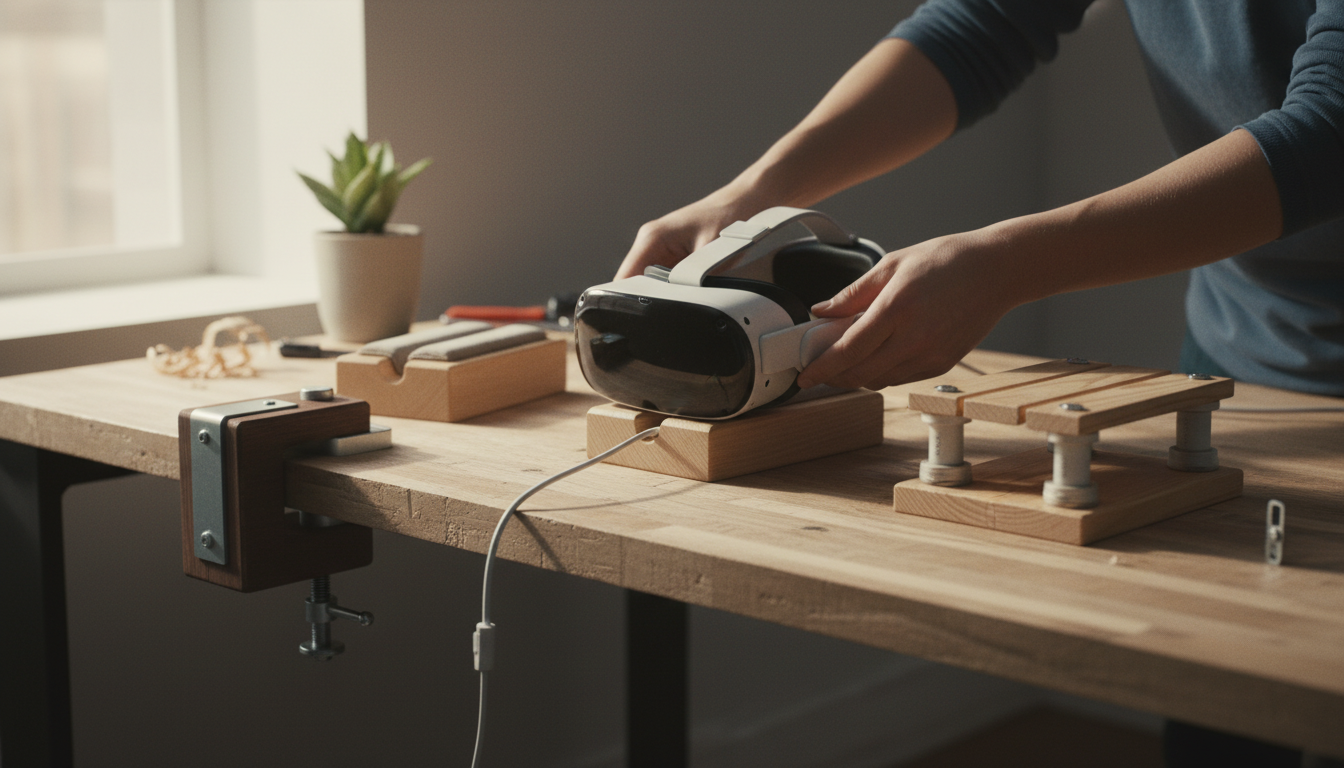
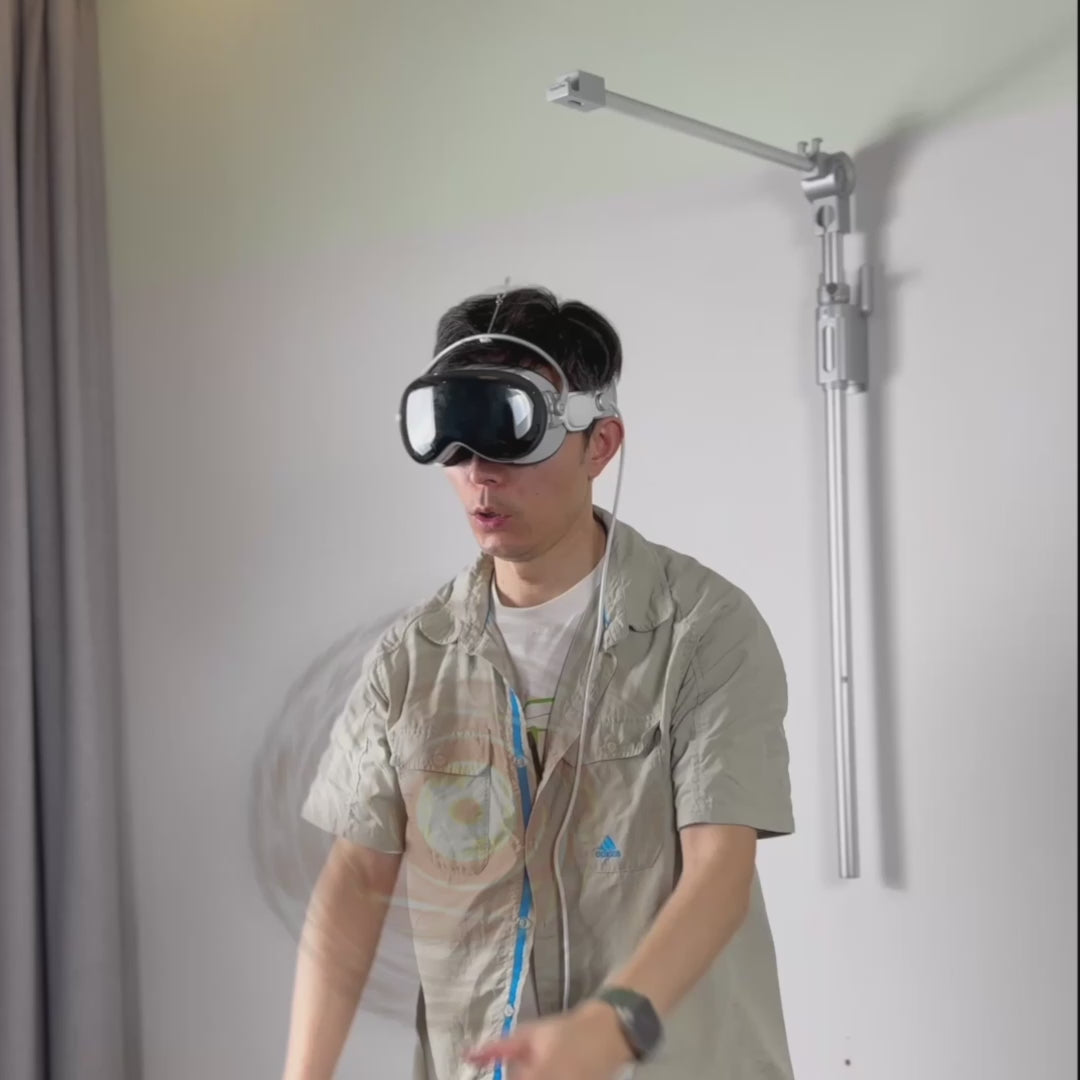
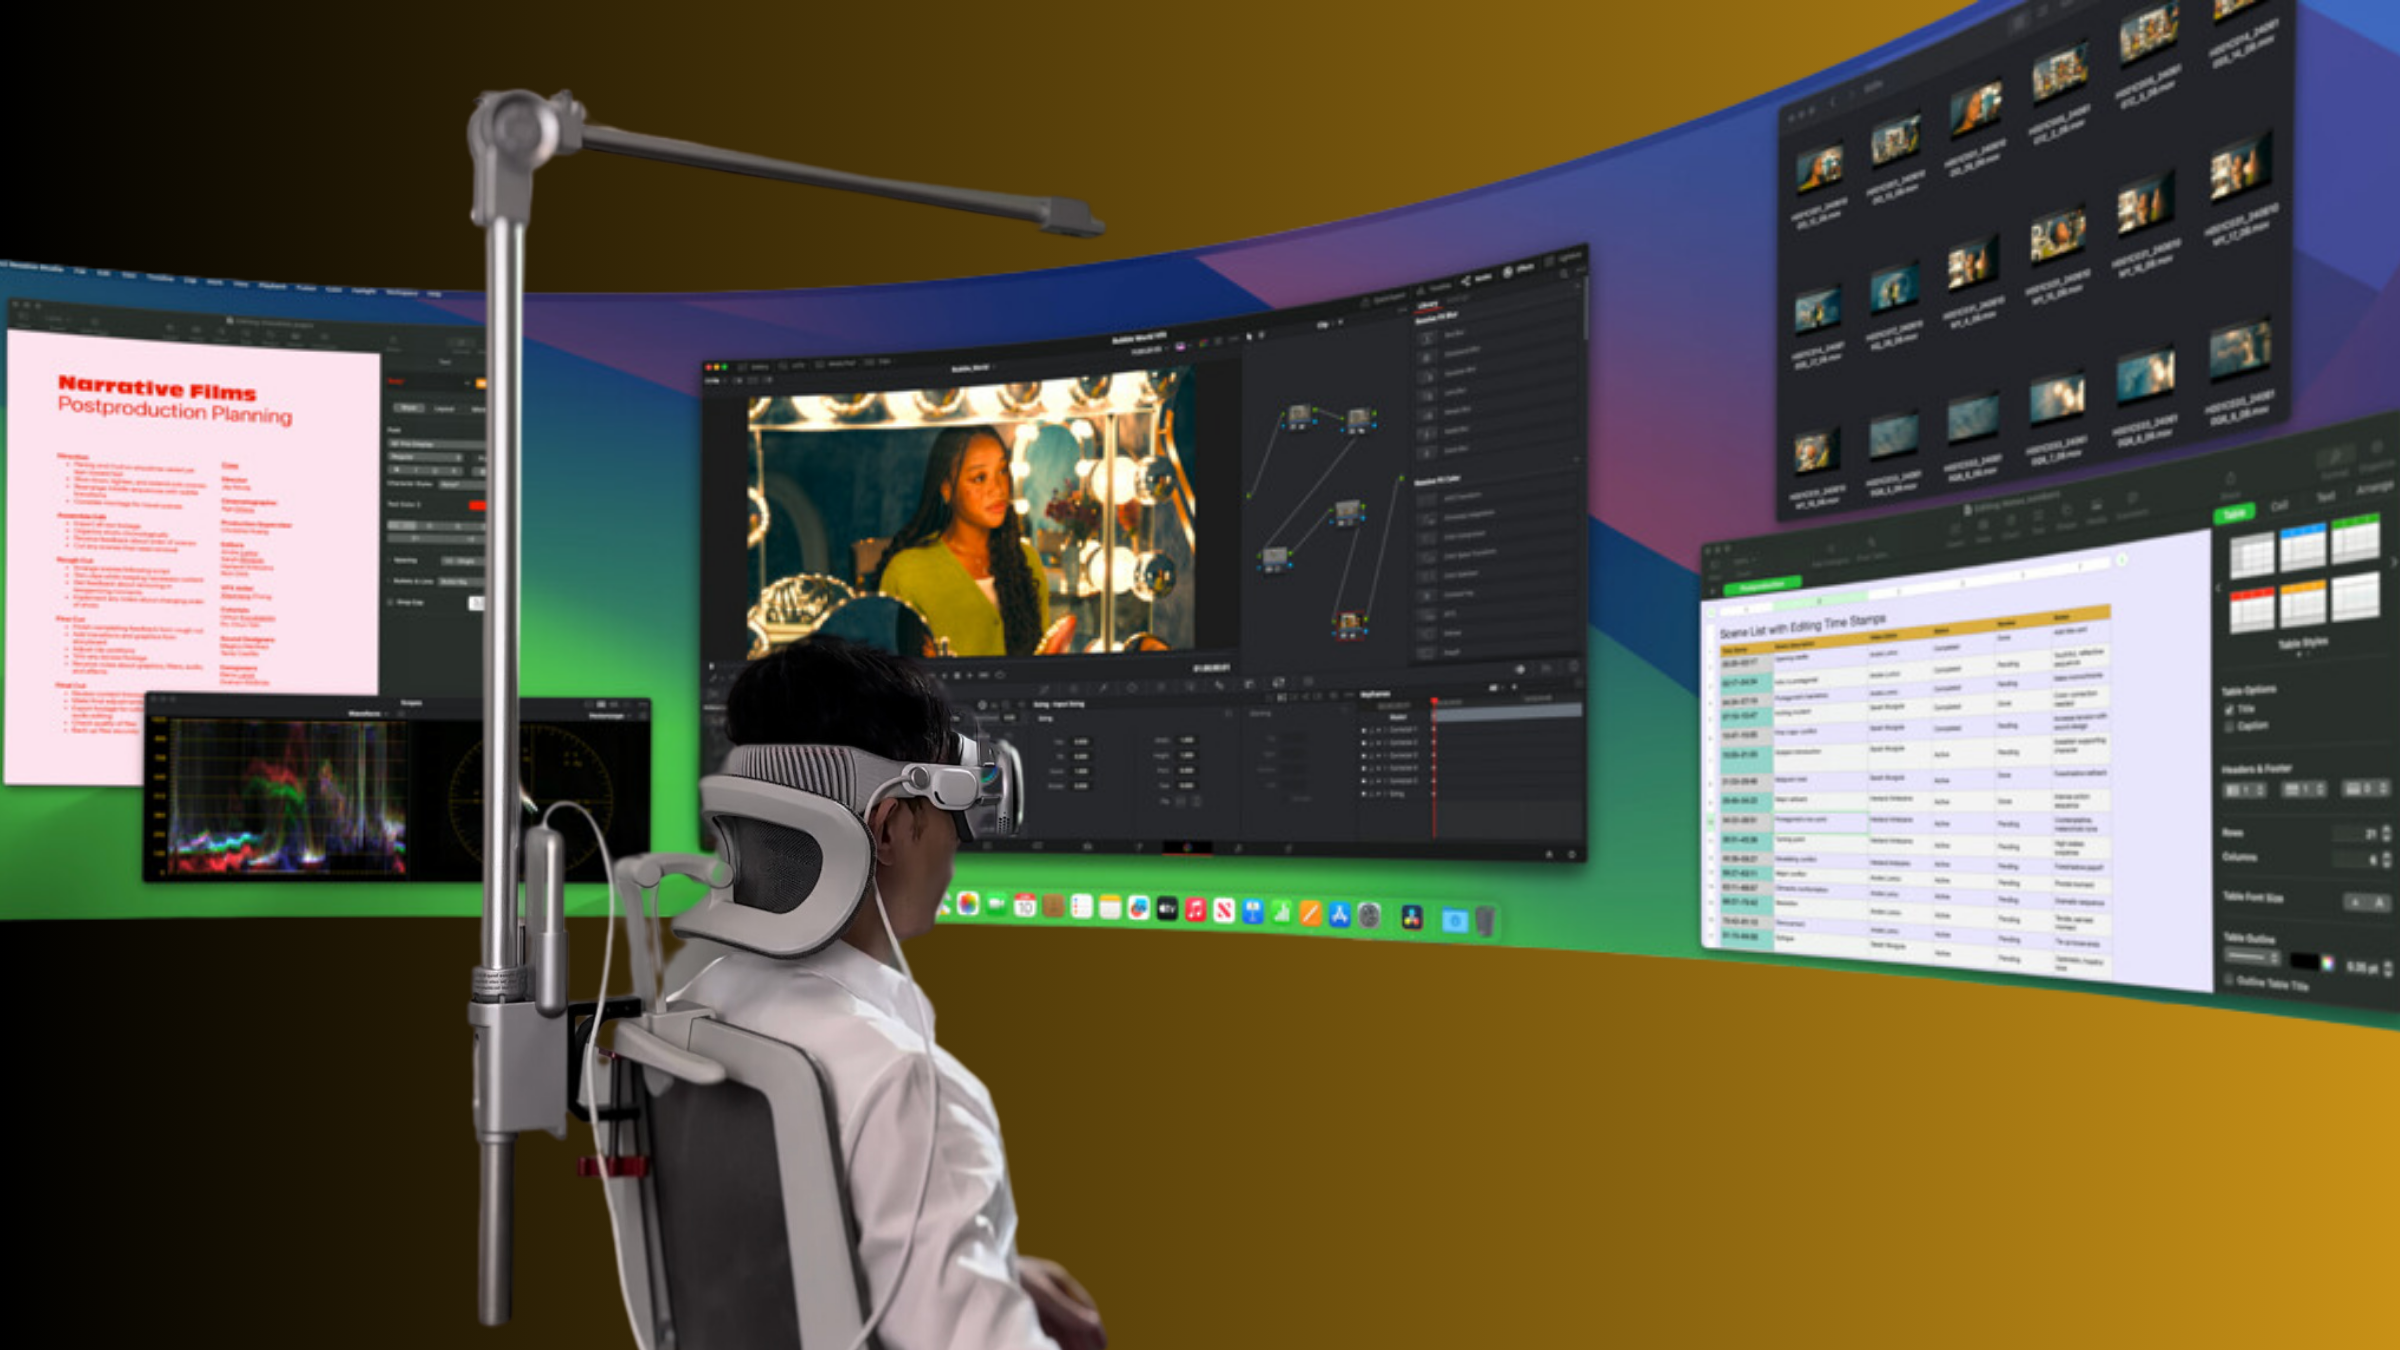
Clamp‑on microphone‑arm cradle: Turn a salvaged microphone arm into a one‑hand pickup solution. Use the arm’s clamp to secure the assembly to the desk edge; attach a small plywood backing to distribute pressure and screw a flat plate that serves as the cradle anchor. Pad the cradle with EVA foam or leather scraps where the headband rests. Route the charging cable along the arm with zip ties or Velcro so it follows the path of movement. This approach keeps floor space clear and is perfect for high‑traffic desks.
Groove‑in shelf or slim top mount: For a more permanent yet subtle solution, mount a thin shelf (1/4"–1/2") just above the desk surface using a monitor arm top or a L‑bracket. Cut a shallow groove to accept the headband and add a small lip to stop backward slips. This is elegant for clean setups but requires accurate positioning to avoid blocking vision or sensor occlusion when you dock the device.
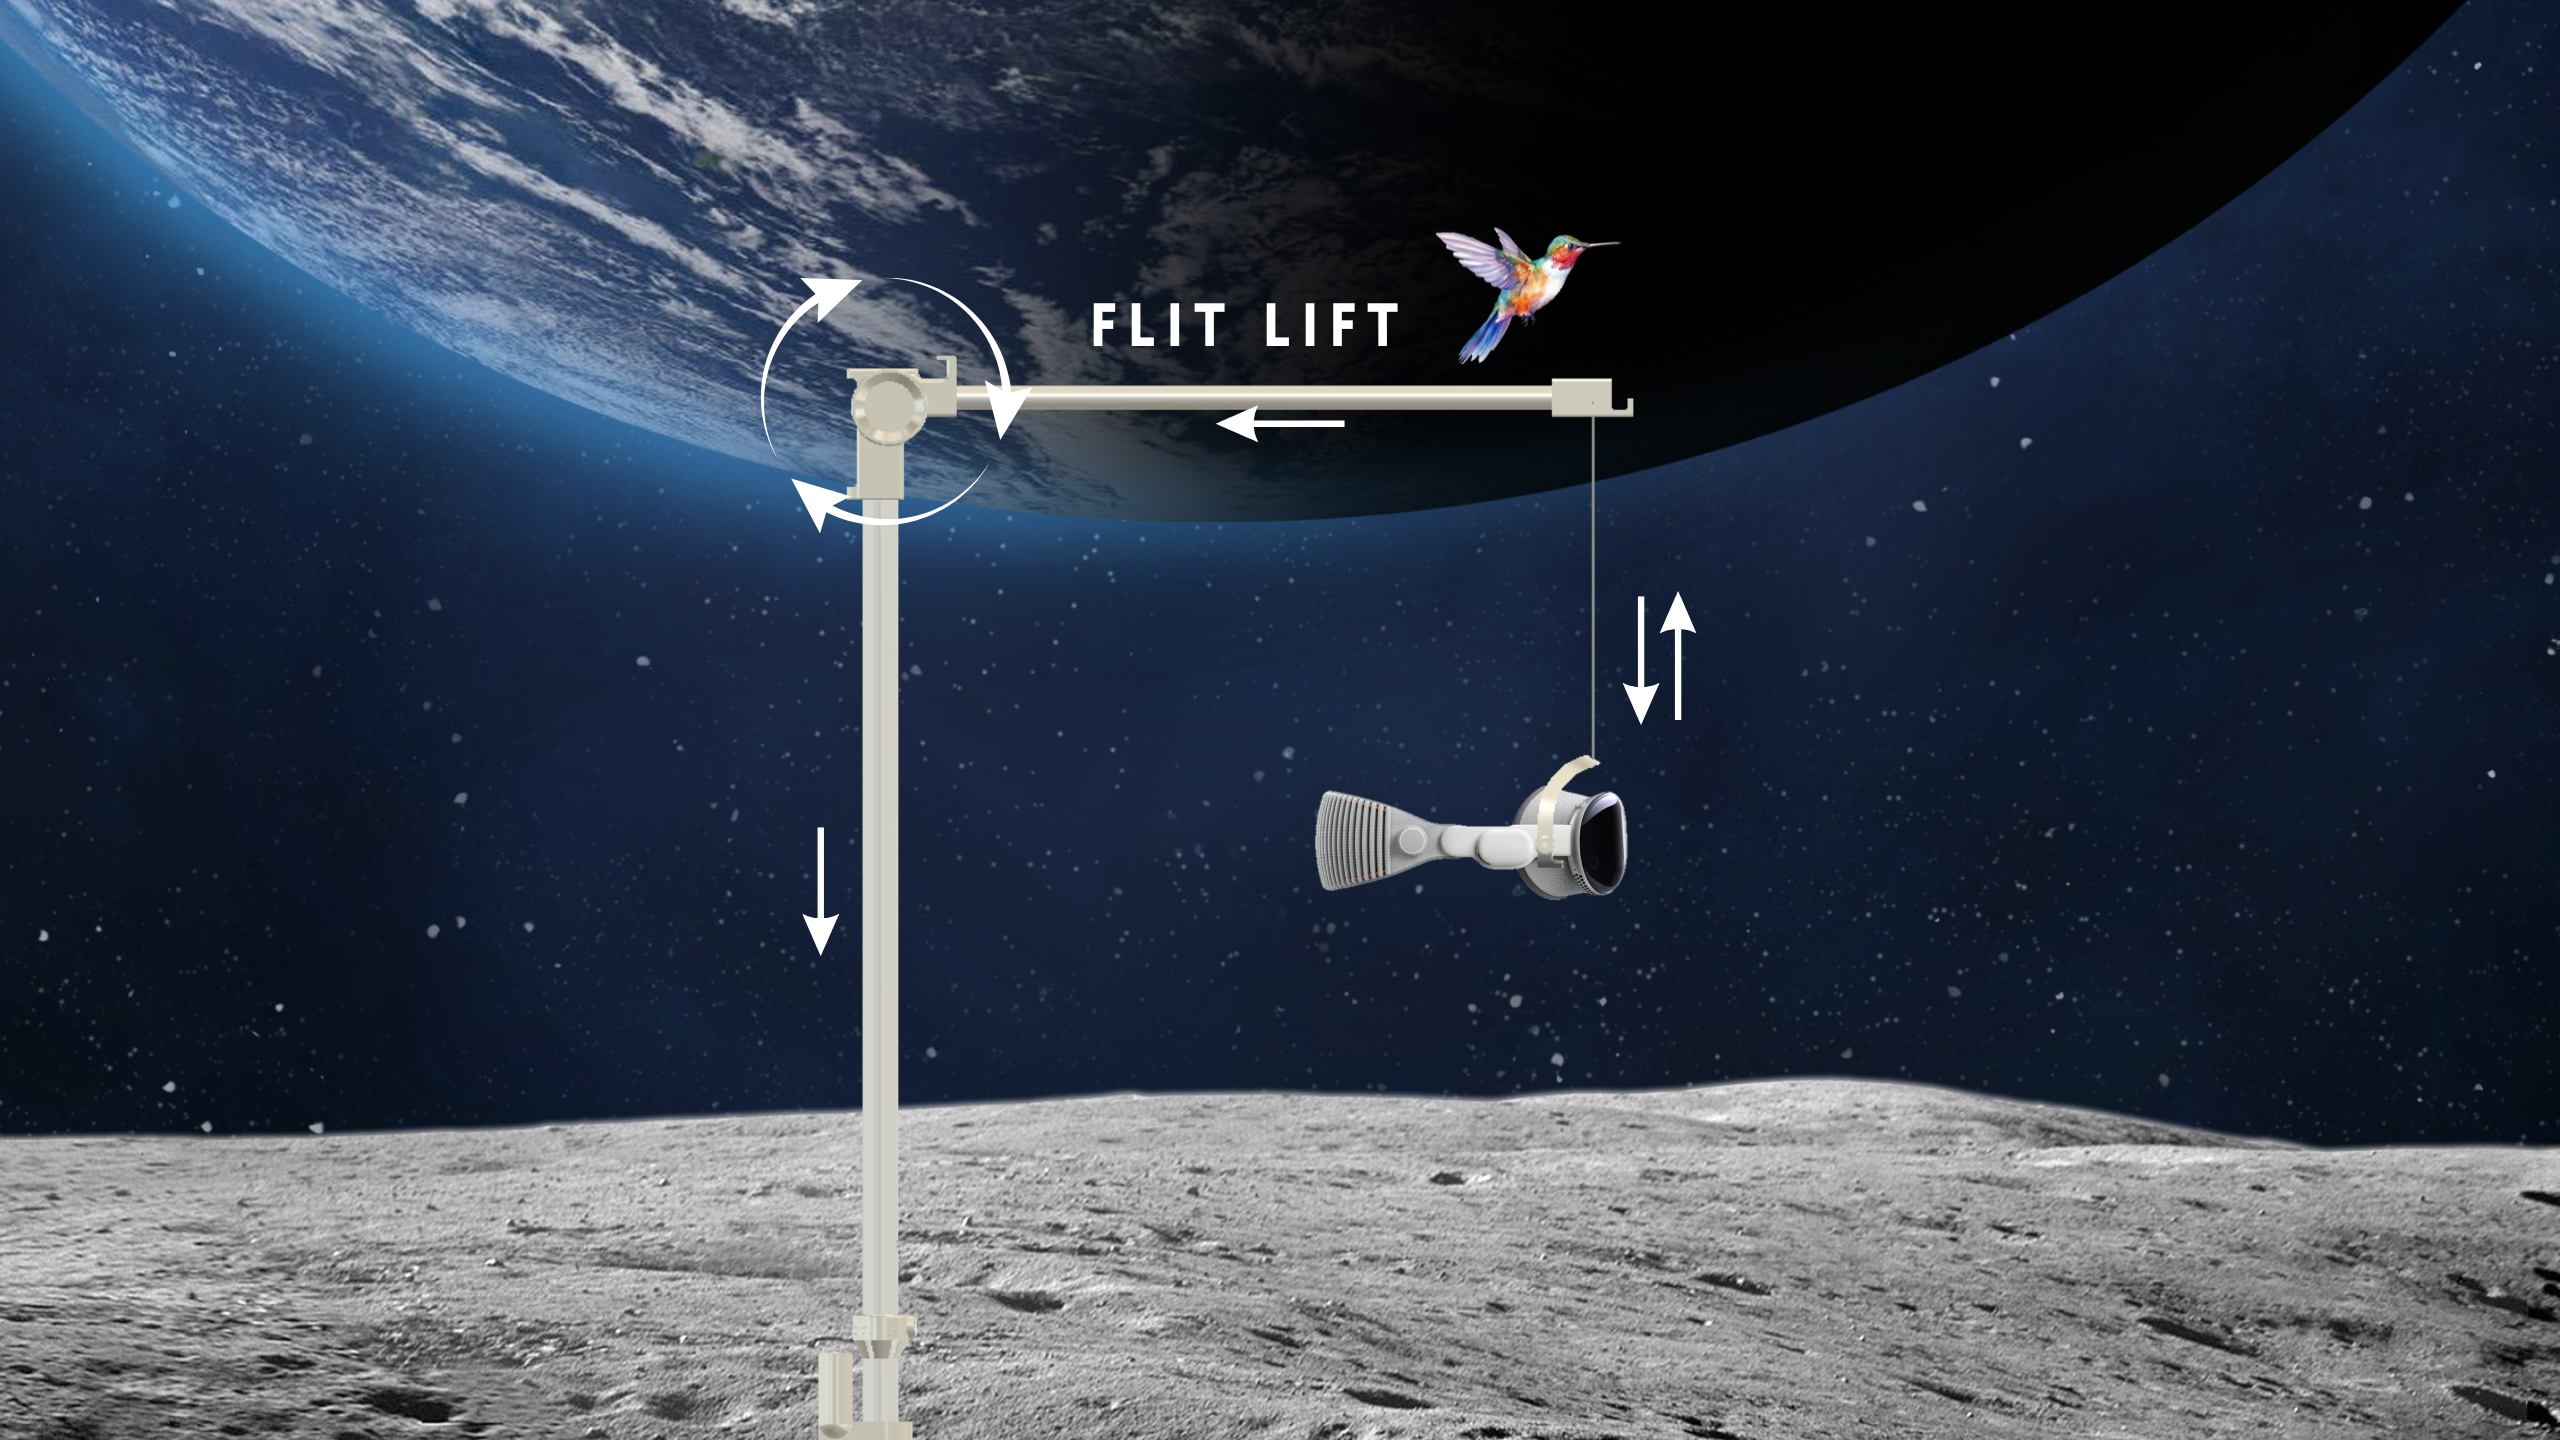
Slim monitor‑arm conversion: Reuse a monitor arm by removing the VESA plate and attaching a custom cradle. Monitor arms typically have good range of motion and strong tethers for cable routing. Use a flat cradle that can rotate slightly so the headset rests with natural tilt. Consider soft stops—thin silicone bumpers—that prevent the headset from contacting hard metal parts during docking.
Stability considerations: ensure the desk edge can handle the clamp without flex; choose an arm rated above the headset weight with a safety margin; and favor cradle designs that distribute load across at least 4–6 inches of the headband to avoid pressure points. Aesthetic finishes—stained wood, painted metal, or wrapped fabric—help the stand blend with your workspace.
Free-standing and counterweighted designs for stable balance
Free‑standing stands let you position the Vision Pro on a desk, shelf, or floor without drilling holes. The principle is straightforward: create a wide, heavy base and place the headset cradle so the center of gravity falls well within the footprint. That prevents tipping when you dock or adjust the headset during longer sessions.
Base and mast geometry: Start with a broad base—think 12–20" diameter round wood, or an 18–24" square panel. If space is tight, keep the base low and dense rather than large: a weighted tray you can fill with sand or pebbles is ideal. Mount a rigid vertical mast centrally or slightly rearward so the cradle sits just above the base. Use bolted joints rather than glued ones for long‑term reliability.
Counterweights and adjustability: Add a rear ballast shelf or sliding weight arm so you can tune balance for different headsets or users. A simple peg and weight stack allows quick adjustments—slide more mass toward the rear to resist forward tipping. Alternatively, make the cradle tilt adjustable with a friction joint: a coarse knob lets you set resistance, and a small spring or rubber insert provides a gentle settle as the headset lands into place.
Non‑slip feet and low profiles: Fit rubber or silicone feet to the base to prevent sliding, and keep the base thickness low so the stand doesn’t feel top‑heavy visually. For a cleaner aesthetic, box the base with a shallow skirt and hide ballast inside—this keeps the look deliberate, not makeshift.
Practical build tip: if you opt for heavy metal parts, bolt them to the wood base with backing plates and washers to distribute load. Route any cables up the mast within a channel or use wrap‑around Velcro to keep them from pulling during dock/unplug motions.
Padding, facial interface, and neck‑relief features
Comfort extends beyond cradle geometry. How and where the headset contacts your face and head affects perceived weight and how long you can play or work. Thoughtful padding and interface tweaks can reduce neck fatigue and keep the Vision Pro feeling light even during marathon sessions.
Facial‑interface padding: Repurpose memory foam or EVA foam remnants to create a replaceable facial pad. Trace the headset’s gasket and cut foam to match, tapering edges to avoid pinch points near the nose. Cover the foam with a breathable, washable fabric—mesh or cotton—for hygiene and comfort. A thin silicone or gel insert at the bridge-of-nose area prevents hot spots without adding bulk.
Neck relief and weight distribution: Instead of letting all the load press on the temples, add a soft occipital pad that cradles the back of the head. Build a soft sling or padded strap that attaches to the cradle and supports the headband when docked, shifting the static load lower on the skull and reducing muscle strain when you first lift the headset back onto your head. A curved neck roll—made from a repurposed neoprene sleeve—can provide subtle support without interfering with strap movement.
Cradle contact choices: use cork sheets, felt, or thin silicone strips where the headset lands. Cork absorbs micro‑impacts and resists abrasion; felt is inexpensive and gentle; silicone provides high friction so the headset won’t slide. Keep contact patches wide enough to avoid point loading and test the finish to ensure it won’t mark the headband or the visor.
Quick access add‑ons: small elastic loops or magnetic strips can hold the head straps in a position that makes one‑handed pickup easier. If you add strap cushions, ensure they don’t catch on the cradle lip during removal. The goal is to make the headset feel supported and easy to lift, not anchored.
Protective cases with built‑in stands and grips
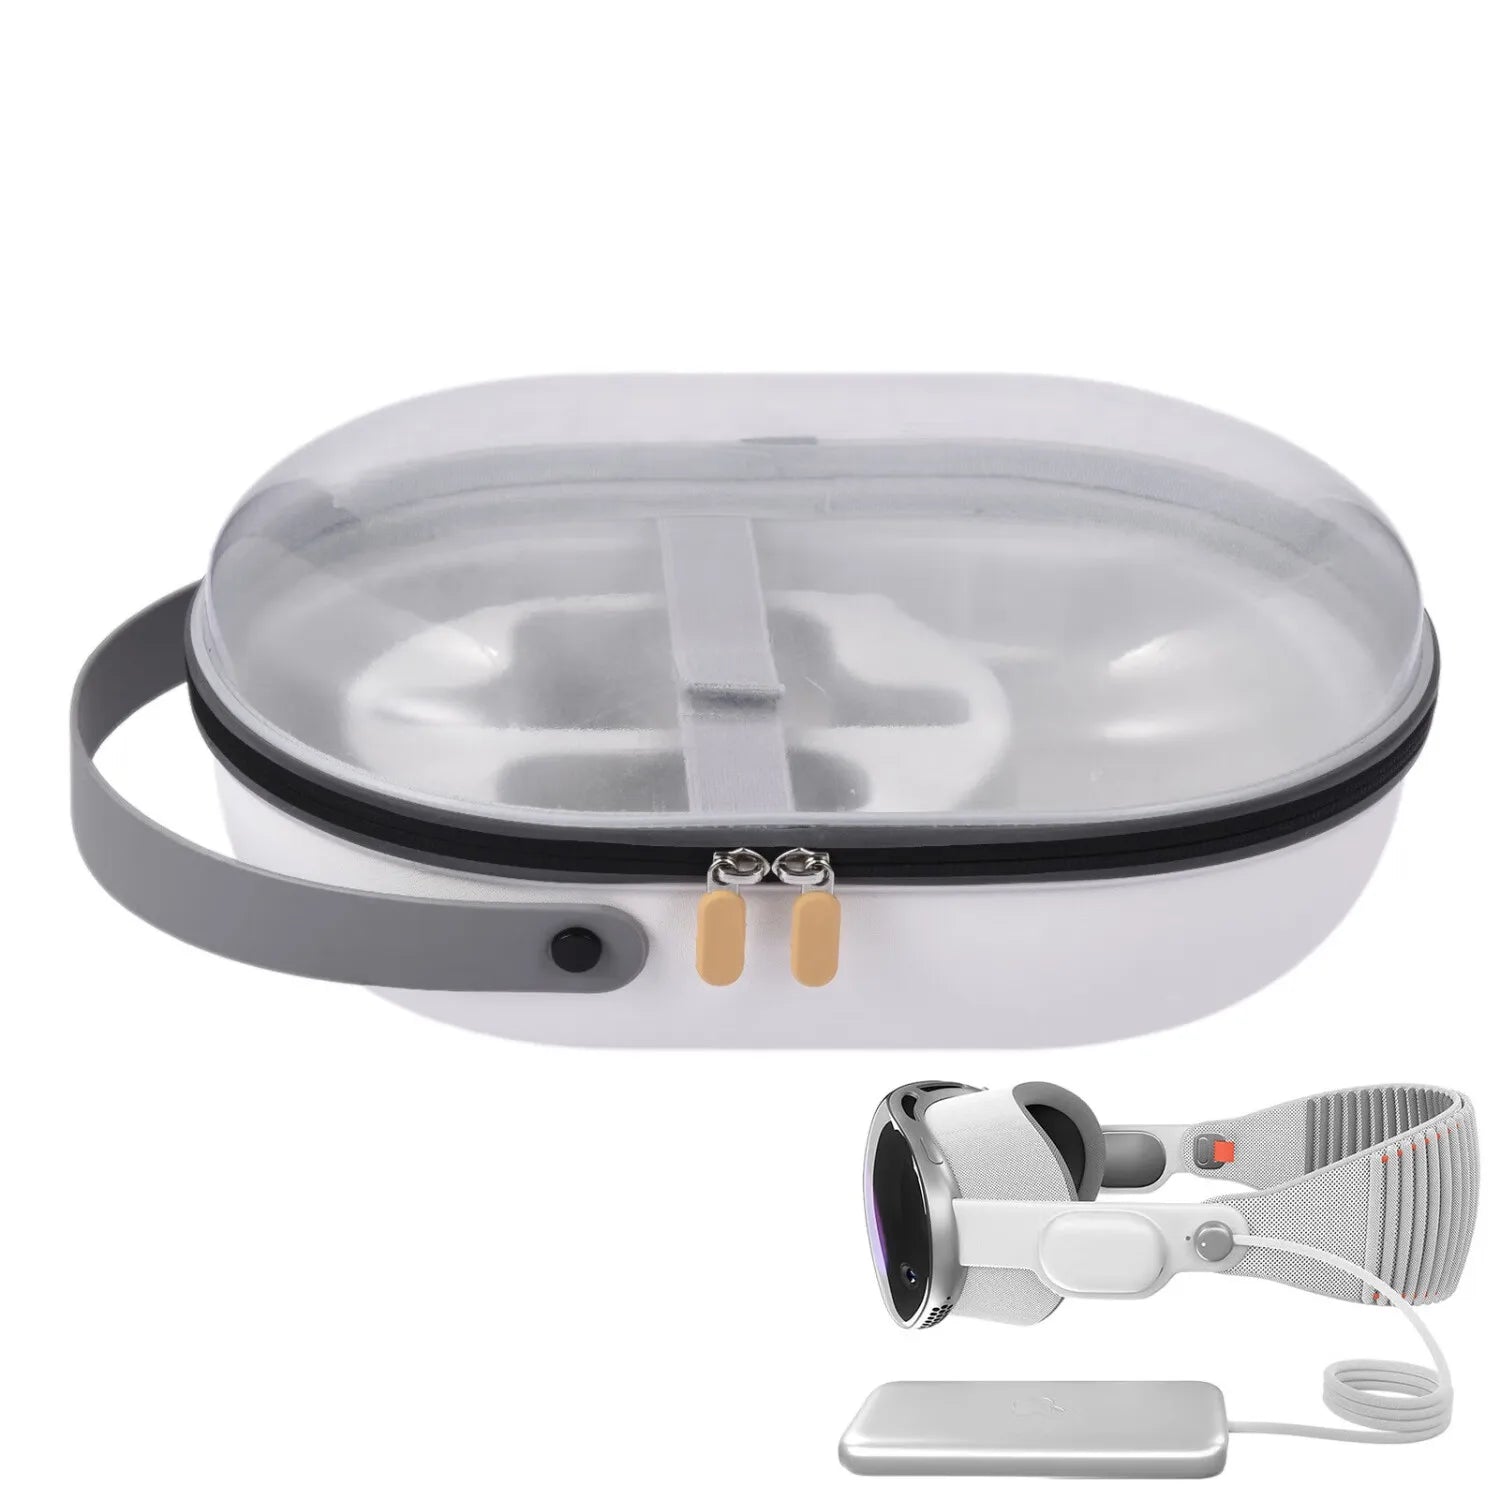
Combining storage and a stand is a smart way to protect the Vision Pro and reduce the number of items on your desk. With a few interior modifications, a hard camera or tool case becomes both travel protection and an instant desk display.
Rugged shell plus custom foam: Start with a hard‑shell case you already own. Remove the stock foam and cut EVA inserts that cradle the headset without compressing the lenses or straps. Leave small channels for cables and a separate slot for accessories. Line the interior with microfiber to wipe dust and fingerprints. Reinforce corners with extra foam blocks and consider a thin plastic shield near any battery compartments to prevent compression.
Built‑in stands from lid panels: Modify the case lid so it acts as a stand when opened. A fold‑out wooden leg or hinged kickstand can prop the headset at a natural angle. Use a low‑friction hinge and a magnetic or plastic latch to lock the stand while traveling. Add a soft bumper strip where the visor contacts the case to prevent scuffs. This approach looks professional, keeps the headset visible, and gives quick access when you arrive at a session.
Portable grip systems: Integrate a comfortable handle or detachable strap into the case. Use webbing and a padded grip from an old camera bag, or salvage a small climbing sling for durability. For hands‑free carry, attach a short shoulder strap with heavy‑duty clasps. If you want extra security, add a simple internal retainer—elastic straps or a removable cup—so the headset can’t shift during transit.
Compatibility checks: measure the headset across its widest points, including the headband, before cutting inserts. Leave 10–15 mm of clearance around sensors and vents for airflow. Always test the fit with the headset powered off and with cables plugged in to ensure docking won’t pinch or bend connectors.
Testing, safety, and iterative improvement
Testing is where good ideas survive and poor ones get improved. Treat your prototype stand like a product in beta: document behavior, run consistent tests, and make small, reversible changes. A simple, repeatable routine helps you compare versions and prevents surprises like scratched lenses or tipping after weeks of use.
Start with static and dynamic tests. Static: dock the headset and inspect contact points for pressure—no hard edges should touch plastic or the visor. Check cable routing and ensure the USB‑C/charging port aligns without forcing the connector. Dynamic: give the table a light nudge, tap the stand from different angles, and perform a one‑handed pickup and replacement 10 times. Note any slippage, rocking, or rubbing noises.
Testing checklist:
- Stability: stand resists a gentle push from three directions
- Access: one‑hand removal and replacement without snagging
- Protection: no lens or sensor contact with hard parts
- Cable strain: connectors remain straight, with slack management
- Ergonomics: cradle tilt and height align with your shoulder/eye line
Safety checks: round off any sharp edges, add felt or silicone where the headset touches wood or metal, and verify that batteries and vents aren’t obstructed. If you use adhesives, ensure they’re compatible with plastics and won’t off‑gas near optical surfaces. For weighty counterweights, secure them behind panels or in sealed compartments to prevent accidental spills.
Examples and case studies: real‑world DIY Vision Pro stands
Seeing compact, low‑cost builds in action helps turn concept into practice. Below are representative cases from minimal to robust—each with a quick cost/time estimate and the key lesson learned during testing.
Desktop wedge cradle — cost: <$10; time: 30–45 minutes. Build: a 3" by 6" wedge cut from scrap plywood with a foam liner and a small non‑slip pad. Outcome: lightning‑fast access and an almost invisible footprint. Drawback: fixed tilt and awkward charging unless the cable is carefully routed. Lesson: leave a notch for the cable and test sensor clearance before gluing the pad.
Wall‑mounted pegboard swing‑arm — cost: $12–$20; time: 1–2 hours. Build: pegboard mounted to a stud with a shortened monitor arm attached. Outcome: frees desk space, adjustable reach, and good height control. Downsides: semi‑permanent installation and a need for tidy cable routing. Lesson: reinforce the pegboard attachment with studs and add a small lip to stop backward slips.
Counterweighted free‑standing mast — cost: $20–$40; time: 2–3 hours. Build: 18" square base filled with sand, a central plywood mast, and a bolted cradle with a friction swivel. Outcome: very stable and customizable tilt; ideal for shared spaces. Lesson: add a rear ballast platform with a peg system so different users can dial balance quickly.
Case‑integrated stand — cost: variable (reuse case); time: 1–3 hours. Build: foam rework inside a hard camera case with a lid kickstand. Outcome: great for travel and desk display; doubles as storage. Lesson: leave channels for cables and keep the kickstand mechanism locked when closed.
Maintenance, portability, and longevity
Build it right and a DIY stand will last for years—but only with a little maintenance. Regular checks keep fasteners snug, fabrics fresh, and contact surfaces safe. Wiping soft pads with a mild cleaner, dusting the cradle, and resealing exposed wood every few months prevents deterioration and keeps the headset blemish‑free.
Daily care: use a microfiber cloth for lenses and exterior surfaces; avoid solvents that attack polymers. Remove perspiration or oils from padding regularly—wash removable fabric covers according to their care instructions. Inspect screws and joints quarterly and apply a small amount of silicone‑safe lubricant to hinges if they squeak.
Designing for portability: if you travel, prefer foldable or flat pack designs. Use picture hinges, slotted masts, and small removable pegs so everything collapses into a sleeve or the modified case. Use Velcro or elastic straps to secure the headset to the folded stand during transit. A small padded sleeve made from leftover fabric can protect delicate parts.
Longevity strategies: protect wood from moisture with a thin coat of wipe‑on polyurethane; treat metal parts to prevent rust (a light coat of machine oil or a rust inhibitor); and use replaceable contact pads so the parts that wear are easily swapped without rebuilding the stand. Keep documentation—a photo of the assembly and a short parts list—so you can reproduce the build later or upgrade components as your needs change.
Next step: pick one concept above that matches your workspace and budget, gather the materials from the checklist, and run the simple test routine after your first mock‑assembly. Small, deliberate iterations will get you to a stand that feels like a custom accessory rather than an afterthought—protecting your Vision Pro and improving every session you spend inside it.



Share:
Lighten the Load: Practical Tips to Minimize Neck Strain in Vision Pro Sessions
Storage and Travel Care to Preserve Vision Pro Comfort on the Go