

Upgrade Your Quest 2 Comfort Strap: A Glasses-Friendly, Step-by-Step Guide
Swapping the stock Quest 2 strap for a dedicated comfort strap is one of the quickest upgrades you can make to reduce facial pressure, improve balance, and stay comfortable through long sessions — especially if you wear glasses. This guide walks you from choosing the right strap for your head and frames through installation, tuning, and maintenance, with clear, practical tips you can use right away. ⏱️ 6-min read
Follow the steps below to measure, compare, install, and optimize a strap that keeps lenses clear, reduces nose fatigue, and balances weight so you can game, create, or exercise without constant readjustments.
Assess your needs and pick a comfort strap
Start by matching the strap to your head shape and glasses. Take note of crown height, temple sweep and cheek contours — these predict where pressure will build during quick movements. Also measure or inspect your glasses: frame width, lens thickness, temple depth and nose-bridge angle. Thick frames and wide temples need extra nose and cheek clearance; rimless frames are more forgiving but can shift if padding presses on the temples.
Decide what you value most:
- Long sessions: prioritize thicker padding and even weight distribution.
- Cardio or sweaty play: choose breathable, moisture-wicking materials (mesh or open-cell foam).
- Quick micro-movements or mixed-reality tasks: favor a firm, stable fit and a strap that clips securely without flex.
Check your headset revision and warranty terms before buying third-party straps, and confirm return policies in case a strap interferes with sensors. Finally, plan to test any new setup during a 30-minute session to confirm comfort and lens clearance.
Compare Quest 2 comfort straps: Elite Strap vs alternatives
The official Elite Strap and many third-party options solve the same problems but trade priorities differently.
- The Elite Strap typically pairs memory foam padding with a sturdy top strap and tends to distribute weight evenly across the crown and occiput. It feels substantial in hand and on the head — good for long seated sessions where balance matters.
- Third-party straps emphasize lighter weight, modularity and cost. Some add features like rear battery mounts or adjustable counterweights, while others use breathable fabrics or gel-infused foam to reduce heat buildup.
Things to compare when shopping:
- Padding material — memory foam is plush but warms up faster; gel or mesh coverings breathe better for sweaty sessions.
- Weight — a few ounces can change long-session comfort. Lighter straps reduce forehead pressure but may need firmer side straps to maintain stability.
- Compatibility — confirm whether a strap clips on directly or needs adapters; check if it supports battery packs or rear counterweights if you plan to add one.
- Warranty and returns — especially important if a strap blocks sensors or doesn’t fit with certain glasses.
Step-by-step install for Quest 2 comfort strap
- Power down the Quest 2 and remove any cables, chargers or controllers nearby to avoid accidental inputs.
- Work on a clean, soft surface. Keep small parts in a magnetic tray or small container so screws don’t wander.
- If removing the stock strap: use the supplied tool to loosen mounting posts and lift the strap off. Keep screws safe.
- Wipe headset contact areas with a microfiber cloth to remove oils and dust so new connectors seat cleanly.
- Line up the new strap’s connectors with the headset slots and press firmly until you hear two clean clicks — an audible sign the clips are seated correctly.
- If one side seats early, reseat it and try again; uneven seating can tilt the headset.
- Tighten mounting screws in a diagonal sequence to spread load evenly; avoid overtightening to prevent thread damage.
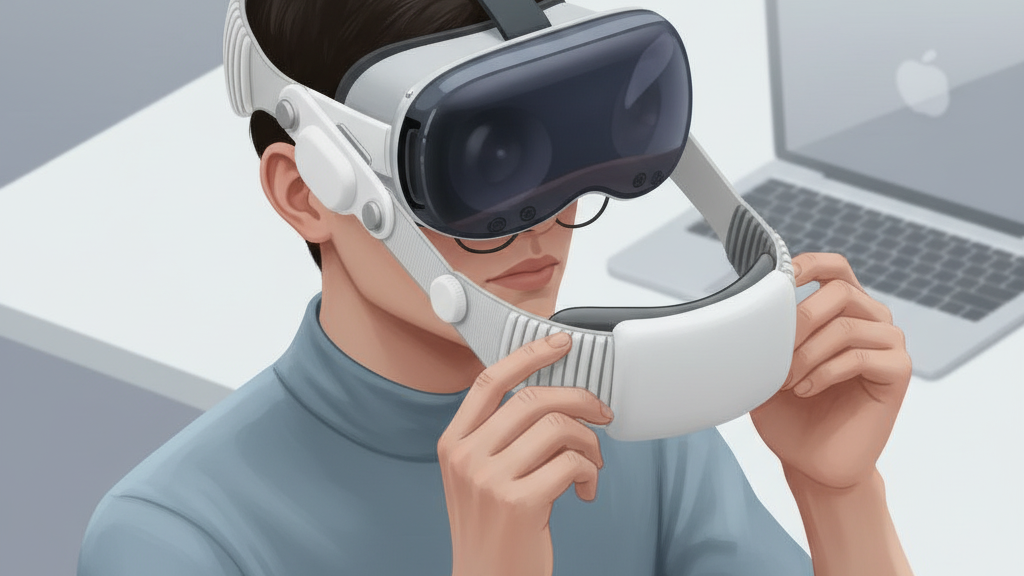
- Put the headset on with your glasses and do a first-fit check. Don’t finalize adjustments until you test movement and comfort.
Adjustments for comfort: height, strap length, and fit tips
Tweak the strap while wearing the headset (with glasses on if you normally wear them in VR). Good adjustments are small and iterative:
- Set the top strap so it sits roughly a finger-width above the brow — this helps align your eyes with the display without tilting the head forward.
- Center the strap along your crown and tighten side straps in equal, small increments to relieve temple pressure and avoid asymmetric tilt.
- Adjust nose pad height and forehead pressure until you have clear vision without fogging; minimal forehead pressure helps reduce glare and stray light.
- Perform a movement test: nod, shake your head gently, and look up and down. The headset should remain stable and not slip over your glasses.
Glasses-friendly fit: nose gap, padding, and lens clearance
Glasses clearance is the most frequent blocker to a comfortable VR session. Start by measuring your glasses' nose-bridge width and use that to set a nose-gap margin before you compress any padding.
Practical steps:
- Choose padding that raises the headset a few millimeters off your face so frames don't press into the lenses or cheekbones.
- Orient the padding so the frame temples do not rest directly on it — this keeps weight distributed across the nose and temples, not on a single pressure point.
- Test with different frames (thick-rimmed, rimless, aviator-style) and perform quick head turns to check for slippage or contact. If you get fogging, widen the nose gap slightly or improve ventilation rather than forcing a tighter fit.
Weight distribution tips for long sessions
Balanced weight is comfort’s secret. When the bulk of the headset sits forward, your nose bears the brunt. Shift the load back.
- Tighten crown and rear straps a touch while keeping the front load light to center weight toward the back of the head.
- If your strap supports a rear battery or counterweight, use a lightweight pack to offset the front load; place it low on the occiput for seated play.
- Keep side tensions even to avoid tilt and reduce the risk of asymmetric pressure points.
- Choose breathable padding (mesh or open-cell foam) to limit heat build-up over marathon sessions, and schedule micro breaks — 1–2 minutes every 30–40 minutes — to reset pressure points.
Maintenance, cleaning, and care
Regular care keeps a strap performing like new. Clean padding and straps with a microfiber cloth and mild soap; wipe, don’t soak. Avoid harsh chemicals on fabric and never immerse the headset electronics.
- Weekly: inspect anchors, clips and cushions for wear. Replace worn padding promptly to prevent new pressure hotspots.
- After sweaty sessions: air out the strap and, if possible, remove and wash removable covers according to the manufacturer’s instructions.
- Store the headset on a stand or flat surface where the strap maintains its shape; don’t crease cushions under heavy items.
Common issues and quick fixes
Here are fast solutions to the problems most people run into after installing a new comfort strap.
- Strap feels loose after use: reseat the anchors and verify the connectors clicked fully. Re-tighten mounting screws in a diagonal pattern if needed.
- Headset tilts forward: increase rear tension slightly or add a small counterweight; make sure side straps are tightened evenly.
- Fogging or glare: increase the nose gap by a few millimeters, improve ventilation, or use anti-fog wipes on glasses. Reducing forehead pressure also helps minimize exhaled-air contact with lenses.
- Excess heat or sweating: switch to mesh or breathable padding and take more frequent micro breaks during intense activity.
- Sensors obstructed or tracking issues: check compatibility notes and return policies before full commitment; some third-party attachments interfere with tracking and may require an exchange.
Next step: measure your glasses’ nose bridge and temple width, decide whether you prioritize long-session padding or lightweight agility, then pick a strap and run a 30-minute test while making the small adjustments above. If it still feels off, check compatibility and return options — a good fit is worth the switch.
Powered by Trafficontent


Share:
Comfort strap versus Elite Strap: an ergonomic comparison for Quest 2
Quest 2 comfort strap fit guide: optimizing balance and pressure distribution