

How to Tighten the Quest 2 Comfort Strap for Long VR Sessions: A Practical Step‑by‑Step Guide
If you plan to spend hours inside VR—gaming marathons, design sessions, or training runs—the Quest 2 comfort strap can make or break the experience. A strap that’s too loose causes motion and eye strain; one that’s too tight leaves painful pressure points and red marks after an hour. This guide walks you through weight-distribution" rel="nofollow noopener noreferrer">choosing the right strap, prepping and installing it, tightening for stability, fine‑tuning for glasses and long wear, and keeping everything clean and compatible so your sessions stay comfortable. ⏱️ 10-min read
Read on for clear, tested steps, real‑world tips from long‑session users, and troubleshooting notes that save time. Whether you’re sticking with the stock elastic band, upgrading to an Elite-style solution, or fitting a third‑party comfort strap, these instructions help you get a secure, fatigue‑free fit.
Assessing Strap Options for Long Sessions
Not all Quest 2 straps are created equal when it comes to long‑wear comfort. Before you tighten anything, decide whether you want to work with the stock strap, an Elite Strap (or Meta’s Elite Strap replacement), or a trusted third‑party comfort strap. Each family has tradeoffs: stock straps are lightweight and simple but offer limited adjustment range and cushioning; Elite-style straps add rigid support and precise dials for a steadier fit; third‑party options often prioritize padding, modularity, or weight redistribution.
Think about three practical dimensions when comparing options: weight, cushion distribution, and adjustment range. Weight matters because heavier assemblies increase torque on your neck; a rigid rear stabilizer can increase comfort but also moves the center of gravity. Cushioning should spread pressure across a broad forehead and crown area instead of focusing on a narrow strip. Adjustment range determines whether the strap can accommodate glasses, different head shapes, or layered hairstyles.
Another useful way to evaluate is by use case. If you sit for long, seated sessions, a well‑positioned Elite-style strap or a padded third‑party band with a rear dial is ideal. If you move a lot (room‑scale play), prioritize a snug, secure fit with little slack and a fast‑locking connector. Read product pages and community feedback for model‑specific notes—some third‑party straps excel at ventilation, others at padding thickness. The right choice makes the tightening steps that follow both simpler and more effective.
Tools, Prep, and Compatibility Check
Preparation prevents mishaps. Start by identifying your Quest 2 variant: original, refreshed, or enterprise. Mounting points and included hardware can vary between these. Check the strap’s packaging or product page to confirm it’s marketed for your model. Inspect your headset’s rear housing, side slots, and any threaded posts so you know which connectors and screw sizes you’ll need.
Set up a clean, well‑lit workspace and gather a few simple tools and items:
- Soft microfiber cloth for wiping the headset frame and lens housing—dust or smudges under a new strap drive you crazy later.
- Small screwdriver (Phillips #0 or #1 is common); magnetic tip helps keep screws from falling into crevices.
- Spare screws and any adapters the strap vendor recommends—bring a few extras in case of stripping or loss.
- Tray or small container for washers and screws; a silicone mat keeps parts from sliding and prevents static.
Also check for firmware or fitting notes on the manufacturer’s site. Some recent strap designs include quick‑release adapters or latch tabs that require a specific seating orientation to work properly. If a connector doesn’t seem to click, don’t force it—double‑check the adapter orientation and that you’re using the correct SKU for your headset. A careful compatibility check now saves time and avoids damage later.
Step‑by‑Step Installation of the Comfort Strap
Installation is mostly straightforward but varies by strap family. Lay out all pieces on your workspace and cross‑check them with the manufacturer’s quick‑start diagram. If any part is missing or damaged, pause and contact support before installing. Here is a reliable, model‑agnostic workflow that covers most straps you’ll encounter:
- Unbox and identify pieces: main band, rear connector or dial assembly, side clips/adapters, foam pads, screws, washers.
- Orient connectors correctly. Look for arrows, logos, or orientation marks on plastic tabs. Match those to the headset’s notches and align gently—if the tabs don’t align, they likely aren’t the right adapter.
- Seat side connectors. Insert the side clips into the headset slots until you hear or feel a firm click. If your strap uses screws, insert them finger‑tight first, then finish with the screwdriver to avoid cross‑threading.
- Attach the rear housing or dial assembly. Align the tabs, press the piece flat against the back of the headset, and rotate or push per the manual until it locks. Make sure any outward locking tab is accessible, not blocked by pads.
- Add cushions and overlays last. Place foam or fabric covers after hard parts are secure so they sit flush and don’t interfere with latching mechanisms.
For magnets or quick‑release designs, confirm the magnet faces match and the latch retracts smoothly. If you notice wobble at any anchor, re‑seat that connector and re‑check screw torque. The aim is a solid, flush fit everywhere before you move on to tightening—if something feels loose now, tighten seals and check compatibility again.
Tightening and Initial Fit
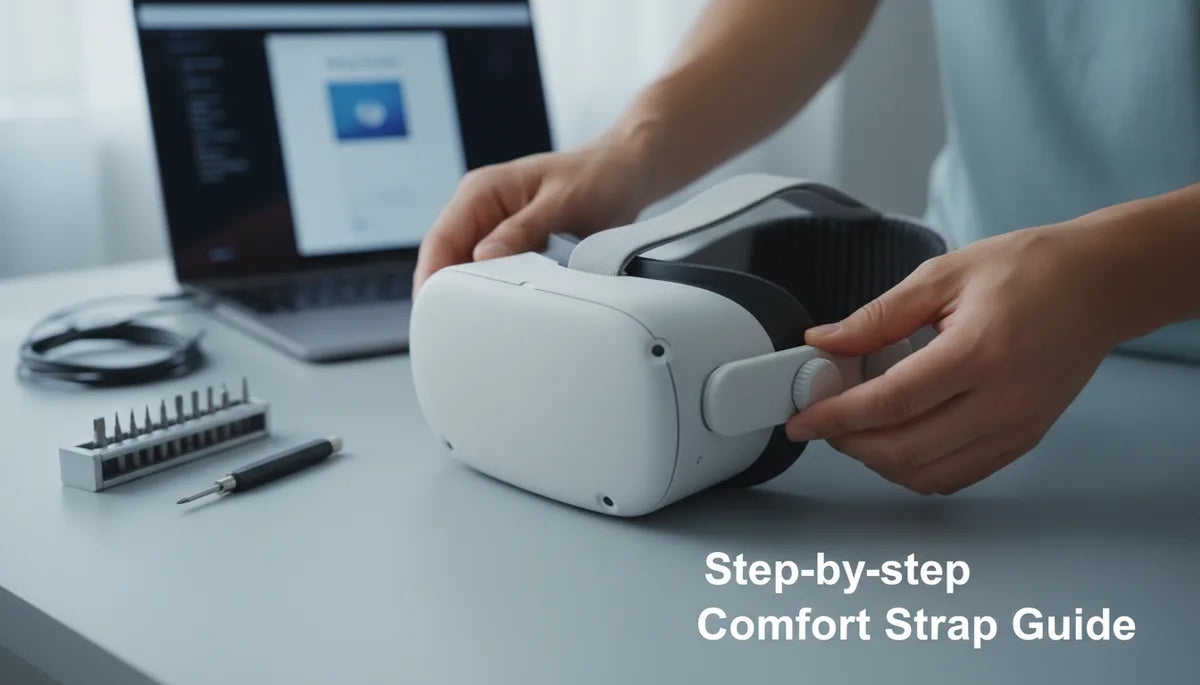
With the strap installed, approach tightening methodically. Start with the rear dial or main tightening mechanism to establish a centered, crown‑level fit. When using a dial, turn it in small increments and pause to feel how the headset settles. If your strap uses pull tabs, use short, symmetric pulls on each side rather than cranking one side tight first.
Follow these steps for an even, balanced fit:
- Loosen everything and place the headset on as you normally would. Let the weight settle naturally so you can perceive pressure points.
- Bring the top strap across your crown and tighten the rear dial until the headset feels gently snug—your field of view should be steady without pressing hard into your face.
- Adjust the side rails or length adjusters evenly on both sides. If one side feels tighter, back both off and re‑tighten in equal increments so the headset centers on your face.
- Perform small motion checks: nod, look left/right, and shake your head gently. The headset should stay put without significant sliding or shifting.
Check forehead pressure with a light finger press. It should feel supportive, not numbing. Inspect the crown area to ensure the top strap isn’t pinching skin or creating a hollow where pressure concentrates. For the first session, stop and re‑balance after 10–15 minutes; small adjustments at the start prevent hotspots over longer periods.
Fine‑Tuning for Comfort: Height, Length, and Glasses
Once the initial fit is set, refine height, curvature, and eyewear clearance. These subtler tweaks often separate a tolerable fit from an all‑day comfortable one.
Height positioning: Aim for the main pad to rest just above your temples with padding centered on the forehead and the crown support following the skull’s natural curve. Raising the top strap a couple of centimeters moves the center of gravity rearward, reducing front‑pull. With the headset on, press the pad lightly and shift the strap until pressure is distributed rather than concentrated in a single line.
Length and curvature: Use side adjusters to contour the band to your skull. The goal is a snug curvature that prevents the headset from pitching down when you look up. If you feel a tight edge, ease that side a notch and repeat the motion test—sometimes a small curvature change makes the headset feel much lighter.
Glasses wearers: If you wear glasses, watch for temple pressure and lens clearance. Loosen the top strap slightly and shift rear padding down to create extra room around the temples. Ensure the facial interface still seals around your nose to prevent peripheral light leakage. If fogging persists, try a slightly looser forehead contact and increasing ventilation near the nose; anti‑fog inserts or prescription lens adapters can also help.
Quick adjustment checklist for long sessions:
- Top pad centered on forehead, crown supported.
- Equal tension on both side adjusters.
- Enough length for glasses clearance without slack that allows tilt.
Weight Distribution and Comfort Enhancements
Even with a tight, balanced strap, the Quest 2’s front‑heavy design can produce neck fatigue during long sessions. The trick is to move the center of gravity slightly rearward so weight is shared between forehead and crown instead of pulling the mask forward.
Practical strategies:
- Add a lightweight rear stabilizer or counterweight. Many third‑party straps support small weighted pouches or modular plates that clip onto the back of the headband. Use minimal weight—think 50–150 grams—until you find a sweet spot. Too much defeats the purpose.
- Redistribute padding. A thin foam layer added to the forehead pad spreads pressure over a larger area, reducing hot spots. Conversely, thick padding at the rear can shift support where it helps most—experiment with pad thickness and position.
- Adjust top strap height. Raising the top strap 2–3 cm often reduces torque on the neck by pulling the support line over the crown rather than the forehead.
Case example: one user reported a marked improvement during a 4+ hour session after raising the top strap 2–3 cm, adding a thin foam forehead pad, and tightening the rear dial slightly while easing front pressure. The headset stayed level during fast head turns and neck fatigue dropped noticeably. If you plan true all‑day usage, consider rotating between two straps or swapping padding mid‑session to reduce compression wear on any one surface.
Care, Maintenance, Compatibility, and Troubleshooting
Regular care keeps your comfort strap performing well. Detach the strap per your manufacturer’s instructions before cleaning. Fabric covers can usually be hand‑washed in mild detergent and warm water—avoid submerging foam inserts. Spot‑clean foam pads with a damp cloth and allow everything to air dry away from direct heat. Wipe plastic and metal connectors to remove sweat and debris so locking tabs move freely.
Inspect the strap every 2–4 weeks if you use your Quest daily, or after 8–10 sessions. Look for frayed stitching, flattened foam, cracked adjusters, and loose anchors. Replace worn parts promptly; many vendors sell replacement pads or connector kits. If a latch becomes wobbly, stop using that strap until the part is replaced to avoid sudden failure mid‑session.
Compatibility notes: the Quest ecosystem evolves. After headset firmware updates or when trying new strap hardware, re‑check fit and read vendor update notes. Some straps include firmware or app components for dial adjustment—ensure those are current. Also verify third‑party accessories (like counterweights or cable management clips) explicitly list Quest 2 support; mismatched mounts can cause instability or stress the headset shell.
Troubleshooting common issues:
- Hotspots: Loosen the local area slightly and redistribute tension to opposite pads. Add a thinner, broader pad rather than a thicker narrow one.
- Fogging: Increase forehead clearance, improve ventilation, or use anti‑fog inserts/prescription lenses.
- Slippage during movement: Tighten rear dial and side adjusters evenly. Check that side connectors are fully seated and screws are snug.
- Loose connectors or rattles: Re‑seat adapters, replace stripped screws, and confirm the correct SKU for your Quest 2 model.
If you run into persistent problems—sudden fit changes, cracked anchors, or fit that never stabilizes—reach out to the strap maker with photos, a description of your headset model, and a list of steps you’ve already taken. Most reputable vendors offer replacement parts or warranty support for manufacturing defects.
Next step: try a 30–60 minute session using the tightening routine above, then re‑assess and tweak. Small, deliberate adjustments early on prevent larger comfort problems later—your neck and eyes will thank you after the second hour.


Share:
Glasses Wearers Rejoice: How to Rebalance Quest Two for All-Day Comfort
Vision Pro Comfort Strap: Materials, Durability, and Longevity Explained